Do you wish to have to make use of WordPress to control your recordsdata and paperwork?
You might have spreadsheets, photographs, and different paperwork that you wish to have to percentage with the remainder of your crew. Via importing those recordsdata to WordPress, you’ll simply collaborate with folks, or just stay those paperwork inside of simple succeed in at the WordPress dashboard.
On this article, we’ll display you the right way to use WordPress as a file control or record control gadget.

Why Use WordPress to Arrange Paperwork and Recordsdata?
It’s simple to lose monitor of paperwork whilst you use loads of other gear. As an example, chances are you’ll percentage drafts the use of a platform like Google Power, monitor the edits with a device like Asana, and keep up a correspondence with editors and visitor bloggers the use of Slack.
The issue is that it’s simple to lose monitor of a undertaking whilst you’re the use of such a lot of other gear. Via the use of WordPress to control your paperwork, you’ll stay the whole thing in a single position. This may occasionally prevent effort and time, and make sure to by no means lose essential recordsdata.
That mentioned, let’s see the right way to use WordPress to control your paperwork and recordsdata simply.
Atmosphere Up Your WordPress File Control Machine
One of the simplest ways to arrange a file control gadget in WordPress is by means of the use of WP File Revisions. This plugin permits you’re employed on recordsdata with folks, retailer paperwork on-line, and notice an entire revision historical past for every file.
Very first thing you wish to have to do is set up and turn on the plugin. For extra main points, see our step by step information on the right way to set up a WordPress plugin.
Upon activation, you’ll see a brand new ‘Paperwork’ choice within the left-hand menu. To add a file to WordPress, head over to Paperwork » All Paperwork. Then, click on the ‘Upload File’ button.

Subsequent, you wish to have to provide the file a identify. This will have to be one thing that is helping you establish the file, particularly in case you percentage the WordPress dashboard with folks corresponding to visitor bloggers.
With that performed, click on the ‘Add New Model’ button.
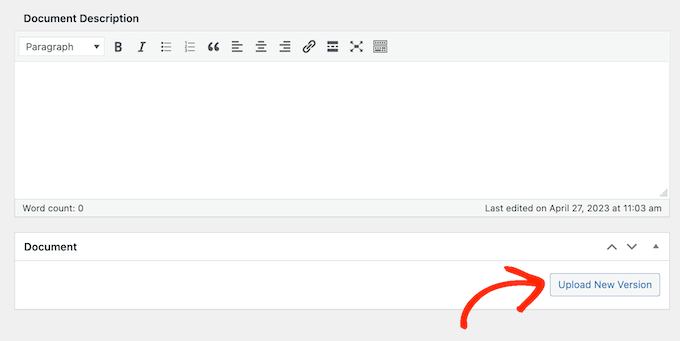
This opens the ‘Add File’ popup, which matches in a similar fashion to the usual WordPress media library.
You’ll both drag and drop your file onto the popup, or click on ‘Make a choice Document’ after which select a record out of your pc.

WP File Revisions will now add the record to WordPress.
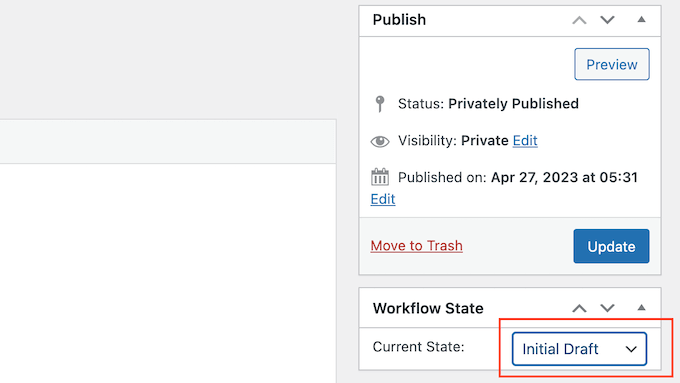
With that performed, you’ll set the file’s workflow state. In case you percentage the dashboard with folks, then this shall we everybody know that the file is an preliminary draft, beneath evaluation, in development, or in every other state. This will let you keep away from misunderstandings and strengthen the editorial workflow in multi-author WordPress blogs.
Merely open the dropdown beneath ‘Workflow State’ after which select an choice from the listing.
Subsequent, it’s possible you’ll need to upload an outline, which is able to lend a hand different customers perceive what the record is set.
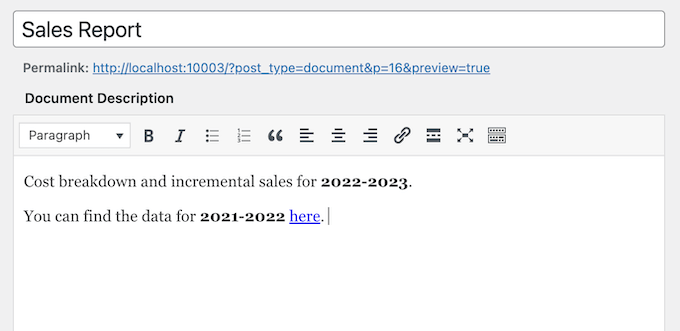
To try this, merely sort into the textual content editor. This phase comprises all of the same old textual content formatting choices, so you’ll upload a hyperlink and create bullet issues and numbered lists, in addition to upload daring and italic formatting and extra.
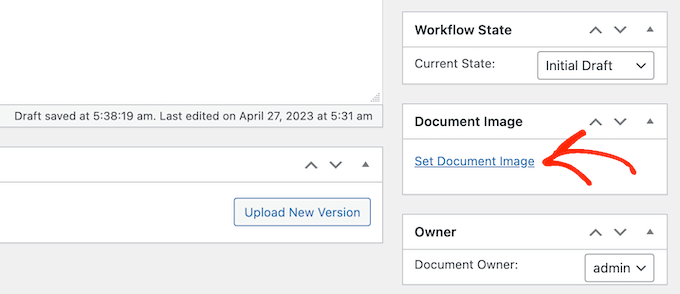
You might also need to upload a file symbol, which is able to lend a hand customers perceive the record or supply additional data, very similar to an index or appendix.
The method is very similar to including a featured symbol to WordPress posts and pages. Merely make a selection ‘Set File Symbol’ after which both select a picture from the media library or add a brand new record out of your pc.
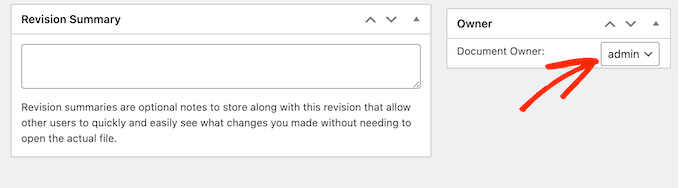
Whilst you add a record, WP File Revisions marks you because the file’s proprietor.
To assign this record to any person else, simply open the ‘Proprietor’ dropdown and select a brand new person from the listing. This may lend a hand stay your paperwork arranged, particularly in case you’ve added loads of customers and authors on your WordPress weblog.
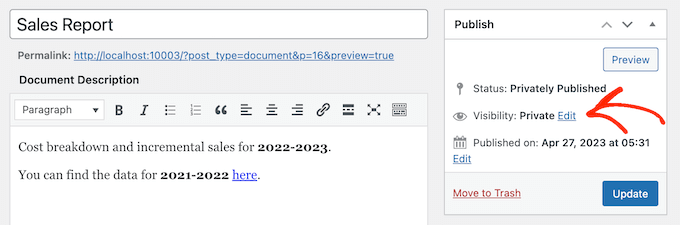
Via default, WP File Revisions will put up the record privately, so handiest logged-in customers can see it.
An alternative choice is to put up the file on your WordPress site, so other people can get entry to it with out logging into the dashboard.
Despite the fact that you put up the file, it’s nonetheless a good suggestion so as to add a password by means of clicking at the ‘Edit’ hyperlink subsequent to ‘Visibility.’
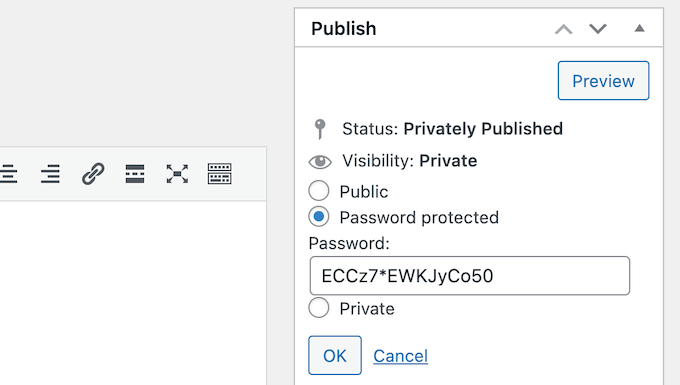
Then, make a selection ‘Password secure’ and sort a safe password into the ‘Password’ box.
With that performed, click on on ‘OK’ to avoid wasting your adjustments.
Don’t need to use a password? Then you’ll observe the similar procedure described above, however this time make a selection ‘Public.’
Regardless of the way you put up the record, WP File Revisions will display its URL immediately beneath the identify. Other people can see the record by means of visiting this URL.
To create a customized permalink as a substitute, click on at the ‘Edit’ button.
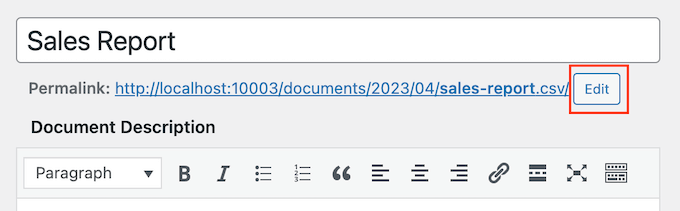
Then, sort within the new URL and click on ‘OK.’
Whilst you’re pleased with the guidelines you’ve entered, click on at the ‘Replace’ button to avoid wasting your settings.
Managing File Revisions and Workflow States in WordPress
WP File Revisions additionally has tough model keep watch over options. This will let you collaborate with folks, by means of appearing a file’s whole historical past. You’ll even open earlier variations of the record, and repair an previous model at any level.
Each and every time you add or replace a file, you’ll sort a word into the Revision Abstract.

Those notes will seem within the revision log against the ground of the display screen, subsequent to the title of the one that made the replace.
If the replace integrated a brand new record add, then you definately’ll additionally see a ‘Revert’ hyperlink.

Merely click on the hyperlink to revive this model of the file. Despite the fact that you revert to an previous model of the record, the historical past will stay intact so that you gained’t lose any data.
Customizing and Developing Your Personal Workflow States
Workflow states make it simple to look whether or not a file is an preliminary draft, in development, or every other state. Very similar to the way you save weblog posts as drafts or printed, states can strengthen the editorial workflow.
WP File Revisions comes with 4 default workflow states: ultimate, in development, preliminary draft, and beneath evaluation. It’s possible you’ll wish to trade those default states, or upload extra states. As an example, in case you’re developing a shopper portal then chances are you’ll make a ‘beneath consumer evaluation’ state.
To modify the workflow states, move to Paperwork » Workflow States. If you wish to customise an current state, then simply hover over it and click on at the ‘Edit’ button.

This opens an editor the place you’ll trade the title, slug, and outline of the workflow state. That is very similar to the way you edit classes and tags in WordPress.
While you’re performed making adjustments, click on the ‘Replace’ button.

You’ll additionally upload new workflow states.
In Paperwork » Workflow States, sort in a brand new title, slug, and outline. Then, click on the ‘Upload New Workflow State’ button.

Managing Consumer Roles and File Get admission to in WordPress
WP File Revisions assigns other file enhancing functions to other people, in accordance with their person position. As an example, authors can’t edit paperwork printed by means of folks or learn privately-published paperwork.
The default permissions will have to be a excellent are compatible for many web sites. On the other hand, if you wish to evaluation and alter any of those settings, then one of the best ways is by means of the use of Individuals. This plugin lets you customise the permissions for each and every person position, or even create utterly new roles.
The very first thing you wish to have to do is set up and turn on Individuals. For extra main points, see our step by step information on the right way to set up a WordPress plugin.
Upon activation, move to the Individuals » Roles web page to look all of the other person roles to your WordPress site.
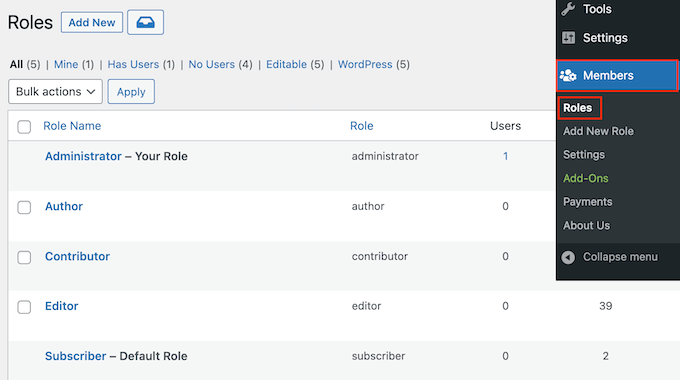
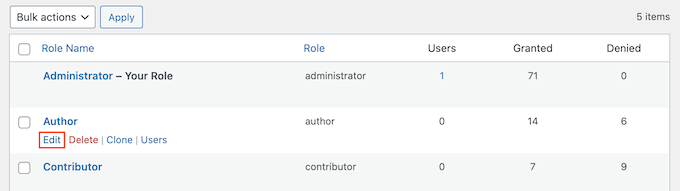
Right here, hover your mouse over the person position that you wish to have to change.
You’ll then move forward and click on on ‘Edit’ when apparently, which opens the person position editor.
The left column presentations all of the various kinds of content material corresponding to reusable blocks and WooCommerce merchandise.
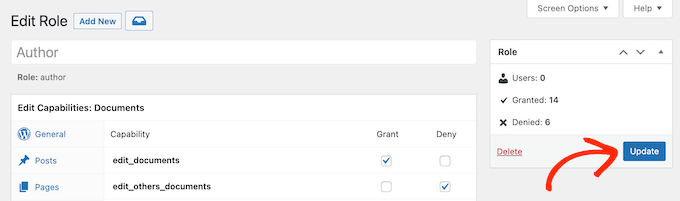
Within the left-hand menu, click on on ‘Paperwork.’
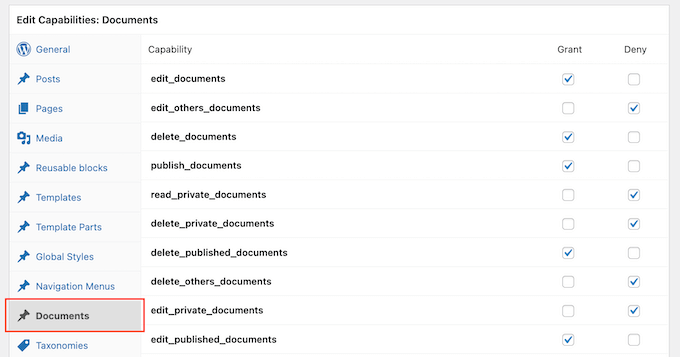
You’ll now see all of the permissions this person position has, corresponding to the facility to delete someone else’s recordsdata or edit their very own paperwork.
Merely click on at the ‘Grant’ or ‘Deny’ checkbox for every permission.
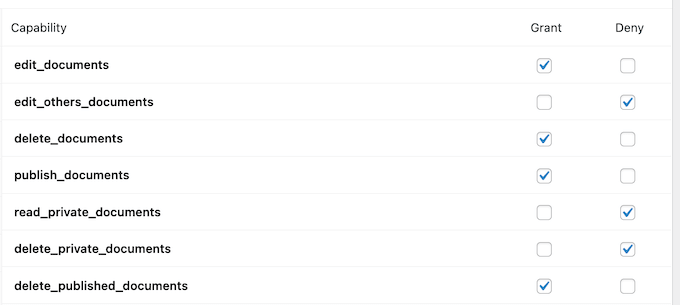
Whilst you’re pleased with the adjustments you’ve made, click on on ‘Replace.’
For a extra detailed take a look at the Individuals plugin, please see our information on the right way to upload or take away functions to person roles in WordPress.
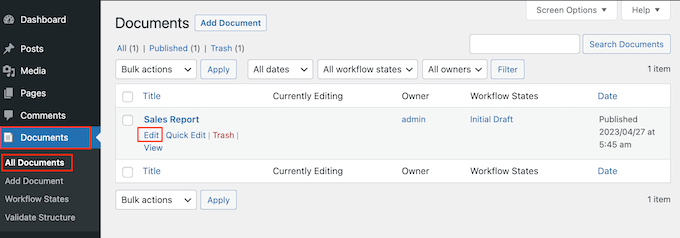
After putting in this plugin, you’ll even keep watch over who has get entry to to every file. Merely head over to Paperwork » All Paperwork.
Right here, hover over any record and click on at the ‘Edit’ hyperlink when apparently.
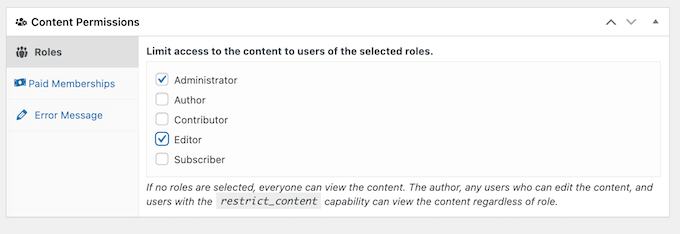
Now, scroll to the brand new ‘Content material Permissions’ field. Right here, you’ll discover a listing of all of the person roles to your WordPress weblog or site.
Simply test the field subsequent to every position that should get entry to this file.
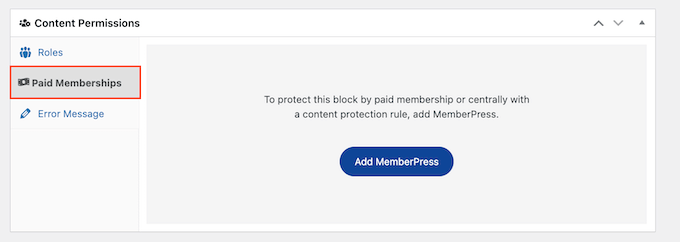
On this phase, you’ll additionally see a Paid Memberships tab. This lets you limit get entry to to paying participants.
For more info, please see our final information to making a WordPress club website.
Whilst you’re pleased with the adjustments, click on on ‘Replace’ to avoid wasting your settings.
We are hoping this text helped you learn to use WordPress for file control or record control. You might also need to see our information on the right way to create a loose industry e mail cope with and our knowledgeable select of the perfect are living chat instrument for small companies.
In case you preferred this text, then please subscribe to our YouTube Channel for WordPress video tutorials. You’ll additionally in finding us on Twitter and Fb.
The publish Tips on how to Use WordPress for File Control or Document Control first gave the impression on WPBeginner.
WordPress Maintenance