Including animations to design parts to your web page can undoubtedly permit you to build up engagement. There are lots of animation choices to be had in Divi’s Visible Builder and so they’re somewhat easy to make use of. However you’ll additionally get inventive with those animations and use them in a singular manner. On this publish, we’ll take care of 3 examples of colliding animations which we’ll recreate step-by-step, the usage of Divi’s integrated choices best.
Let’s get to it!
Contents
- 1 Preview
- 2 Recreate Instance #1: Colliding Textual content
- 3 Recreate Instance #2: Colliding Dividers
- 4 Recreate Instance #3: Colliding Grid
- 4.1 Upload New Segment
- 4.2 Upload Row #1
- 4.3 Upload Symbol Module to Column
- 4.4 Upload Row #2
- 4.5 Upload Blurb Module to Column 1
- 4.6 Clone Blurb Module 8 Occasions & Position 3 Duplicates in Every Final Column
- 4.7 Regulate Blurb Module #1
- 4.8 Regulate Blurb Module #2
- 4.9 Regulate Blurb Module #3
- 4.10 Regulate Blurb Module #4
- 4.11 Regulate Blurb Module #5
- 4.12 Regulate Blurb Module #6
- 4.13 Regulate Blurb Module #7
- 4.14 Regulate Blurb Module #8
- 4.15 Regulate Blurb Module #9
- 4.16 Upload Unfavorable Backside Margin to Symbol Module in Row #1
- 5 Preview
- 6 Ultimate Ideas
Preview
Ahead of we dive into the educational, let’s take a snappy have a look at the 3 examples we’ll recreate inside of this educational.
Instance #1: Colliding Textual content
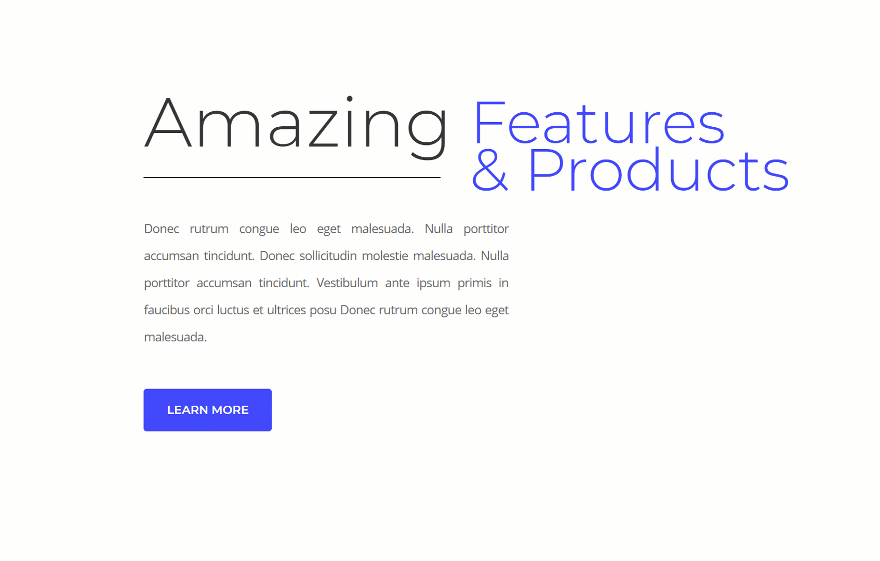
Instance #2: Colliding Dividers
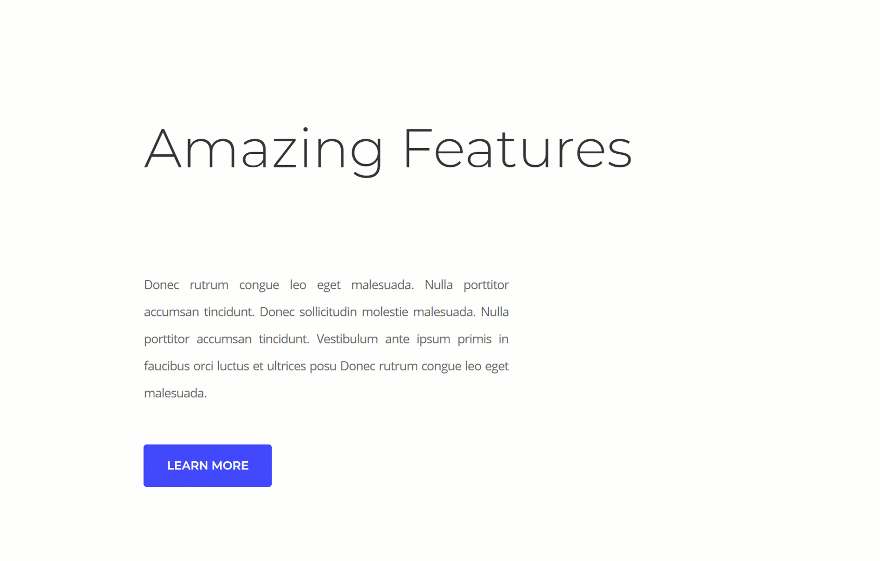
Instance #3: Colliding Grid

Hover
Recreate Instance #1: Colliding Textual content
Upload Area of expertise Segment
Construction
Let’s get began with the primary instance! Open a brand new or current web page and upload a brand new distinctiveness segment the usage of the next construction:

Sizing
With out including any modules or row, open the segment settings and permit the ‘Make This Segment Fullwidth’ possibility within the sizing settings.

Upload Row #1
Column Construction
Proceed by means of including a row to the distinctiveness segment:

Sizing
Open the row settings and make some adjustments to the sizing settings.
- Use Customized Gutter Width: Sure
- Gutter Width: 1

Spacing
Exchange the customized padding values within the spacing settings as smartly.
- Most sensible Padding: 44px
- Backside Padding: 0px

Upload Textual content Module to Column 1
Upload Content material
Proceed by means of including a Textual content Module to the primary column of the row and upload some content material.

Heading Textual content Settings
Exchange the heading textual content settings subsequent.
- Heading Font: Montserrat
- Heading Font Weight: Gentle
- Heading Textual content Measurement: 4.4vw (Desktop), 8.2vw (Pill), 40px (Telephone)
- Heading Line Top: 0.7em

Upload Divider Module to Column 1
Visibility
The second one module wanted in column 1 is a Divider Module. Be sure that the divider presentations up by means of enabling the ‘Display Divider’ possibility.
- Display Divider: Sure

Colour
Transfer directly to the design tab and alter the divider colour.
- Colour: #000000

Sizing
Lower the width of the divider as smartly.
- Width: 91%

Spacing
And upload some most sensible margin to make space between the Divider Module and the Textual content Module.
- Most sensible Margin: 30px

Animation
Finally, upload a refined animation to the Divider Module.
- Animation Taste: Slide
- Animation Course: Left

Upload Textual content Module to Column 2
Upload Content material
Transfer directly to the second one column and upload the second one Textual content Module with some content material of selection.

Heading Textual content Settings
Exchange the heading textual content settings subsequent.
- Heading Font: Montserrat
- Heading Font Weight: Gentle
- Heading Textual content Colour: #3f46ff
- Heading Textual content Measurement: 3.8vw (Desktop), 6.5vw (Pill), 40px (Telephone)
- Heading Line Top: 0.8em

Animation
And upload an animation to this module as smartly.
- Animation Taste: Slide
- Animation Course: Left
- Animation Extend: 600ms
- Animation Depth: 10%

Upload Row #2
Column Construction
Proceed by means of including every other row to the segment the usage of the next column construction:

Upload Final Modules
Upload the opposite modules you wish to have to turn up on this new row and adjust them for your wishes.

Recreate Instance #2: Colliding Dividers
Upload Area of expertise Segment
Construction
Directly to the following instance! Upload a brand new distinctiveness segment the usage of the next construction:

Sizing
With out including any rows or modules, open the segment settings and permit the ‘Make This Segment Fullwidth’ possibility.
- Make This Segment Fullwidth: Sure

Upload Row #1
Column Construction
Proceed by means of including a brand new row the usage of the next column construction:

Spacing
Open the row settings and adjust the customized padding settings.
- Most sensible Padding: 44px
- Backside Padding: 0px

Upload Textual content Module
Upload Content material
Subsequent, upload a Textual content Module to the row with some content material of selection.

Heading Textual content Settings
Transfer directly to the design tab and alter the heading textual content settings.
- Heading Font: Montserrat
- Heading Font Weight: Gentle
- Heading Textual content Measurement: 70px (Desktop), 50px (Pill), 40px (Telephone)
- Heading Line Top: 0.8em

Upload Row #2
Column Construction
Proceed by means of including every other row the usage of the next column construction:

Sizing
With out including any modules but, open the row settings and adjust the sizing settings.
- Use Customized Gutter Width: Sure
- Gutter Width: 1
- Width: 53% (Desktop), 100% (Pill & Telephone)

Spacing
Exchange the customized padding values as smartly.
- Most sensible Padding: 50px
- Backside Padding: 0px

Upload Divider Module to Column 1
Visibility
When you’re achieved editing the row settings, move forward and upload a Divider Module to the primary column and ensure the divider presentations up by means of enabling the ‘Display Divider’ possibility.
- Display Divider: Sure

Colour
Exchange the divider colour subsequent.
- Divider Colour: #3f46ff

Types
And alter the divider taste within the types settings.
- Divider Taste: Double

Sizing
Build up the divider weight within the sizing settings too.
- Divider Weight: 8px

Animation
Finally, upload an animation to the Divider Module.
- Animation Taste: Slide
- Animation Course: Proper

Clone Divider Module & Position in Column 2
When you’re achieved editing the Divider Module settings, move forward and clone the module. Position the reproduction in the second one column of the row.

Exchange Animation
To create a colliding impact, alternate the animation course of the reproduction Divider Module.
- Animation Taste: Slide
- Animation Course: Left

Upload Row #3
Column Construction
Proceed by means of including every other row the usage of the next column construction:

Upload Final Modules
And upload as many modules you wish to have to complete the segment design.

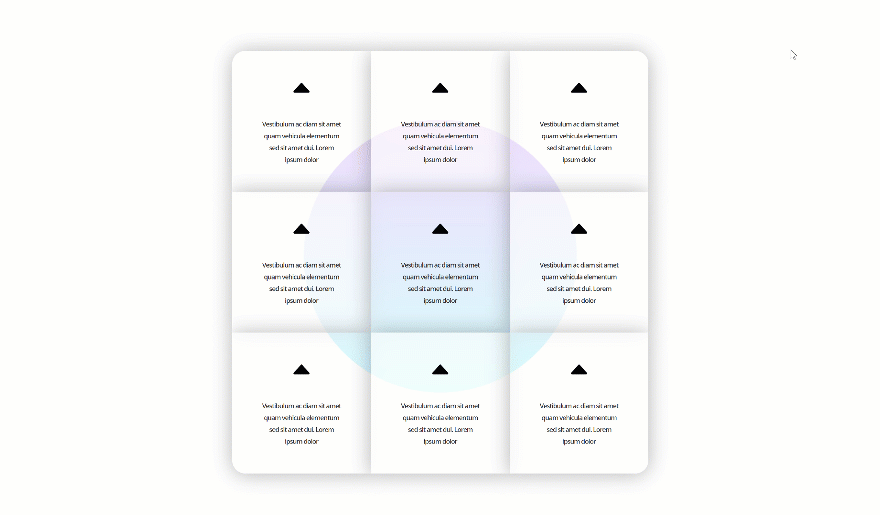
Recreate Instance #3: Colliding Grid
Upload New Segment
Spacing
Directly to the following and remaining instance! Upload a typical segment and open the settings. Move to the spacing settings upload some customized padding values:
- Most sensible Padding: 300px
- Backside Padding: 200px

Upload Row #1
Column Construction
Proceed by means of including a brand new row the usage of the next column construction:

Upload Symbol Module to Column
Add Formed Symbol Overlay
Save the next formed symbol overlay for your desktop by means of right-clicking:

When you’ve stored the formed symbol overlay, return for your Divi web site and upload an Symbol Module to the row. Add the formed symbol overlay record that you’ll to find on your obtain folder.

Gradient Background
Subsequent, upload a gradient background to the module.
- Colour 1: #aa2bff
- Colour 2: #09f7eb

Alignment
Exchange the picture alignment as smartly.
- Symbol Alignment: Middle

Sizing
And permit the ‘Power Fullwidth’ possibility within the sizing settings.
- Power Fullwidth: Sure

Spacing
Upload some customized margin to the module too.
- Left Margin: 200px
- Proper Margin: 200px

Animation
Finally, upload an animation to the module.
- Animation Taste: Zoom
- Animation Course: Middle
- Animation Length: 3000ms
- Animation Depth: 100%

Upload Row #2
Column Construction
Directly to the second one row. Use the next column construction:

Sizing
With out including any modules but, open the row settings and make some adjustments to the sizing settings.
- Use Customized Width: Sure
- Unit: PX
- Customized Width: 944px
- Use Customized Gutter Width: Sure
- Gutter Width: 1

Upload Blurb Module to Column 1
Upload Content material
Proceed by means of including a Blurb Module to the primary column. Input some content material of selection.

Icon
Choose an icon subsequent.

Background Colour
And upload a background colour to the module as smartly.
- Background Colour: rgba(255,255,255,0.83)

Icon Settings
Transfer directly to the design tab and alter the icon settings.
- Icon Colour: #000000
- Icon Placement: Most sensible
- Use Icon Font Measurement: Sure
- Icon Font Measurement: 73px

Identify Textual content Settings
Regulate the name textual content settings as smartly.
- Identify Font: Open Sans
- Identify Font Weight: Semi Daring
- Identify Textual content Alignment: Middle
- Identify Textual content Measurement: 15px
- Identify Letter Spacing: -1px
- Identify Line Top: 1.8em

Sizing
And reduce the content material width within the sizing settings.
- Content material Width: 183px

Spacing
We’ll upload some customized most sensible and backside padding too.
- Most sensible Padding: 50px
- Backside Padding: 50px

Field Shadow
Proceed by means of giving the Blurb Module a refined field shadow.
- Field Shadow Blur Energy: 80px
- Shadow Colour: rgba(0,0,0,0.3)

Transitions
And build up the transition period within the complex tab.
- Transition Length: 600ms

Clone Blurb Module 8 Occasions & Position 3 Duplicates in Every Final Column
Now, when you’re achieved editing the primary Blurb Module, you’ll move forward and clone it 8 instances. Position 3 duplicates in the second one column and 3 within the 3rd. Within the subsequent a part of this educational, we’ll make distinctive adjustments to every one of the crucial Blurb Modules. To do this, we’ll observe the numbering underneath:

Regulate Blurb Module #1
Spacing
Open the primary Blurb Module and upload some destructive most sensible margin.
- Most sensible Margin: -340px (Desktop), 0px (Pill & Telephone)

Hover Spacing
Exchange the margin values on hover.
- Most sensible Margin: -380px
- Backside Margin: 40px
- Left Margin: -40px
- Proper Margin: 40px

Rounded Corners
Proceed by means of including ’30px’ to the highest left nook of the module.

Animation
And upload an animation.
- Animation Taste: Slide
- Animation Course: Left
- Animation Extend: 200ms

Regulate Blurb Module #2
Background Colour
Open the second one Blurb Module and alter the background colour.
- Background Colour: rgba(255,255,255,0.93)

Spacing
Proceed by means of including some destructive most sensible margin to the module.
- Most sensible Margin: -340px (Desktop), 0px (Pill & Telephone)

Hover Spacing
Exchange those margin values on hover.
- Most sensible Margin: -380px
- Backside Margin: 40px

Animation
And upload an animation to the module.
- Animation Taste: Slide
- Animation Course: Left
- Animation Extend: 400ms

Regulate Blurb Module #3
Spacing
Directly to the 3rd Blurb Module. Upload some destructive most sensible margin.
- Most sensible Margin: -340px (Desktop), 0px (Pill & Telephone)

Hover Spacing
Regulate the margin values on hover.
- Most sensible Margin: -380px
- Backside Margin: 40px
- Left Margin: 40px
- Proper Margin: -40px

Rounded Corners
Upload ’30px’ to the highest appropriate nook of the module as smartly.

Animation
And upload an animation.
- Animation Taste: Slide
- Animation Course: Left
- Animation Extend: 600ms

Regulate Blurb Module #4
Background Colour
Directly to the fourth module. Open the settings and alter the background colour.
- Background Colour: rgba(255,255,255,0.93)

Hover Spacing
Upload some hover margin values subsequent.
- Left Margin: -40px
- Proper Margin: 40px

Animation
And upload an animation as smartly.
- Animation Taste: Fade
- Animation Extend: 800ms

Regulate Blurb Module #5
Animation
Directly to the 5th module. The one factor you’ll wish to do this is including an animation.
- Animation Taste: Fade
- Animation Extend: 1000ms

Regulate Blurb Module #6
Background Colour
Proceed by means of opening the 6th module and alter the background colour.
- Background Colour: rgba(255,255,255,0.93)

Hover Spacing
Exchange the spacing values on hover as smartly.
- Left Margin: 40px
- Proper Margin: -40px

Animation
And upload an animation.
- Animation Taste: Fade
- Animation Extend: 1200ms

Regulate Blurb Module #7
Hover Spacing
Directly to the 7th module. Upload some hover margin values to the spacing settings.
- Most sensible Margin: 40px
- Left Margin: -40px
- Proper Margin: 40px

Rounded Corners
Proceed by means of including ’30px’ of border radius to the ground left nook of the module.

Animation
And upload an animation.
- Animation Taste: Slide
- Animation Course: Proper
- Animation Extend: 1400ms

Regulate Blurb Module #8
Background Colour
Proceed by means of opening the 8th module and alter the background colour.
- Background Colour: rgba(255,255,255,0.93)

Hover Spacing
Upload some customized margin on hover to the module subsequent.
- Most sensible Margin: 40px

Animation
Upload an animation to this Blurb Module as smartly.
- Animation Taste: Slide
- Animation Course: Proper
- Animation Extend: 1600ms

Regulate Blurb Module #9
Hover Spacing
Directly to the 9th and remaining module! Move to the spacing settings and upload some customized hover margin values.
- Most sensible Margin: 40px
- Left Margin: 40px
- Proper Margin: -40px

Rounded Corners
Upload ’30px’ of border radius to the ground appropriate nook as smartly.

Animation
And upload an animation.
- Animation Taste: Slide
- Animation Course: Proper
- Animation Extend: 1800ms

Upload Unfavorable Backside Margin to Symbol Module in Row #1
Now, to collide the circle we’ve created within the first a part of this situation and the grid, we’re going to present the Symbol Module (containing the formed symbol overlay) some destructive backside margin.
- Backside Margin: -520px

Preview
Now that we’ve long past via the entire steps, let’s take a last have a look at the result we’ve completed.
Instance #1: Colliding Dividers
Instance #2: Colliding Textual content
Instance #3: Colliding Grid
Hover
Ultimate Ideas
Including animations for your pages can assist create extra interplay between your guests and also you. In fact, you’ll simply use the animation settings you could have throughout the Visible Builder, however you’ll additionally take it one step additional by means of making use of colliding animations to design parts which can permit you to reach shocking effects. If in case you have any questions or ideas, you should definitely depart a remark within the remark segment underneath!
The publish How to Apply Colliding Animations to Design Elements with Divi gave the impression first on Elegant Themes Blog.
WordPress Web Design