Divi works neatly with dynamic content material. Dynamic content material can be utilized to show textual content, titles, and loads extra. It may also be utilized in Divi’s testimonial module by way of combining it with a plugin referred to as Complicated Customized Fields. On this put up, we’ll see how one can create dynamic testimonial modules with Divi and ACF. Divi & ACF paintings in combination in reality neatly, and this put up will permit you to know the way!
Let’s get to it.
Contents
- 1 Complicated Customized Fields Setup
- 2 Create the Dynamic Divi Testimonial Module
- 3 Dynamic Testimonial Module Consequence
- 4 Finishing Ideas
Complicated Customized Fields Setup
First, we’ll want to set up the unfastened model of the Advanced Custom Fields plugin.
Set up Complicated Customized Fields
To put in it inside of WordPress, cross to Plugins > Upload New within the WordPress dashboard. Seek for Complicated Customized Fields and click on Set up Now.
- Plugins
- Upload New
- Seek
- Set up Now

As soon as the set up is whole, click on Turn on.
- Turn on
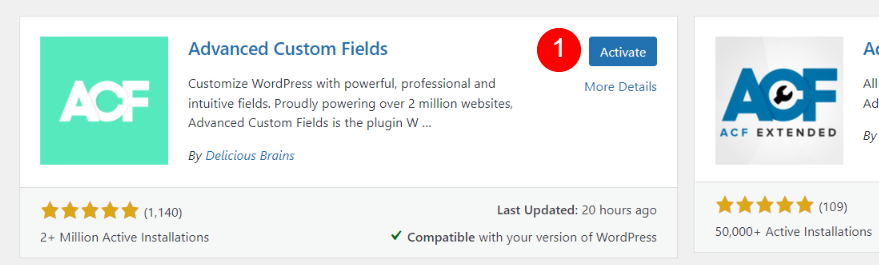
We’re now in a position to arrange the customized fields for our Divi testimonial.
Create a New Box Crew
Subsequent, create a Box Crew. This box staff will include the entire fields wanted for one testimonial. We will then clone this box staff to create as many testimonials as we wish.
To create the sphere staff, cross to Customized Fields > Upload New within the WordPress dashboard.
- Customized Fields
- Upload New

Create the Box Crew for Testimonial 1
First, upload a identify and click on Upload Box.
- Upload identify
- Click on Upload Box

This opens the editor the place we’ll create the fields. We’ll want to upload one box at a time. Each and every box will come with the label, title, and box kind. The title and label can fit.
Testimonial 1 Description
Input the Box Label and Box Identify. Click on at the Box Sort dropdown field to look the choices. This box makes use of a special Box Sort than the opposite 3 fields.
- Box Label: Testimonial 1 Description
- Box Identify: Testimonial 1 Description

Make a selection Textual content Space from the listing.
- Box Sort: Textual content Space

Testimonial 1 Identify
Subsequent, scroll down and click on Upload Box.

Subsequent, input Testimonial 1 Identify for the Box Identify and Box Label. Depart the Box Sort at its default (Textual content).
- Box Identify: Testimonial 1 Identify
- Box Label: Testimonial 1 Identify

Testimonial 1 Task Place
Subsequent, click on Upload Box and input Testimonial 1 Task Place for the Box Identify and Box Label.
- Box Identify: Testimonial 1 Task Place
- Box Label: Testimonial 1 Task Place

Testimonial 1 Corporate
Subsequent, click on Upload Box and input Testimonial 1 Corporate for the Box Identify and Box Label.
- Box Identify: Testimonial 1 Corporate
- Box Label: Testimonial 1 Corporate

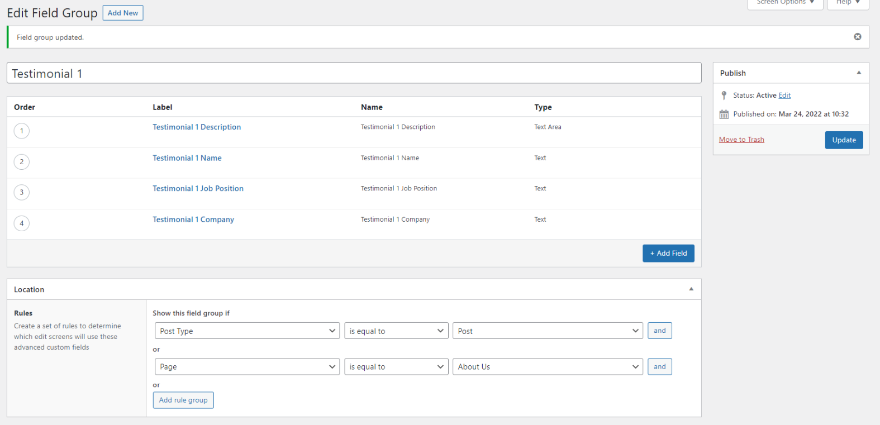
Location
Subsequent, we’ll set the Location Regulations. We’ll make a selection the web page or pages the place we wish to use the testimonial. It has the rule of thumb Submit Sort is the same as Web page by way of default. We’ll stay this rule and upload yet another. Click on Upload rule staff.

Make a selection the Submit Sort dropdown field for the brand new rule and make a selection Web page. Make a selection the Submit dropdown field for the brand new rule and choose the web page you wish to have to make use of. If you wish to use a couple of pages, upload a brand new rule for every web page.
- First Box: Web page
- 2d Box: your web page title

Put up the New Box Crew
After all, click on the Put up button within the higher proper nook of the editor to put up the brand new box staff.

As soon as the sphere staff is revealed, you’ll see the listing of fields and regulations.
Clone the Testimonial Box Crew
Subsequent, we’ll clone the testimonial box staff. This may increasingly let us create any other testimonial. We’ll want to repeat this for each testimonial we wish to create. Within the WordPress dashboard, cross to Customized Box > Box Teams. Hover over the sphere staff you wish to have to clone and click on Replica.
- Customized Fields
- Box Teams
- Replica

Subsequent, click on Edit to open the brand new box staff and alter the names of the crowd and every box throughout the staff.

Exchange the identify and choose every box and alter the 1 to a 2. Click on Replace while you’re in a position.

Subsequent, make a selection the web page the place you’d like this testimonial to be to be had.

You currently have the sphere staff in your 2d testimonial.

Create the Testimonial
The fields for the testimonial seem on the backside of the web page editor for the web page you decided on because the testimonial’s location. This situation simplest has the fields for Testimonial 1. I decided on a special web page for Testimonial 2’s location, so it doesn’t seem right here.

Fill out the fields as standard. Then, you’ll be in a position to make use of the fields inside the Divi format for this web page.

Create the Dynamic Divi Testimonial Module
One merit to his is somebody can input the ideas or edit the fields with no need to open the Divi modules. The fields will want to be mapped inside of Divi’s testimonial module. Click on to use the Divi Builder for this web page.

You’ll be able to upload the customized box staff to any web page, however I’ll create a brand new web page. Since I’ve named this web page About Us, I’ll use the About web page from the free Camera Product Layout Pack that’s to be had inside of Divi. I’ll upload a brand new testimonial module and elegance it in accordance with the web page. First, I’ll step during the means of including the testimonial to the web page.
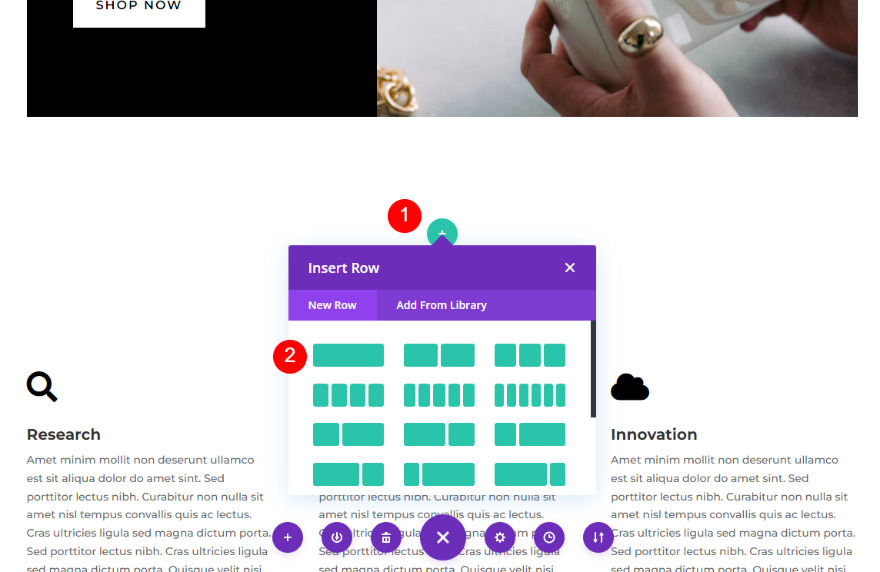
Upload a New Divi Testimonial Segment and Row
Upload a brand new common phase beneath the second one phase of the format.

Subsequent, upload a single-column row.
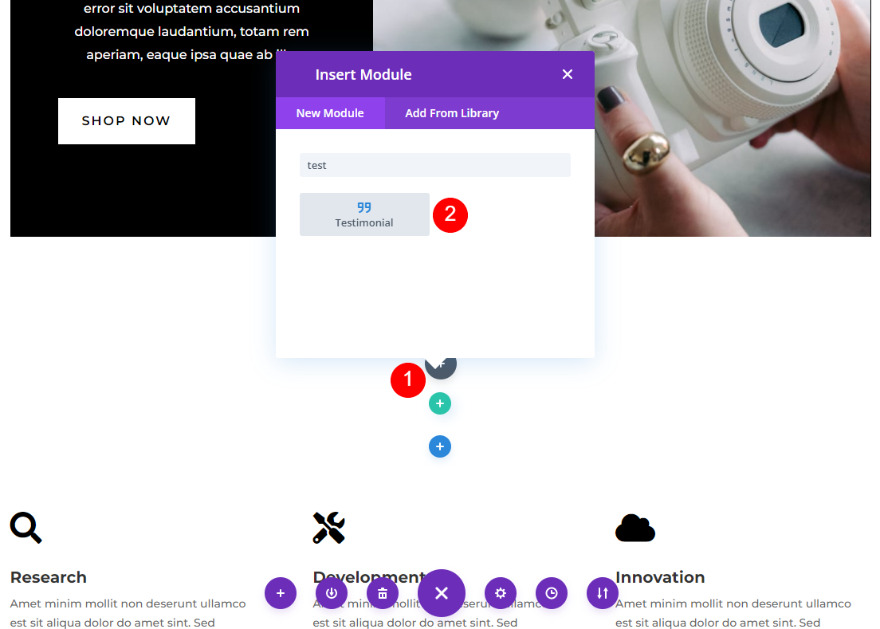
Upload the Divi Testimonial Module
Subsequent, upload a testimonial module to the row.
Create the Dynamic Testimonial Content material
Subsequent, we’ll upload the Complicated Customized Fields’ knowledge to the testimonial module. We’ll accomplish this by way of including the information from the sphere staff as dynamic content material to every box. Open the module’s settings as standard. You’ll see the dynamic possibility while you hover over every box as observed within the symbol beneath.
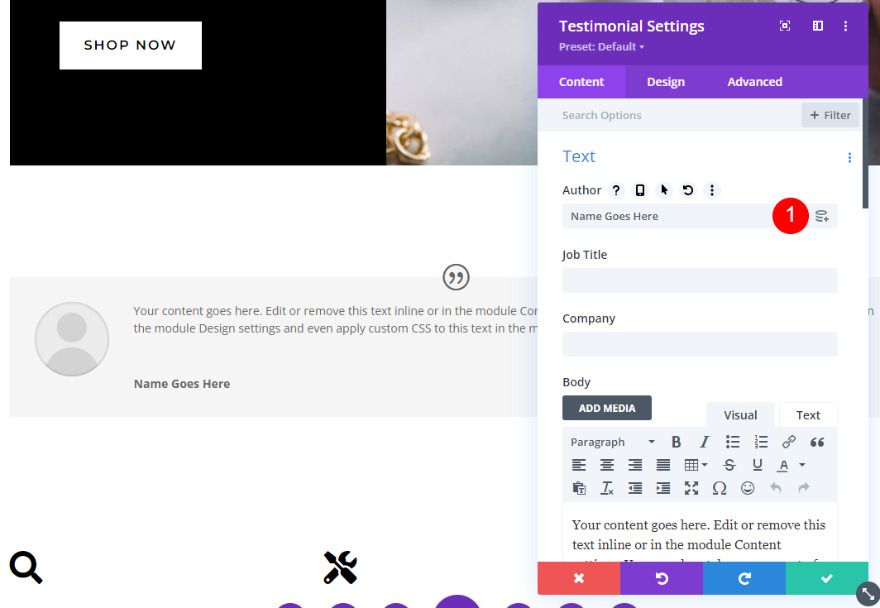
Dynamic Creator Identify
First, hover over the Creator box and click on the dynamic content material icon.

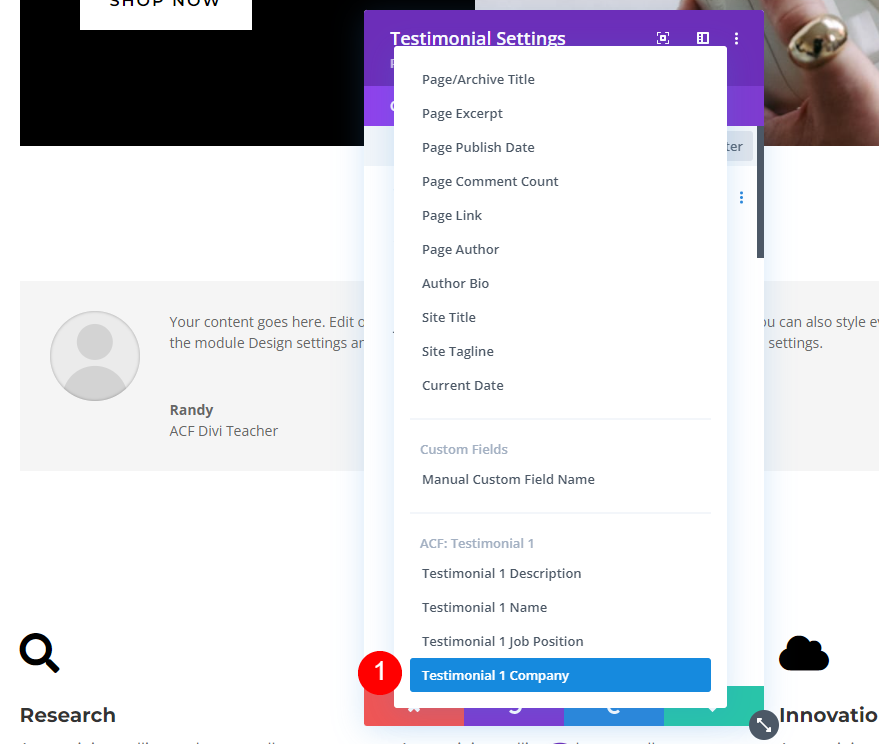
You’ll see the ACF choices on the backside of the listing. Those are the labels we gave the fields after we created the sphere staff. Make a selection Testimonial 1 Identify.

If you wish to have textual content earlier than or after the title, upload it to the Earlier than or After fields. You’ll be able to additionally upload HTML if you wish to allow it. Click on the inexperienced take a look at while you’re carried out.

The Creator box now presentations the title of its dynamic content material. The textual content you entered into the sphere now seems because the creator’s title.

Dynamic Task Name
Subsequent, hover over the sphere for Task Name and click on the dynamic content material icon.

Make a selection Testimonial 1 Task Place from the listing.

Upload any Earlier than or After textual content you wish to have to the fields and choose the fairway take a look at.

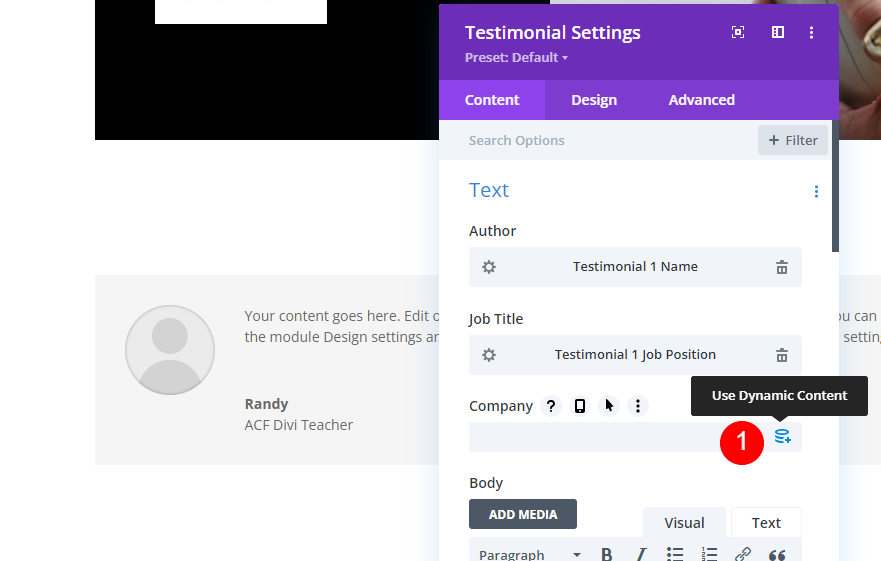
Dynamic Corporate Identify
Subsequent, hover over the Corporate box and choose its dynamic icon.
Make a selection Testimonial 1 Corporate from the listing.
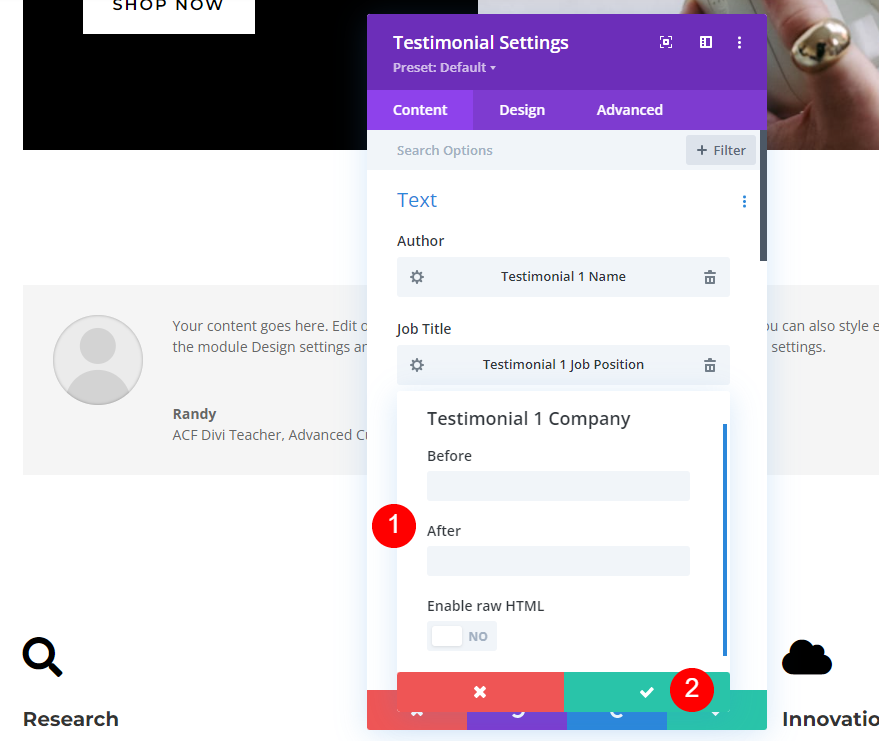
Upload Earlier than and After textual content if you wish to have and click on the fairway take a look at.
Dynamic Description
After all, hover over the content material house for the Frame and choose the dynamic icon.

Make a selection Testimonial 1 Description from the listing.

Subsequent, upload the Earlier than and After textual content if you wish to have and click on the fairway take a look at. Go out the module and save your web page.

We have a testimonial module that makes use of dynamic content material for the fields.

Enhancing the Dynamic Testimonial Content material
Any of the testimonial fields will also be up to date with no need to open the Divi builder. To edit the dynamic content material, merely cross to the web page editor and alter the content material within the fields on the backside of the web page. On this instance, I upload my remaining title to the Testimonial 1 Identify box.
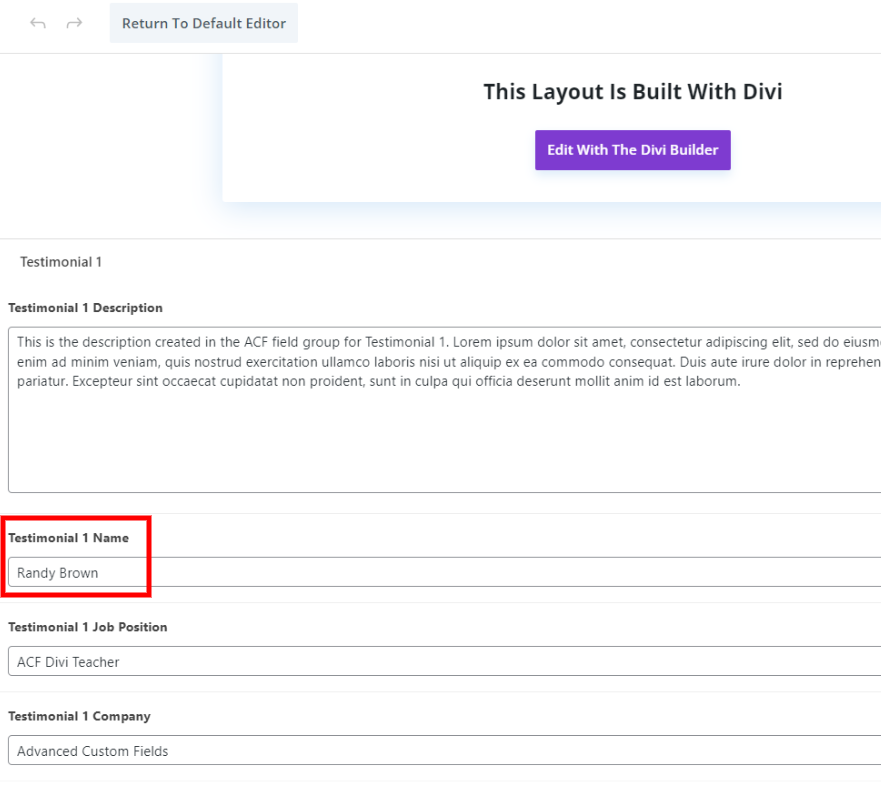
The title is routinely up to date within the module.

Taste the Dynamic Testimonial Module
Subsequent, let’s taste the testimonial module to check the web page template.
Content material Symbol
Within the content material tab, scroll right down to Symbol and upload the individual’s symbol out of your media library.
- Symbol: individual’s photograph

Quote Icon
Subsequent, cross to the design tab. Make a selection black for the Quote Icon Colour.
- Colour: #000000

Symbol
Subsequent, scroll right down to Symbol. Set the Width and Top to 150px. Exchange the Rounded Corners to 0px.
- Width: 150px
- Top: 150px
- Rounded Corners: 0px

Frame Textual content
Scroll right down to Frame Textual content. Make a selection Montserrat for the Font. Exchange the Colour to black.
- Font: Montserrat
- Colour: #000000

Set the Desktop Measurement to 16px, the Telephone Measurement to 14px, and the road Top to at least one.8em.
- Measurement: 16px, 14px
- Line Top: 1.8em

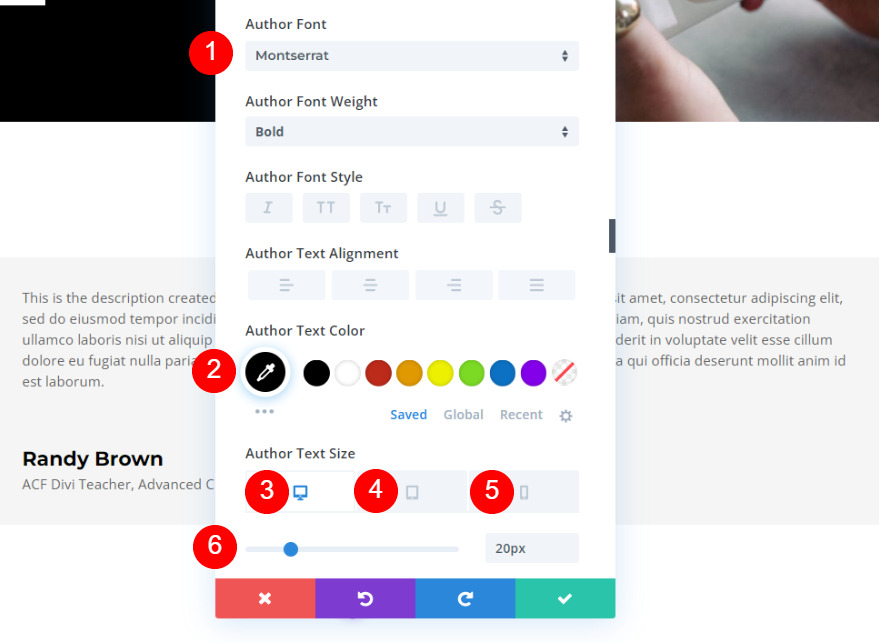
Creator Textual content
Scroll right down to the Creator Textual content. Exchange the font to Montserrat and alter the Colour to black. Set the Desktop Measurement to 20px, the Pill Measurement to 18px, and the Telephone Measurement to 16px.
- Font: Montserrat
- Colour: #000000
- Measurement: 20px, 18px, 16px
Place Textual content
Subsequent, scroll right down to Place Textual content and alter the font to Montserrat.
- Font: Montserrat

Corporate Textual content
After all, scroll right down to Corporate Textual content and set the font to Montserrat. Shut the module and save your web page.
- Font: Montserrat

Dynamic Testimonial Module Consequence
Right here’s the completed glance of the dynamic Divi testimonial module.

Right here’s the way it appears to be like inside the web page format.

Finishing Ideas
That’s our have a look at how one can create dynamic testimonial modules with Divi & ACF. Including the customized fields to the Divi testimonial module is inconspicuous with Divi’s dynamic content material. It’s as simple as developing the fields as a box staff after which opting for the fields with Divi’s dynamic content material.
We wish to listen from you. Do you utilize dynamic testimonial content material with Divi and ACF? Tell us about it within the feedback.
The put up How to Create Dynamic Testimonial Modules with Divi & ACF gave the impression first on Elegant Themes Blog.
WordPress Web Design