
Right here’s an unbelievably aggravating downside that happens all over the Cricut Print and Minimize procedure – a skinny line or border seems across the design you create, even while you’re sure there’s no border within the design.
While you ship the design to print in Cricut, this skinny line magically seems all over the Print Setup level.

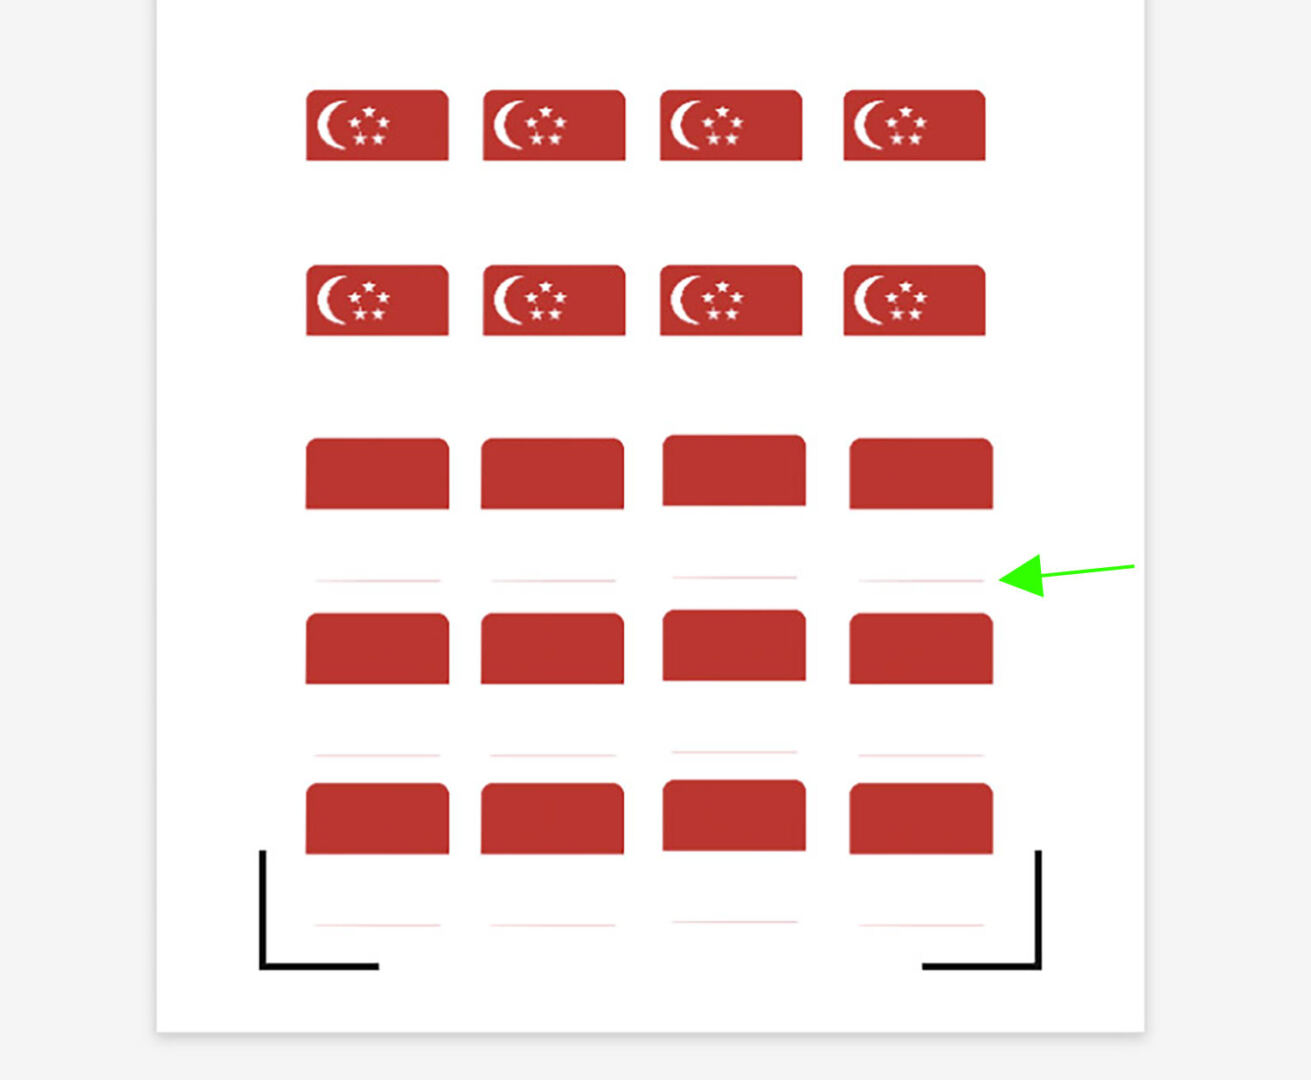
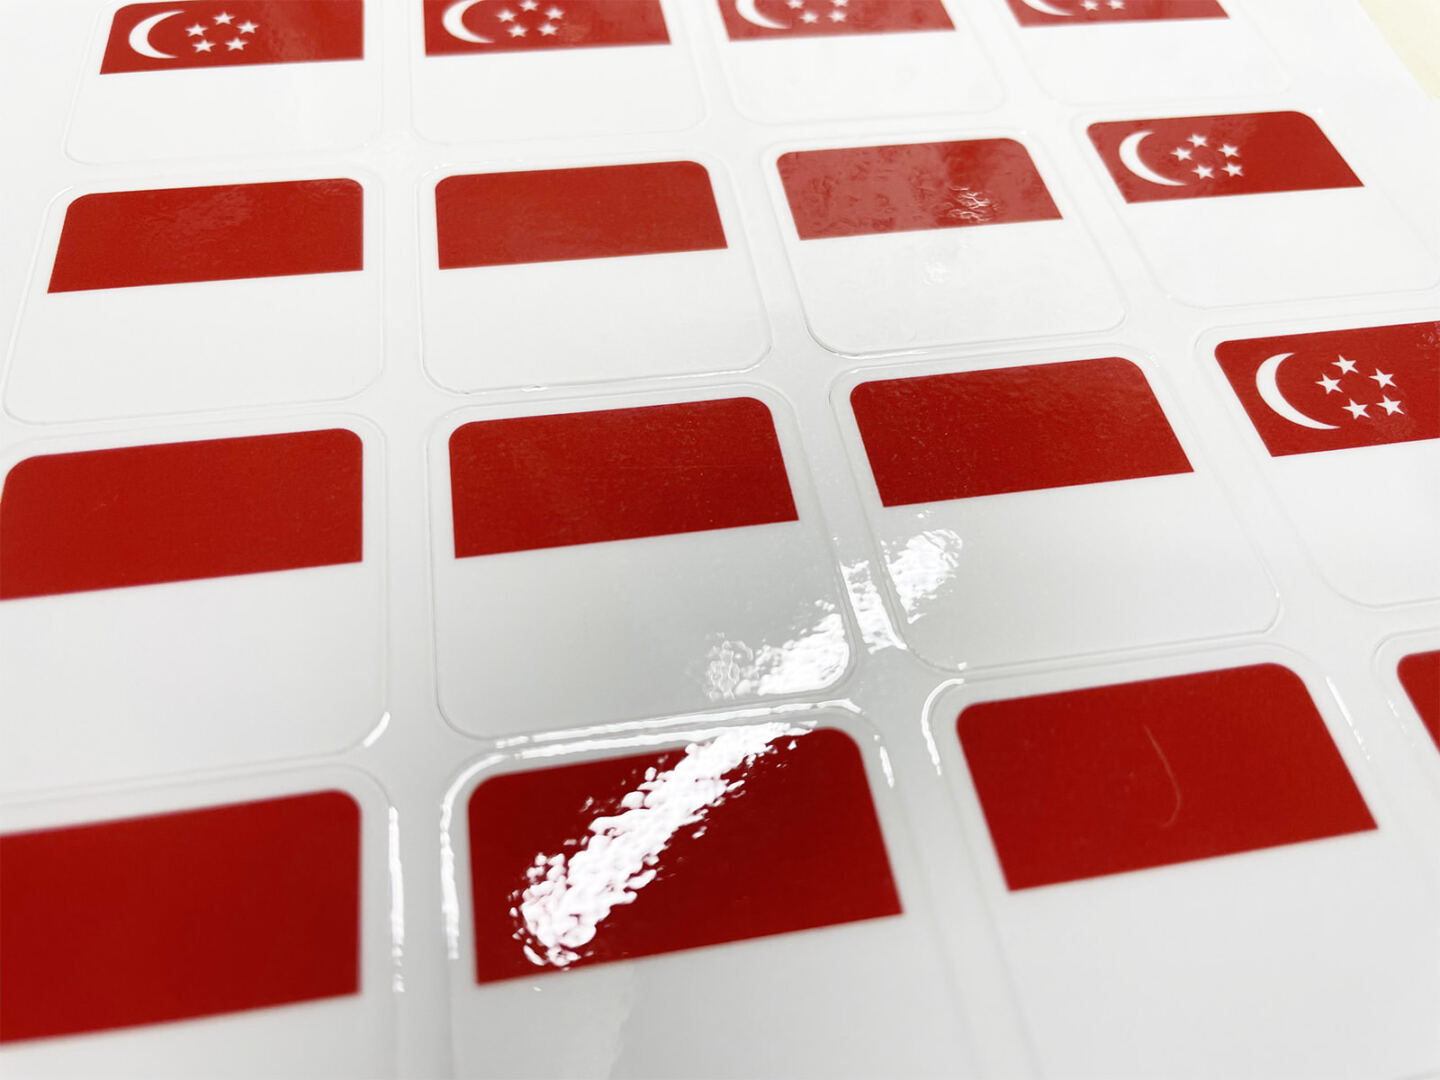
In the event you cross forward with the print and minimize, this undesirable skinny line stays, which looks as if this:

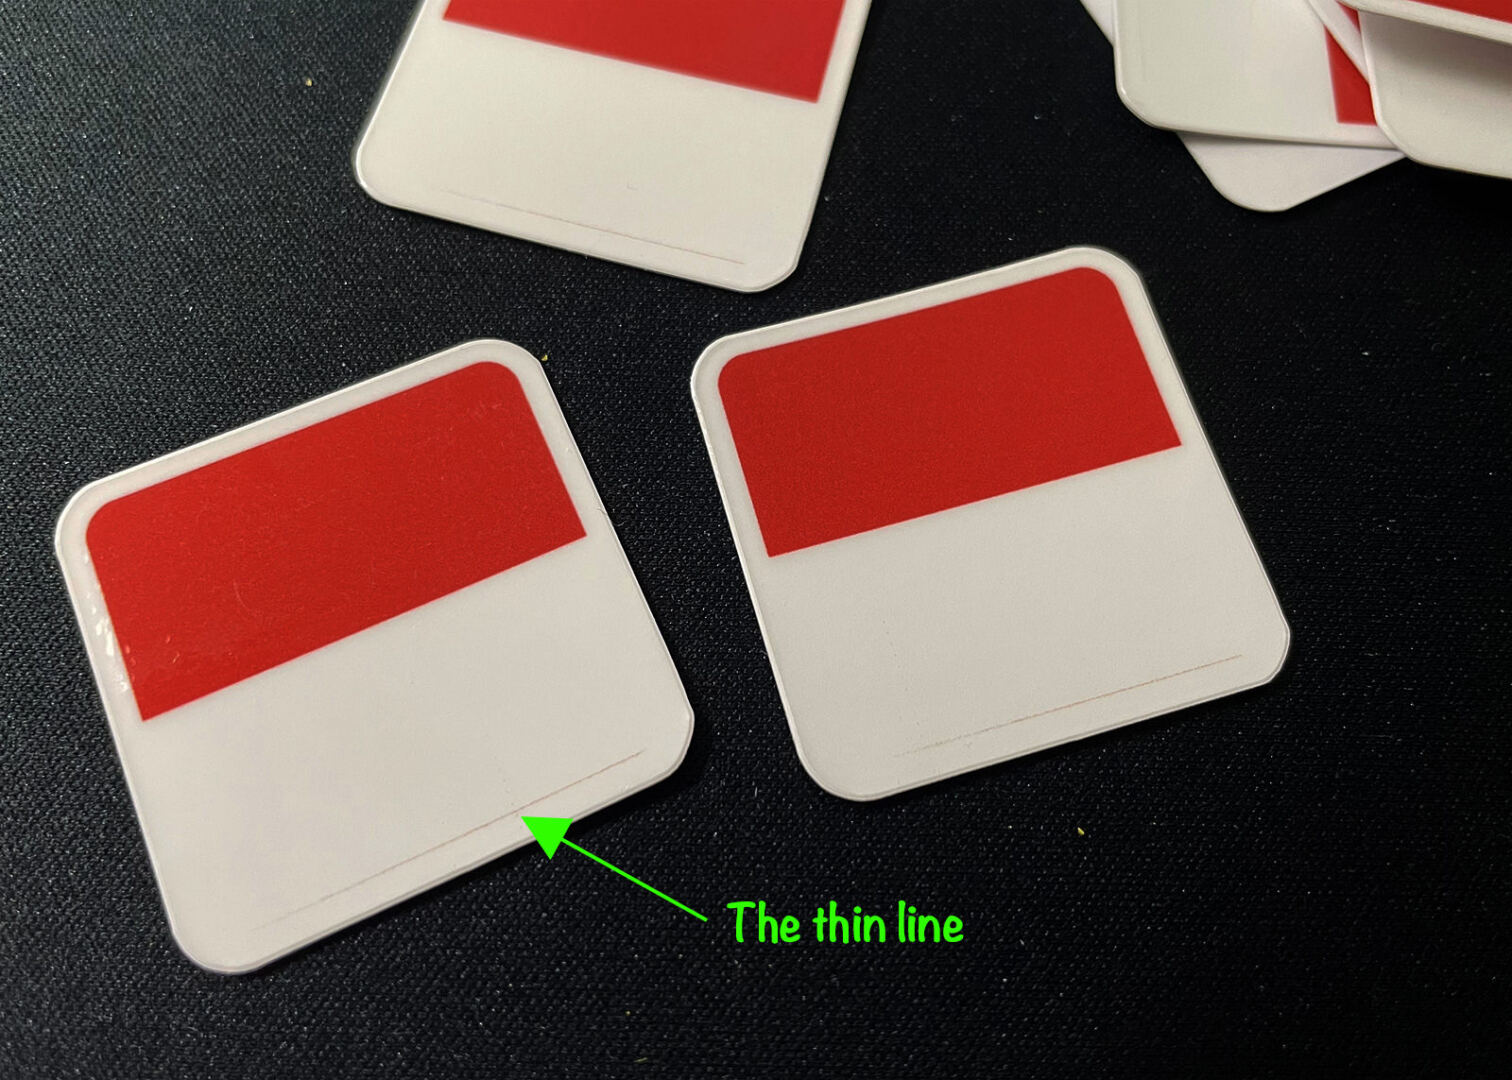
In spite of a couple of tests to verify no traces exist in my design, the problem persists. I’ve attempted quite a lot of strategies to take away this downside, however not anything labored. The skinny crimson line I encountered turns out to return from the highest a part of the design.
After a lot of experiments, I imagine I’ve discovered an answer. I’ll skip the failed makes an attempt and get instantly to how you’ll be able to resolve this downside. In the event you’re additionally experiencing a equivalent factor, apply the answers under.
First, you’ll want an symbol enhancing app, like Adobe Photoshop.
Open the picture and reserve it as a .PNG report. This step is very important.
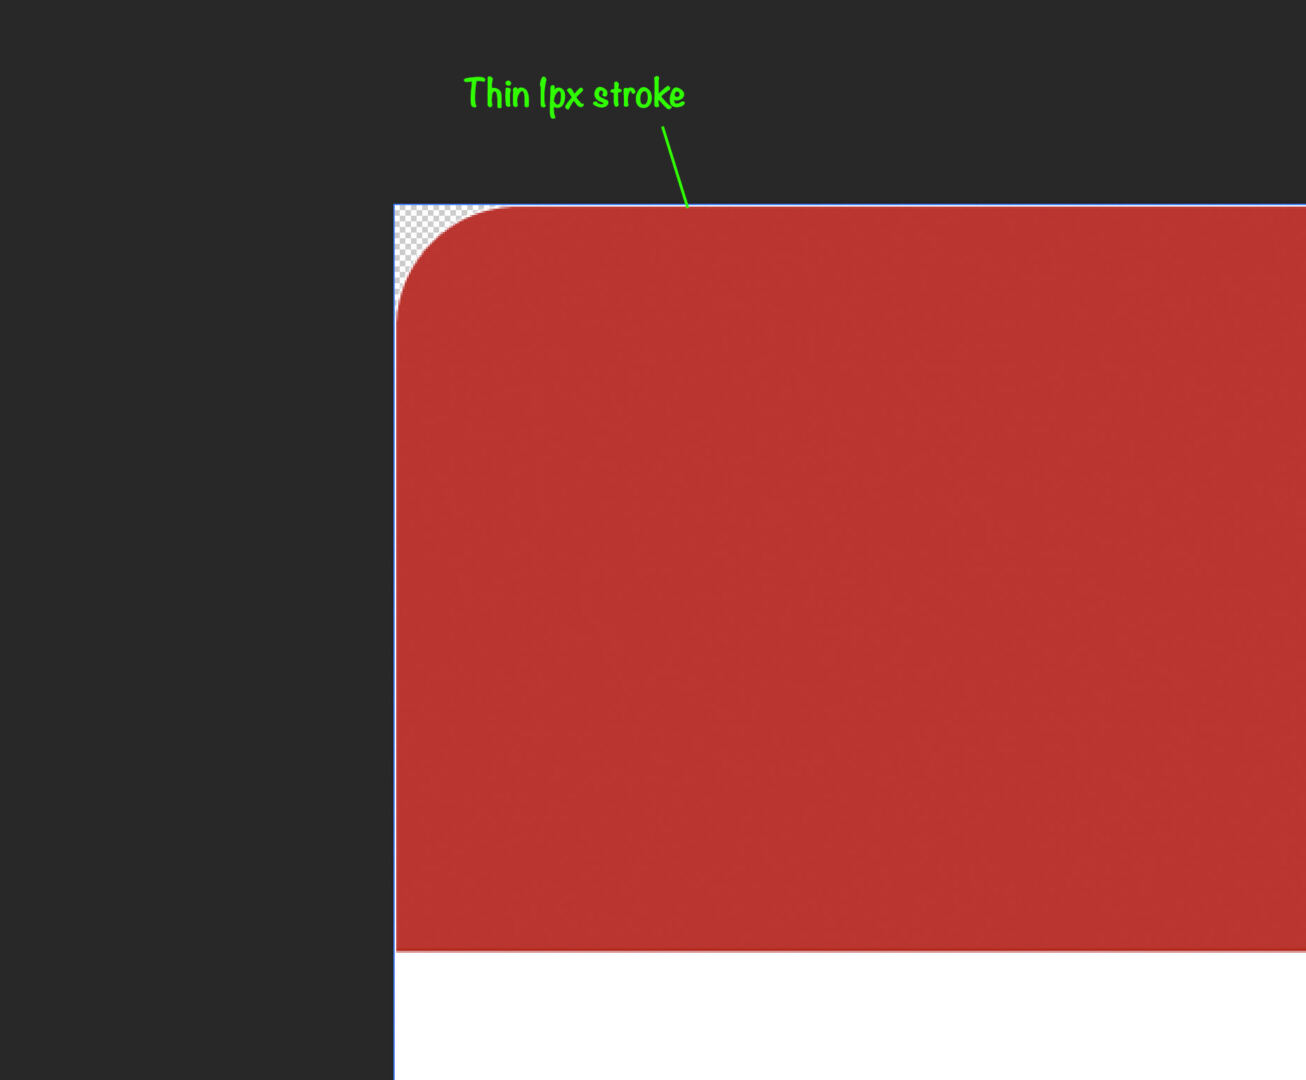
Subsequent, upload a skinny white border across the symbol.

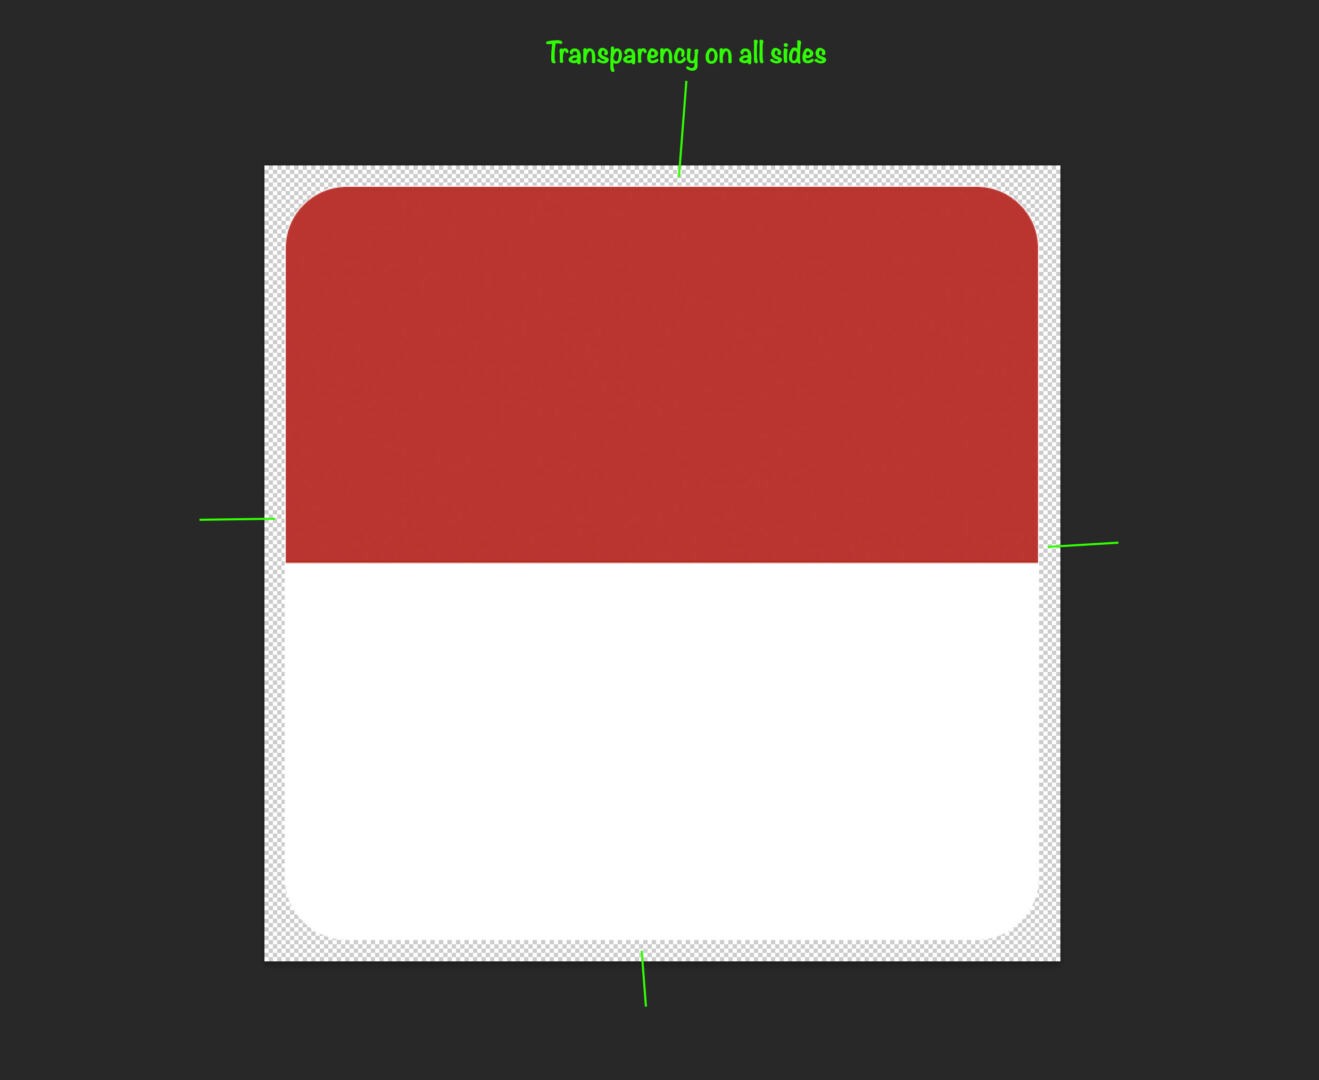
Then, increase the picture somewhat so as to add transparency throughout, like this:

Now, export the brand new symbol as a PNG report and convey it again into Cricut. Continue with the Print and Minimize procedure as standard. You’ll realize the skinny white traces are long past within the Print Setup.

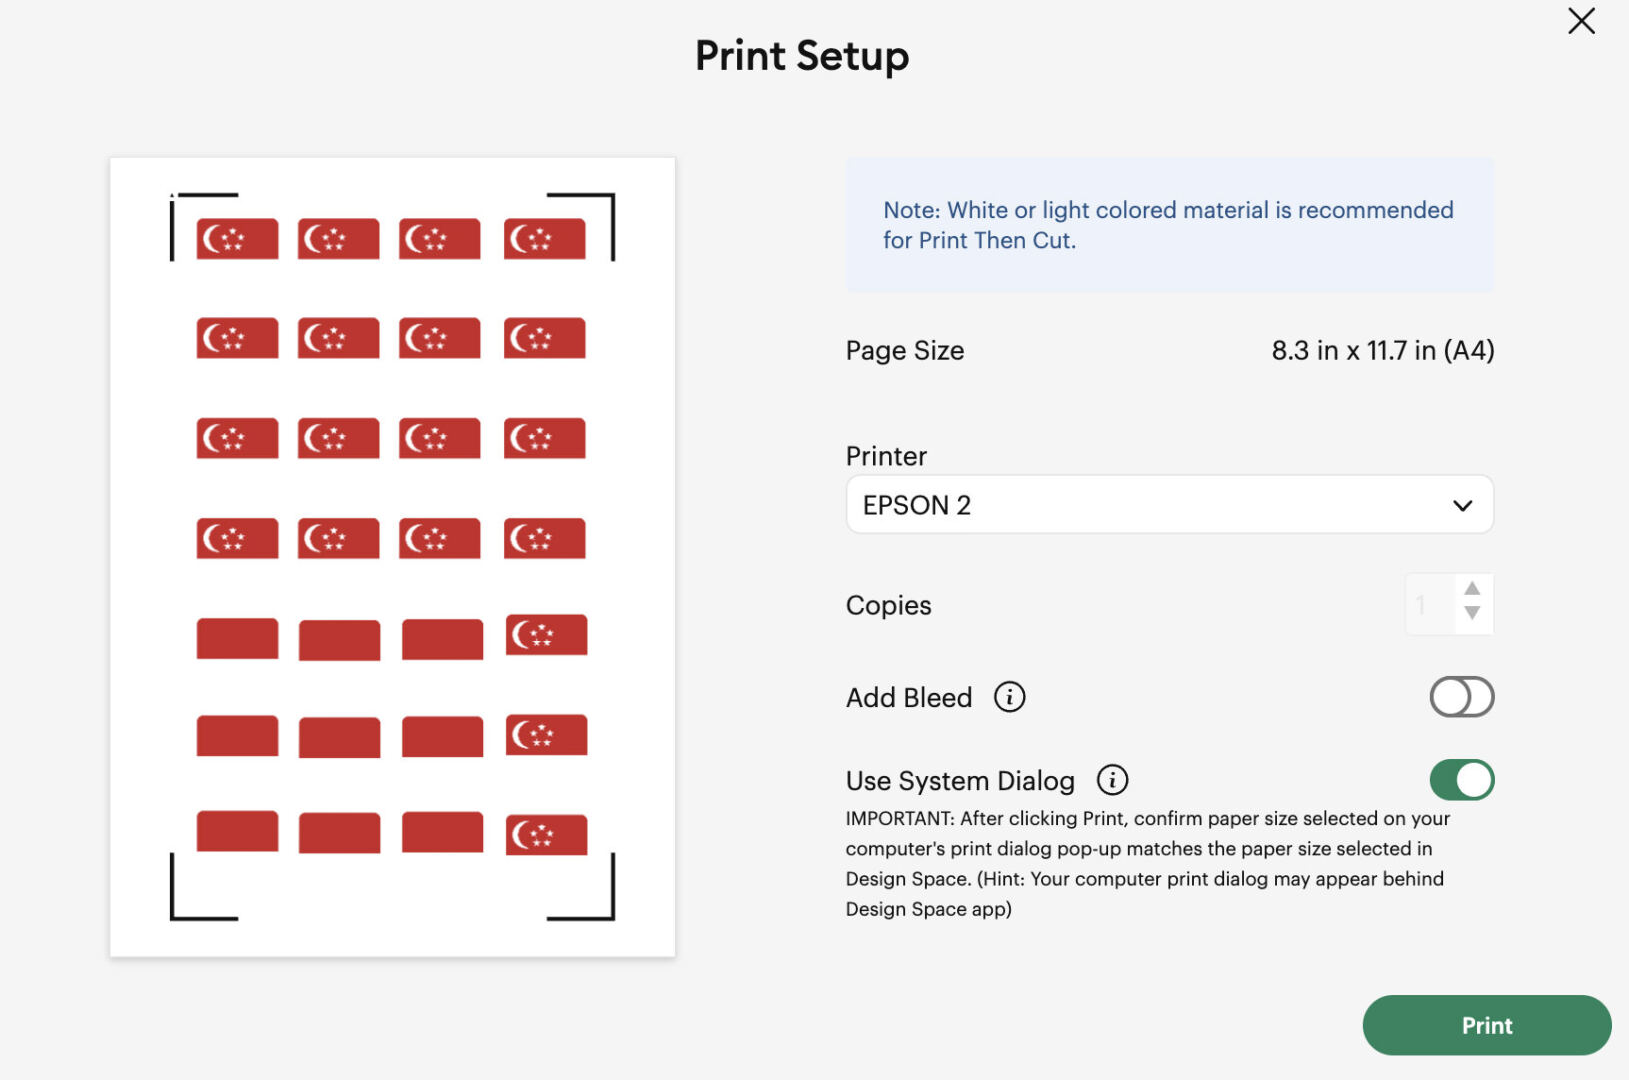
The undesirable traces may even no longer seem after printing, as proven under. In the event you’re experiencing a equivalent downside, do that manner – hope it is helping!

The submit The best way to Repair the Skinny Line Factor Right through Cricut Print and Minimize Procedure seemed first on Hongkiat.
WordPress Website Development Source: https://www.hongkiat.com/blog/fix-cricut-thin-line-print-cut/