
The use of Divi’s new draggable sizing choices don’t simplest will let you create extremely responsive web pages, however they are able to additionally in reality lend a hand create distinctive interactions. Through taking part in round with those choices, you’ll customise any website online you’re developing and customise your web page buildings to fulfill present design tendencies.
On this instructional, particularly, we’re going to turn you easy methods to create hover sections with Divi. We’ll create a brand new web page and make allowance all of the segment titles to turn, however every segment will simplest open on hover (desktop) or on click on (cellular). Once you open any other segment, the only you opened prior to now will mechanically shut. We’ll get started off via explaining the overall manner and proceed via recreating the instance you’ll see under from scratch. We are hoping this instructional encourages you to create your individual hover segment designs as smartly!
Let’s get to it!
Contents
- 1 Preview
- 2 Obtain The Hover Sections Format for FREE
- 3 Obtain For Loose
- 4 You’ve effectively subscribed. Please take a look at your electronic mail cope with to verify your subscription and get get right of entry to to unfastened weekly Divi structure packs!
- 5 Way
- 6 Let’s Get started Recreating!
- 7 Preview
- 8 Ultimate Ideas
Preview
Sooner than we dive into the educational, let’s take a snappy take a look at the result throughout other display screen sizes.
Desktop
Cellular

Obtain The Hover Sections Format for FREE
To put your fingers at the unfastened hover sections structure, you’re going to first wish to obtain it the use of the button under. To achieve get right of entry to to the obtain it is very important subscribe to our Divi Day-to-day electronic mail listing via the use of the shape under. As a brand new subscriber, you’re going to obtain much more Divi goodness and a unfastened Divi Format pack each Monday! If you happen to’re already at the listing, merely input your electronic mail cope with under and click on obtain. You’ll now not be “resubscribed” or obtain additional emails.
@media simplest display screen and ( max-width: 767px ) {.et_bloom .et_bloom_optin_1 .carrot_edge.et_bloom_form_right .et_bloom_form_content:earlier than, .et_bloom .et_bloom_optin_1 .carrot_edge.et_bloom_form_left .et_bloom_form_content:earlier than { border-top-color: #ffffff !vital; border-left-color: clear !vital; }
}.et_bloom .et_bloom_optin_1 .et_bloom_form_content button { background-color: #f92c8b !vital; } .et_bloom .et_bloom_optin_1 .et_bloom_form_content .et_bloom_fields i { shade: #f92c8b !vital; } .et_bloom .et_bloom_optin_1 .et_bloom_form_content .et_bloom_custom_field_radio i:earlier than { background: #f92c8b !vital; } .et_bloom .et_bloom_optin_1 .et_bloom_border_solid { border-color: #f7f9fb !vital } .et_bloom .et_bloom_optin_1 .et_bloom_form_content button { background-color: #f92c8b !vital; } .et_bloom .et_bloom_optin_1 .et_bloom_form_container h2, .et_bloom .et_bloom_optin_1 .et_bloom_form_container h2 span, .et_bloom .et_bloom_optin_1 .et_bloom_form_container h2 sturdy { font-family: “Open Sans”, Helvetica, Arial, Lucida, sans-serif; }.et_bloom .et_bloom_optin_1 .et_bloom_form_container p, .et_bloom .et_bloom_optin_1 .et_bloom_form_container p span, .et_bloom .et_bloom_optin_1 .et_bloom_form_container p sturdy, .et_bloom .et_bloom_optin_1 .et_bloom_form_container shape enter, .et_bloom .et_bloom_optin_1 .et_bloom_form_container shape button span { font-family: “Open Sans”, Helvetica, Arial, Lucida, sans-serif; } p.et_bloom_popup_input { padding-bottom: 0 !vital;}

Obtain For Loose
Sign up for the Divi Newlsetter and we can electronic mail you a duplicate of without equal Divi Touchdown Web page Format Pack, plus heaps of different superb and unfastened Divi assets, guidelines and tips. Observe alongside and you’re going to be a Divi grasp very quickly. If you’re already subscribed merely kind to your electronic mail cope with under and click on obtain to get right of entry to the structure pack.
You’ve effectively subscribed. Please take a look at your electronic mail cope with to verify your subscription and get get right of entry to to unfastened weekly Divi structure packs!
Way
Sooner than we dive into the real instructional, we’ll pass over the methodology this is used to create hover sections. You’ll practice this approach to any roughly website online you’re construction, with any roughly design taste.
1. Upload the primary segment in your web page
Let’s suppose you’re beginning a brand new design on a brand spanking new web page. The very first thing you’ll wish to do is upload a brand new common segment to it.
2. Upload a brand new row that features a segment name
Then, you’ll proceed via including a brand new row with a Textual content Module that incorporates your segment name. You’ll additionally upload a divider module and one thing that signifies that the row expands on hover or contact (see instance within the preview of this submit). It’s vital to stay the segment name break away the remainder of the segment content material so you’ll want to go away sufficient whitespace between the segment name and no matter comes subsequent.
3. Superb-tune the remainder of the segment content material (upload as many rows and modules as sought after)
The design parts that apply the segment titles are solely as much as you. You’ll make the segment as lengthy or as quick as you wish to have and employ any roughly design taste.
4. Regulate the default and hover max top of the segment
If you’re finished fine-tuning the segment and the entire design parts in it, it’s time to create the hover impact. The default top of your segment is supposed to suit the segment name simplest. On hover, the segment will take again its preliminary measurement.
5. Cover the Vertical Overflow
Any other vital a part of this system is hiding the vertical overflow. If you’ve set a default max top in your segment this is smaller than the preliminary top of the segment, an overflow can be created. To verify the overflow doesn’t display, you’ll have to ensure it’s hidden within the visibility settings of the segment.
5. Repeat steps for all sections at the web page
Repeat the similar steps for all sections for your web page to create an evident person enjoy that your guests will recognize.
Let’s Get started Recreating!
Upload New Segment
Default Background Colour
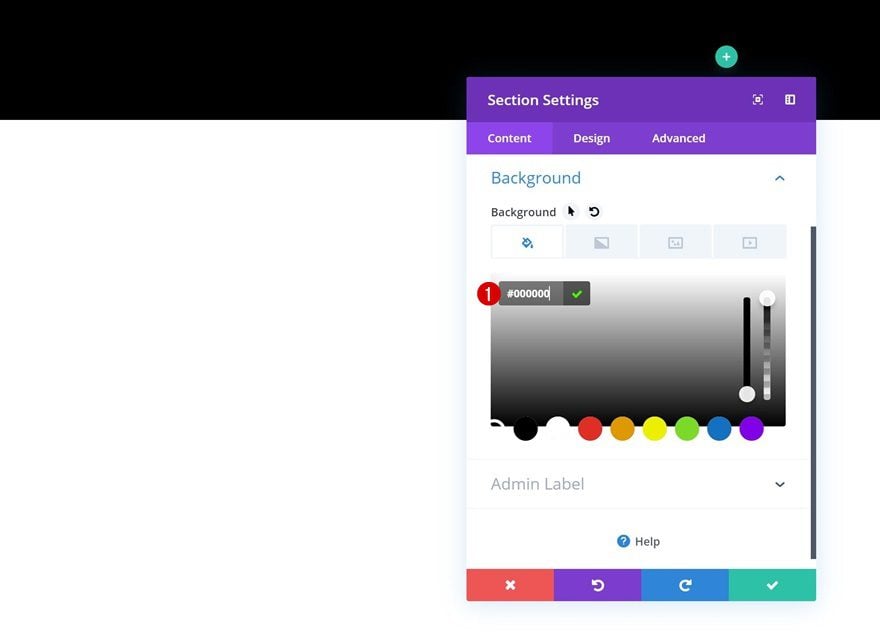
Now that we’ve long gone during the manner of this submit, it’s time to begin hanging issues into motion! Upload a primary common segment to a brand spanking new web page for your WordPress website online and open the segment settings. Alternate the default background shade of your segment into a colour of your selection.
- Background Colour: #000000
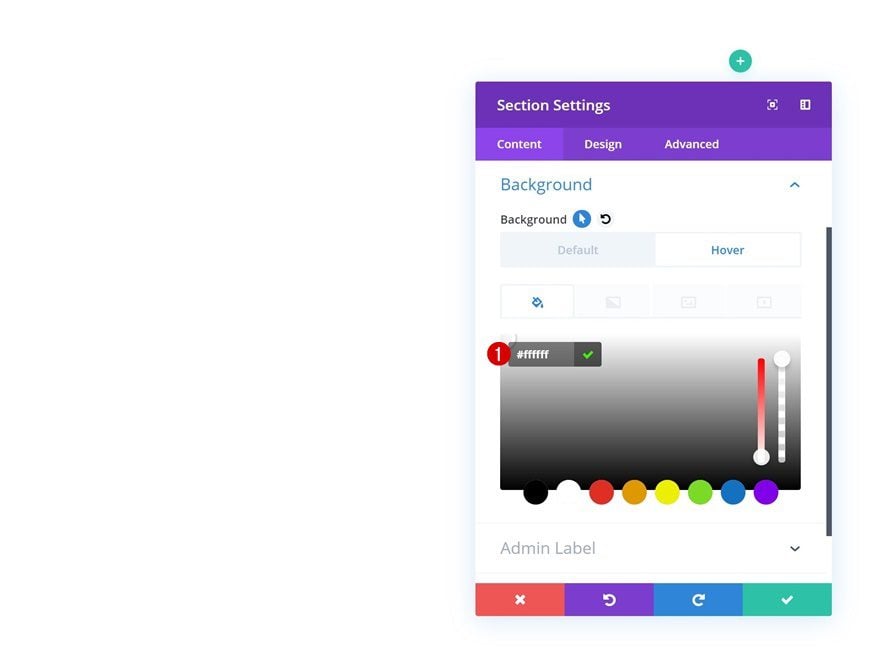
Hover Background Colour
Alternate this background shade on hover.
- Background Colour: #ffffff
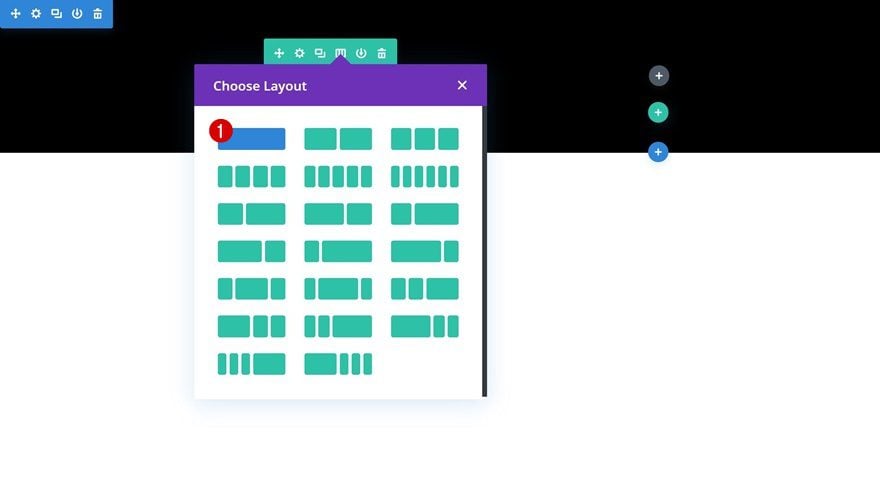
Upload Row #1
Column Construction
Proceed via including the primary row in your segment the use of the next column construction:
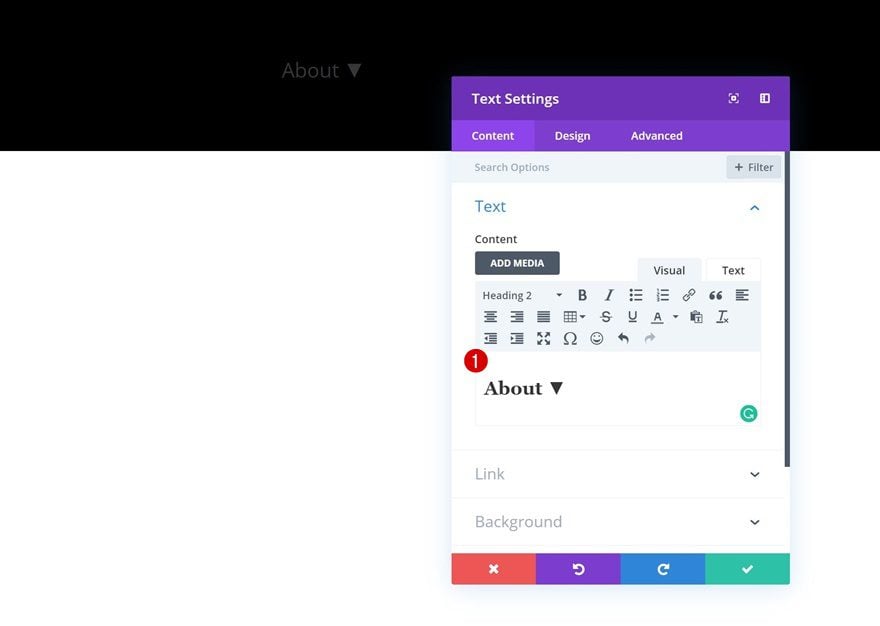
Upload Textual content Module
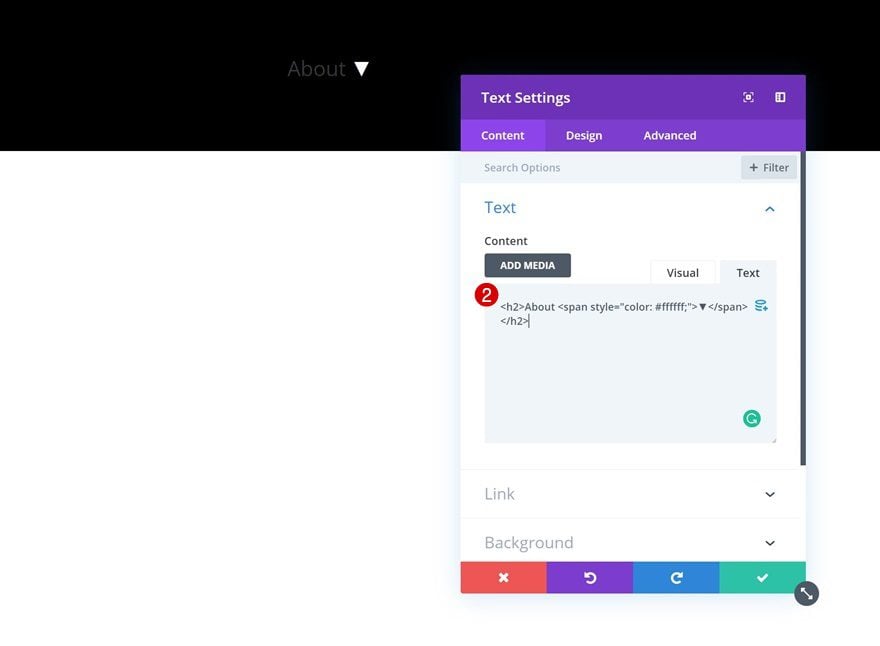
Upload H2 Content material
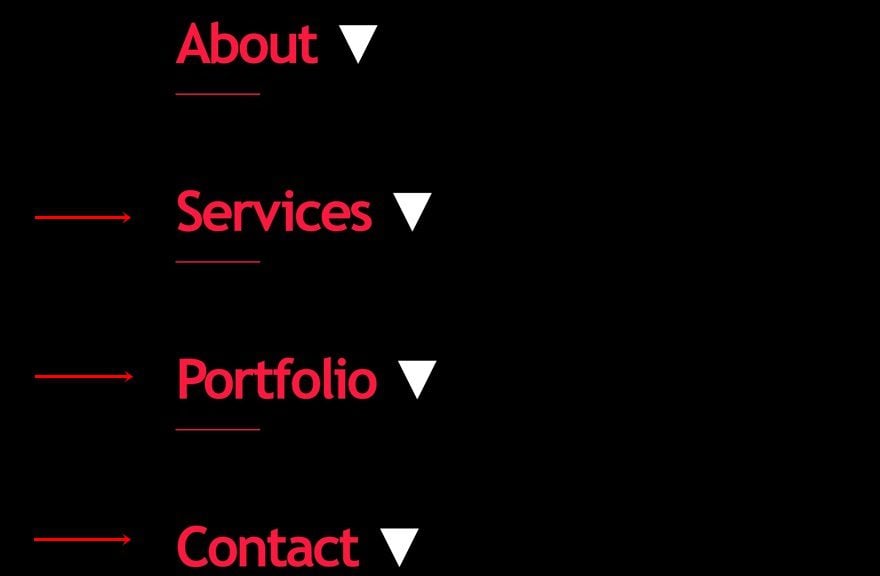
Upload a Textual content Module in your new row subsequent. Upload some H2 reproduction with along side the ‘▼’ image that signifies one thing will come subsequent.
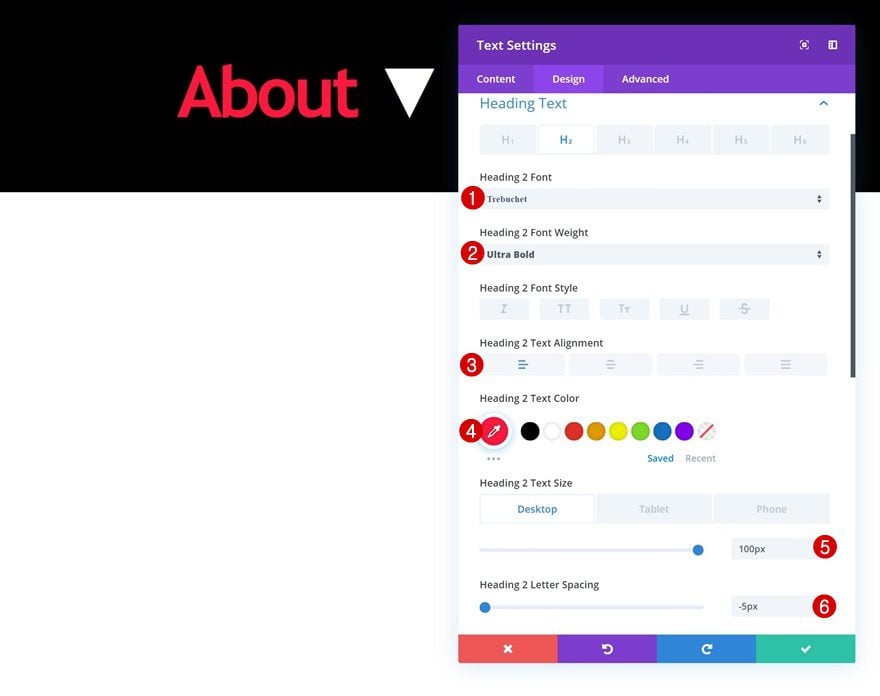
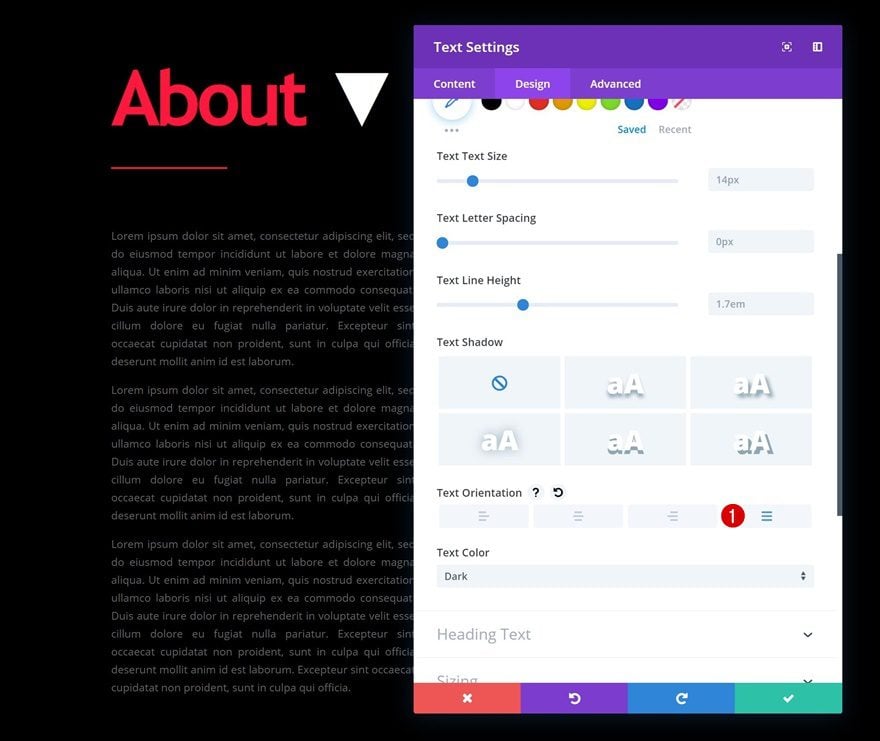
H2 Textual content Settings
Transfer directly to the design tab of the module and alter the H2 textual content settings.
- Heading 2 Font: Trebuchet
- Heading 2 Font Weight: Extremely Daring
- Heading 2 Textual content Alignment: Left
- Heading 2 Textual content Colour: #ff0f3b
- Heading 2 Textual content Measurement: 100px (Desktop), 80px (Pill), 60px (Telephone)
- Heading 2 Letter Spacing: -5px
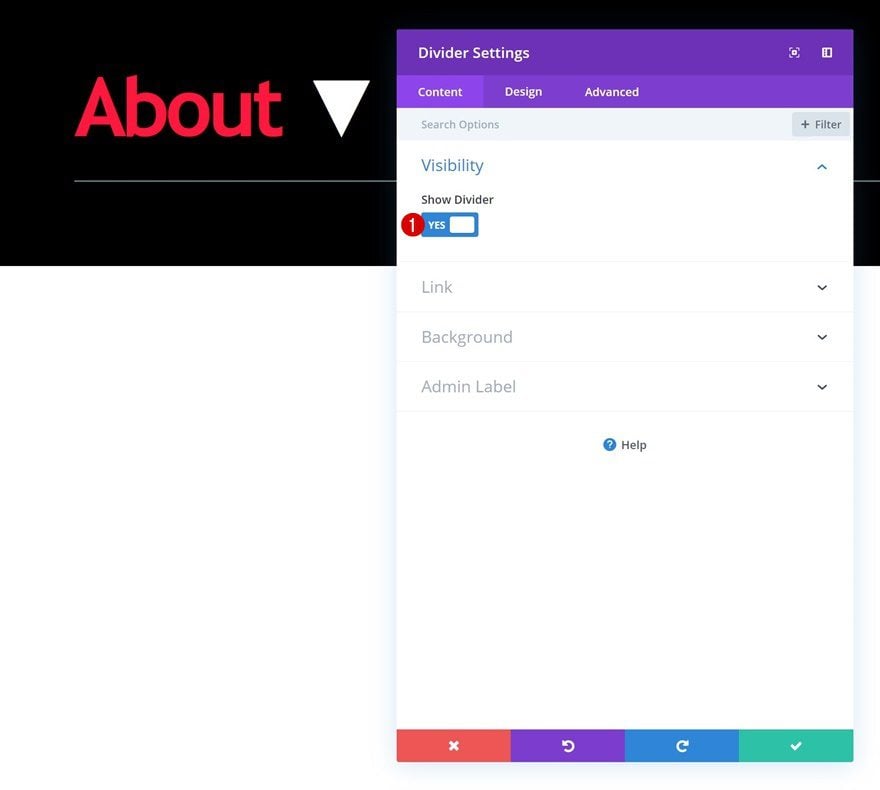
Upload Divider Module
Visibility
The second one and ultimate module we want on this row is a Divider Module. Make sure to permit the ‘Display Divider’ choice within the visibility settings.
- Display Divider: Sure
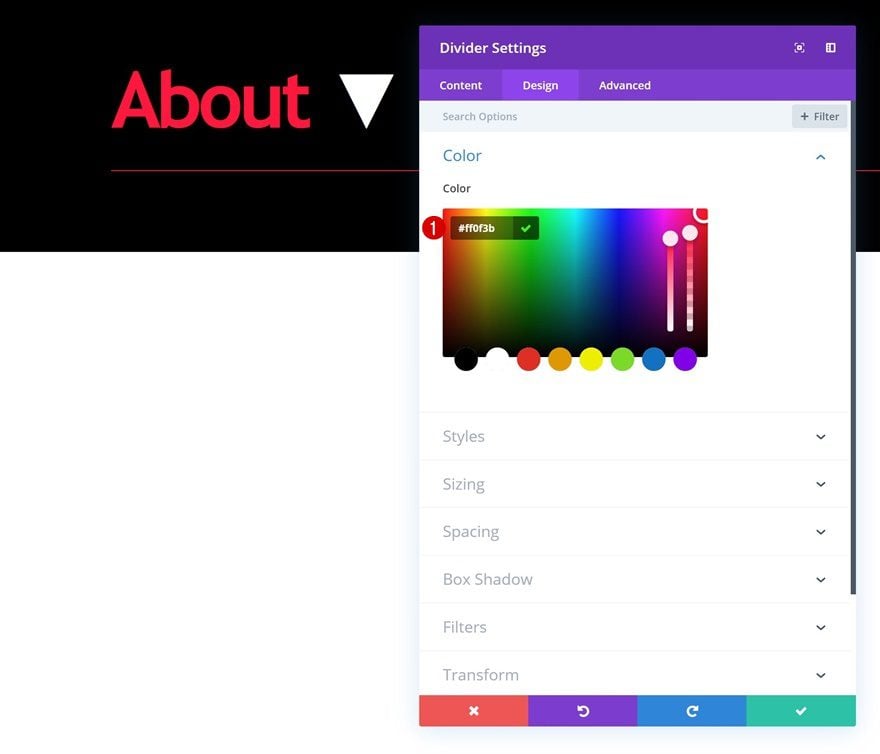
Colour
Then, transfer directly to the design tab and alter the divider shade.
- Colour: #ff0f3b
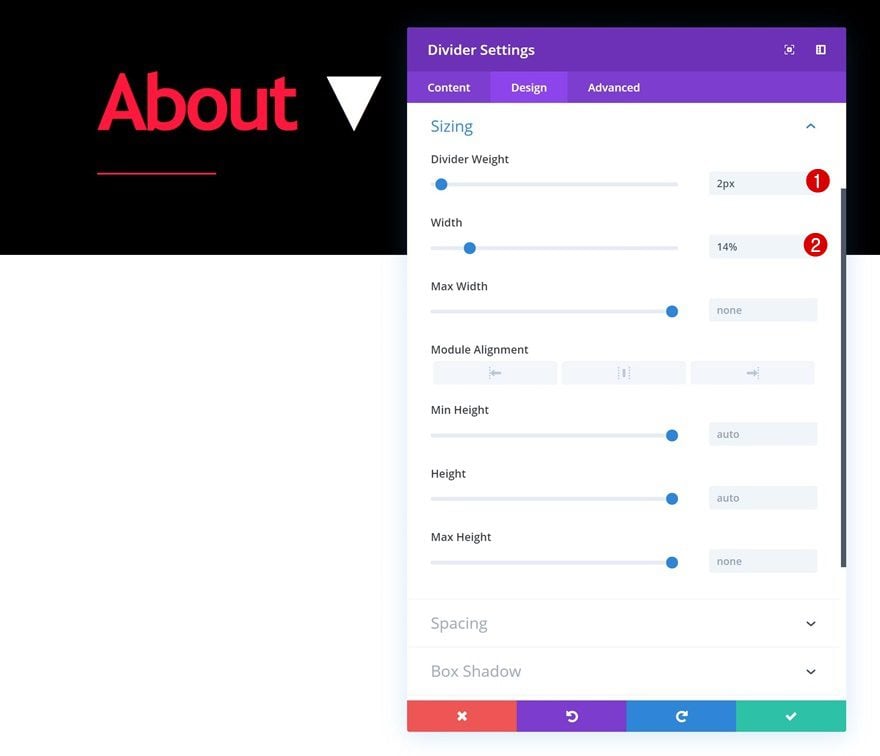
Sizing
Regulate the sizing settings of the module as smartly.
- Divider Weight: 2px
- Width: 14%
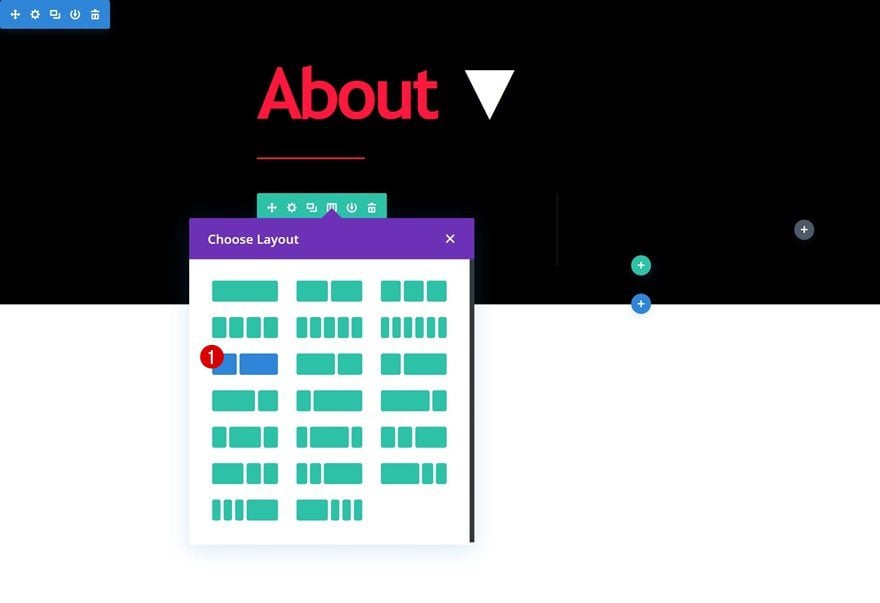
Upload Row #2
Column Construction
Directly to the following row! That is the place you’ll wish to position all of the content material you wish to have to turn up after soaring (desktop) or clicking (pill and cellular). We’re the use of the next column construction, however word that you’ll upload as many rows and modules as you wish to have and elegance them in your wishes:
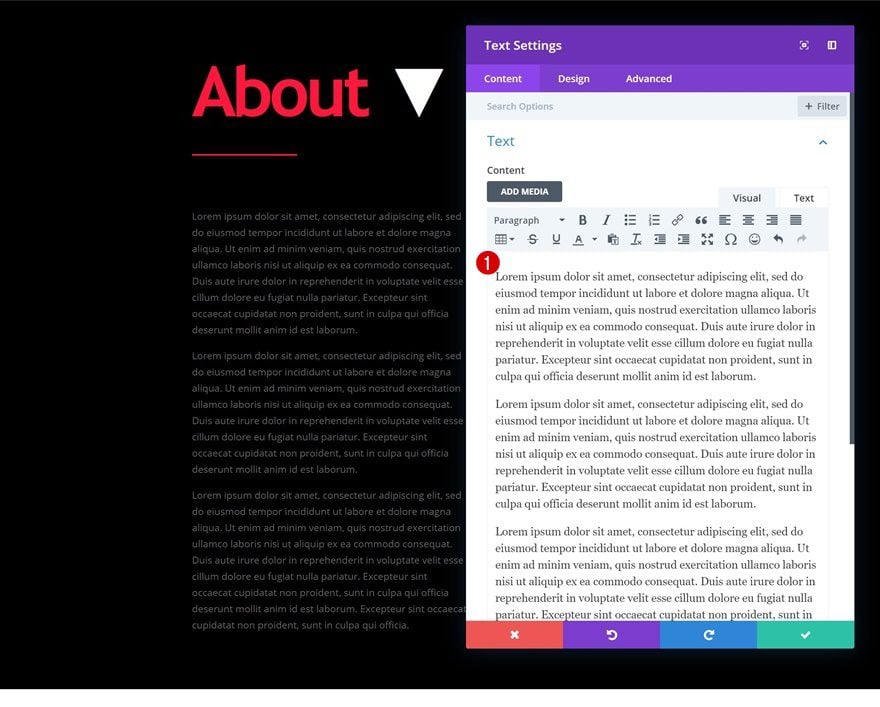
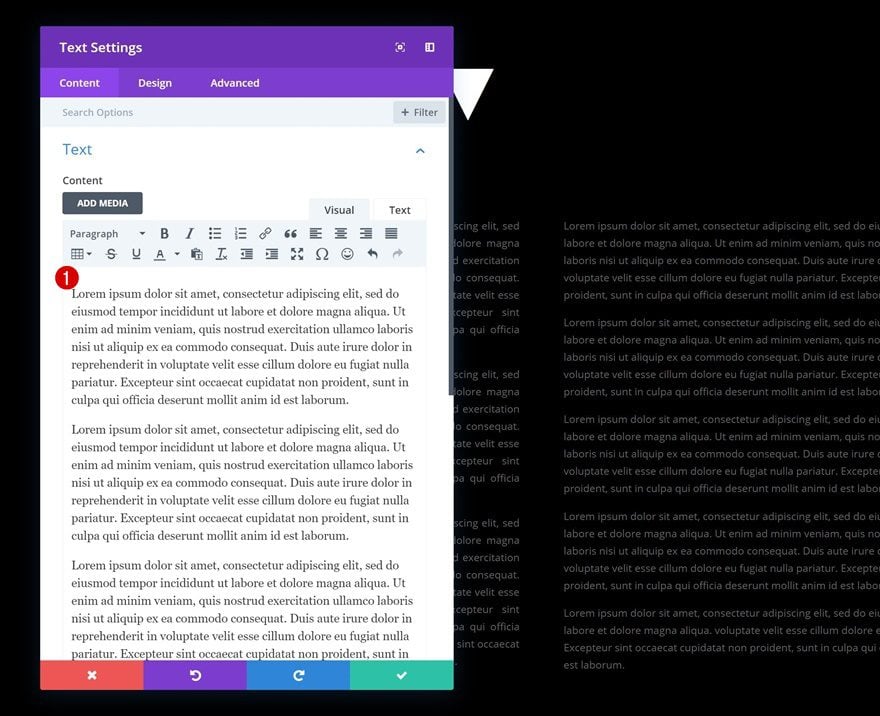
Upload Textual content Module to Column 1
Upload Content material
Position a Textual content Module within the first column with some content material of your selection.
Textual content Settings
Pass to the design tab of the Textual content Module and alter the textual content orientation.
- Textual content Orientation: Justify
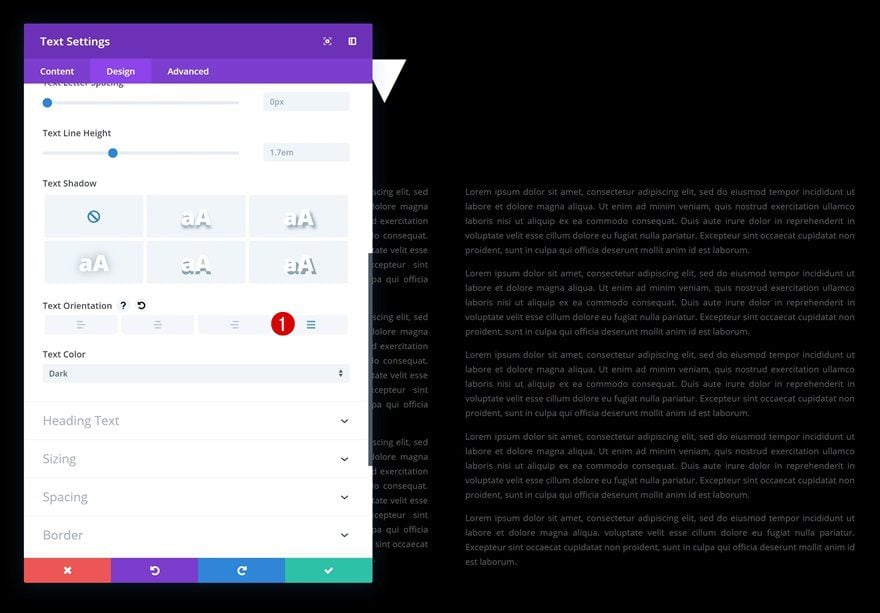
Upload Textual content Module to Column 2
Upload Content material
Upload a Textual content Module to the second one column as smartly with some content material of your selection.
Textual content Settings
Once more, trade the textual content orientation within the textual content settings of the module.
- Textual content Orientation: Justify
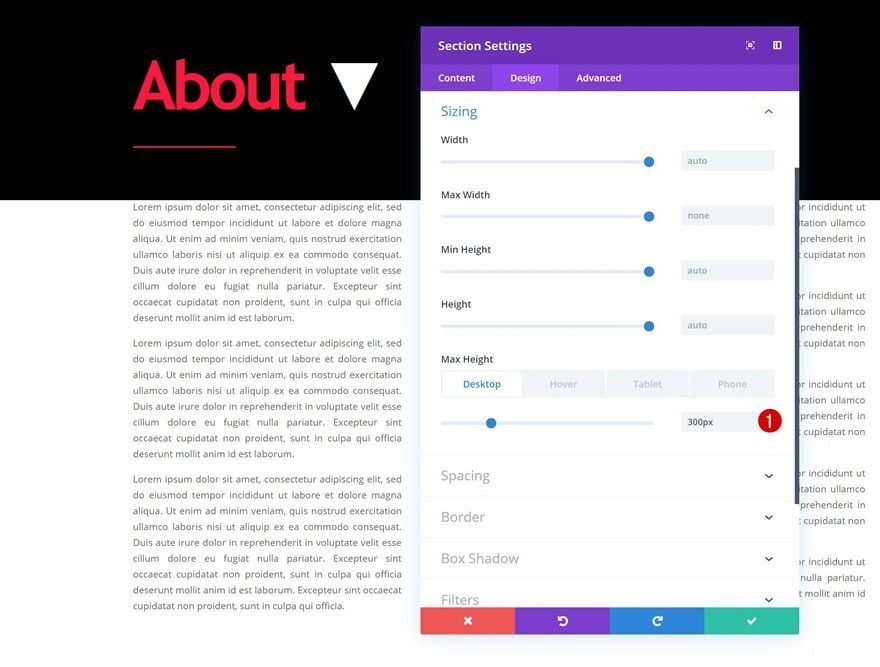
Upload Sizing Settings to Segment
Default Sizing
After getting finished your segment, it’s time to make the hover impact occur. Open the segment settings and alter the max top throughout other display screen sizes:
- Max Peak: 300px (Desktop), 280px (Pill), 260px (Telephone)
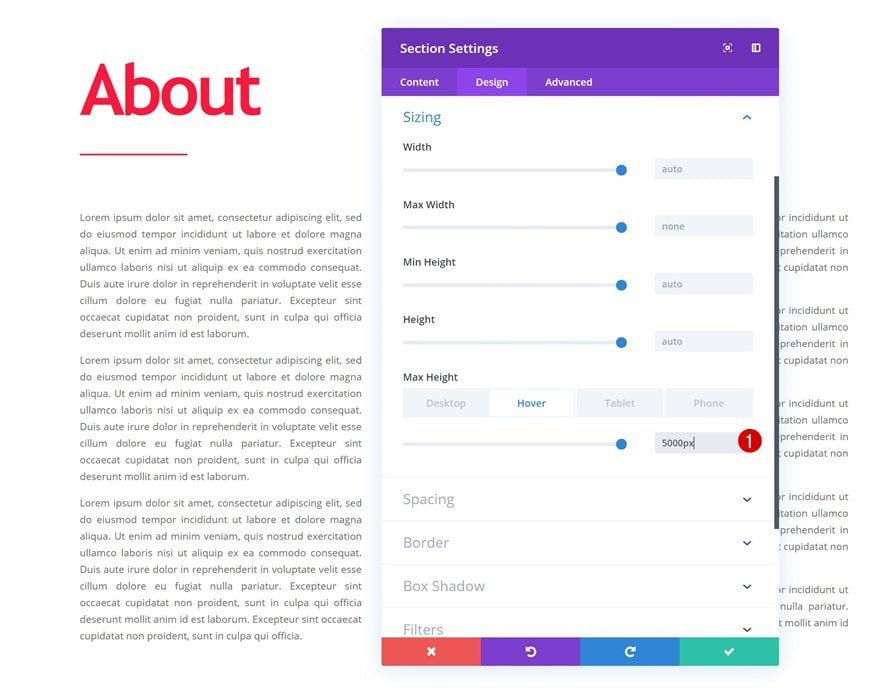
Hover Sizing
Permit the hover choice at the max top as smartly and upload a price this is top sufficient to hide all of the parts throughout other display screen sizes. This worth makes certain all of your parts display up with out exceeding the preliminary measurement of the segment container.
- Max Peak: 5000px
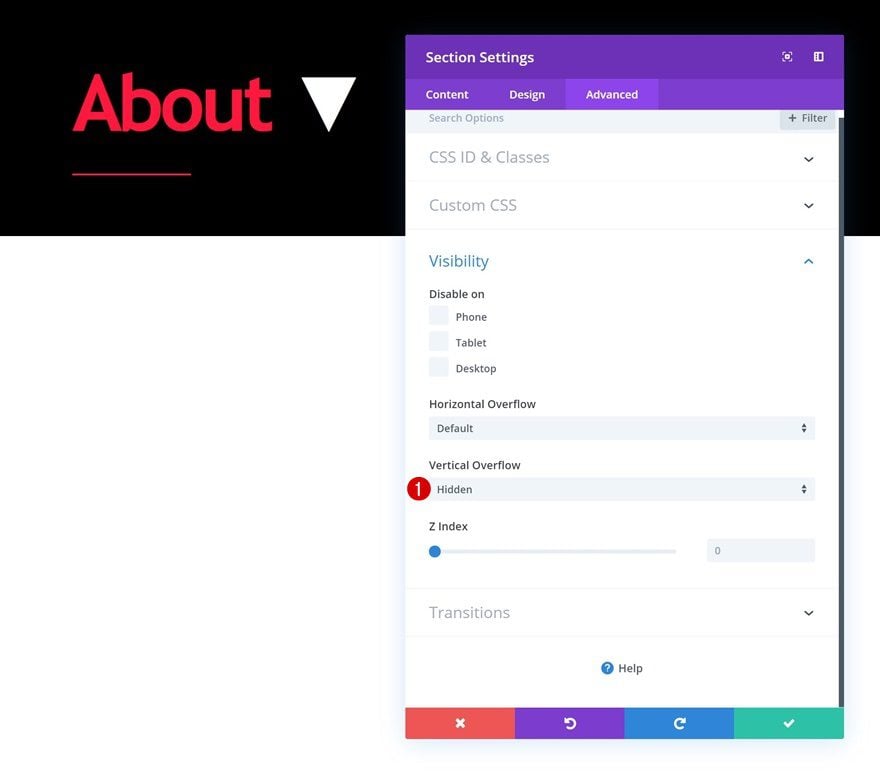
Vertical Overflow
Then, pass to the complex tab of the segment and alter the vertical overflow. This may disguise all of the content material that exceeds the segment container.
- Vertical Overflow: Hidden
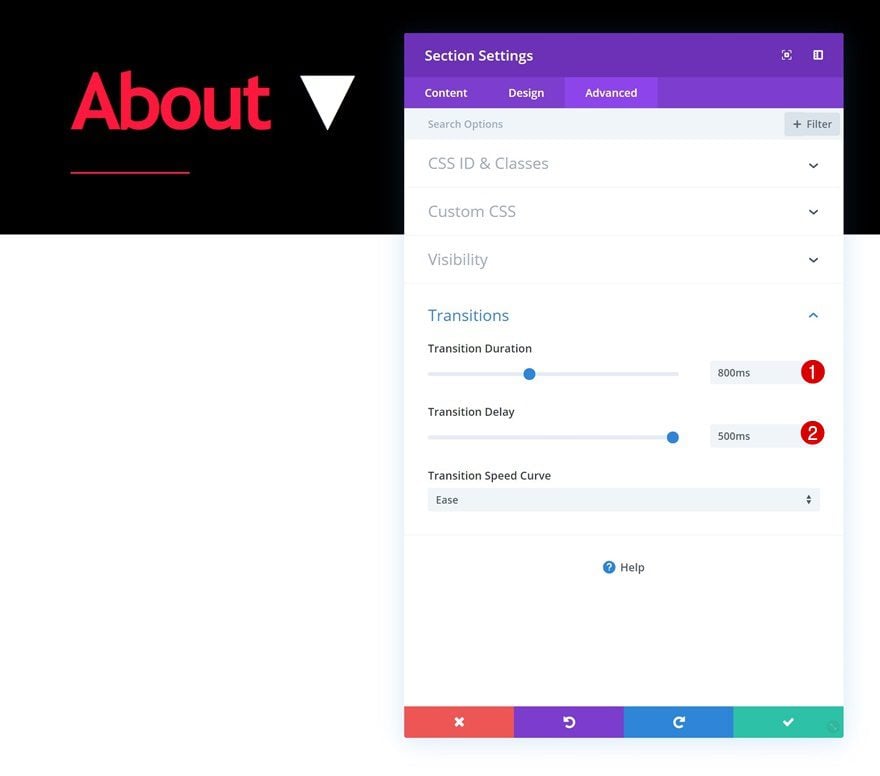
Transitions
To create a easy transition, we’re additionally converting the transitions settings within the complex tab.
- Transition Length: 800ms
- Transition Prolong: 500ms
Clone Complete Segment as Many Instances as Sought after
If you’re finished developing the primary hover segment, you’ll clone it as much as as repeatedly as you wish to have.
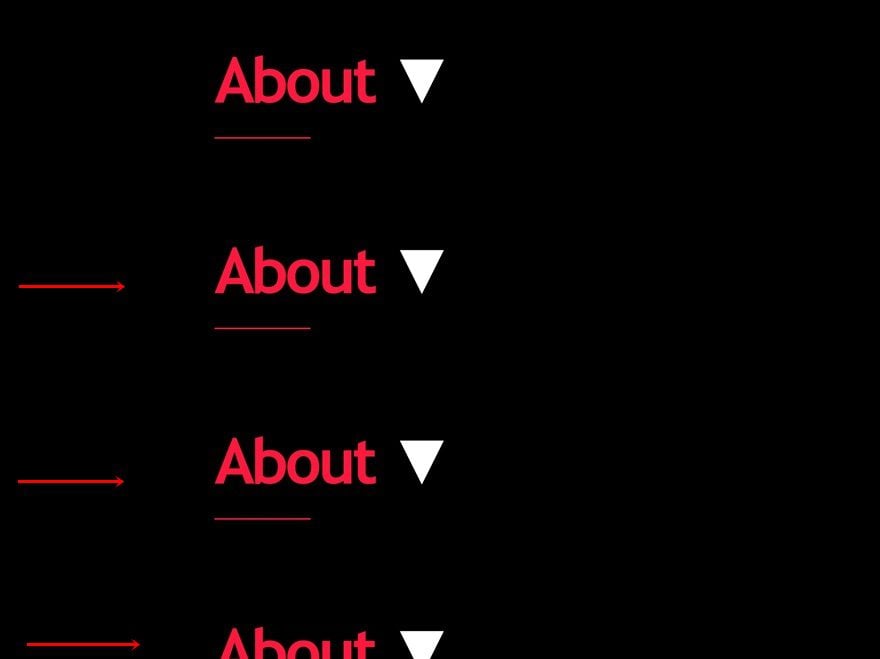
Alternate Segment Titles
In fact, you’ll wish to trade the segment titles of the duplicates.
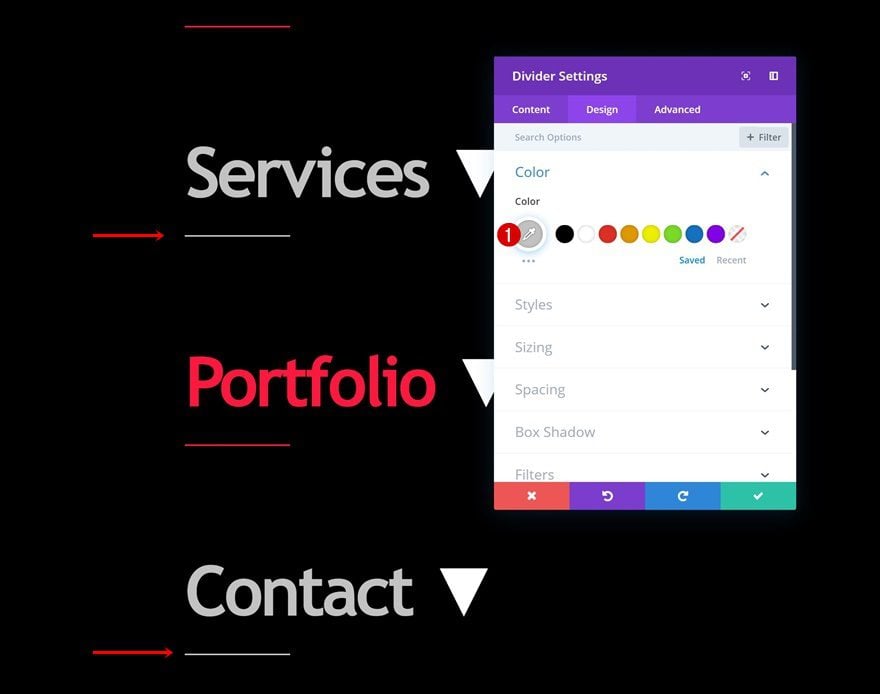
Alternate H2 Textual content Colours
To create some variation in design, we’ll additionally trade the textual content colours of the modules highlighted within the print display screen under.
- Heading 2 Textual content Colour: #c4c4c4

Alternate Divider Colours
At the side of the divider colours that accompany the Textual content Modules.
- Colour: #c4c4c4
Preview
Now that we’ve long gone via all of the steps, let’s take a last take a look at the result throughout other display screen sizes.
Desktop
Cellular
Ultimate Ideas
On this submit, we’ve proven you easy methods to creatively use Divi’s new draggable sizing choices to create distinctive interactions, the use of hover sections, on any website online you’re developing. We’ve began off via explaining the manner and endured via recreating the design instance from scratch. You have been additionally ready to obtain the JSON document at no cost! You probably have any questions or ideas, you’ll want to go away a remark within the remark segment under.
If you happen to’re keen to be informed extra about Divi and get extra Divi freebies, you’ll want to subscribe to our email newsletter and YouTube channel so that you’ll at all times be probably the most first folks to grasp and get advantages from this unfastened content material.
The submit How to Create Hover Sections with Divi’s New Sizing & Overflow Settings seemed first on Elegant Themes Blog.
WordPress Web Design