
Each and every week, we give you new and loose Divi format packs which you’ll be able to use on your subsequent mission. For one of the most format packs, we additionally proportion a use case that’ll allow you to take your site to the following stage.
This week, as a part of our ongoing Divi design initiative, we’re going to turn you the best way to creatively use symbols to your internet design with Divi. For this instructional, we’ll use the Life Coach Layout Pack however what I’m appearing you on this publish may also be implemented to any Divi Format. We’re repeatedly searching for new and artistic ways in which mean you can personalize your site and this instructional brings you one step nearer.
Let’s get to it!
Contents
Preview
Earlier than we dive into the educational, let’s check out the 3 other examples we’ll recreate on other display screen sizes.

Way
The characters in your keyboard don’t seem to be the one ones that exist. As an issue of reality, there are a number of them which can be available in the market however now not incorporated in your keyboard. Numerous those characters transcend the letters of the alphabet. They include visually interesting symbols, as an example. And just like the letters of the alphabet, you’ll be able to use those symbols in Textual content Modules in your site as smartly. You’ll to find all characters through going on your laptop’s Personality Map (PC) or Personality Palette (Mac). Or you’ll be able to additionally to find them at the following website.

Those symbols behave the similar approach different characters do this means that you’ll be able to modify their font dimension, letter spacing, colour and so forth. This makes it extraordinarily simple so that you can modify them on other display screen sizes with Divi’s Visible Builder.
Create Instance #1

Upload New Row
Row Place
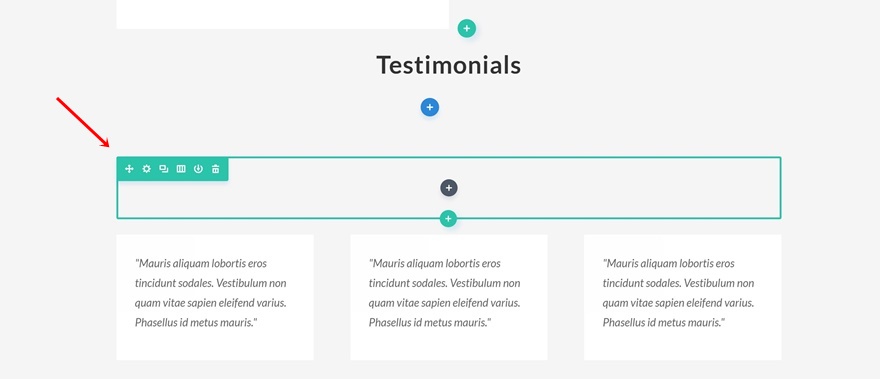
Let’s get began with the primary instance! Open the touchdown web page of the site you’ve constructed the usage of Divi’s Life Coach Layout Pack with the Visible Builder and upload a brand new row at the following spot:
Column Construction
For this row, we’ll most effective want one column.

Sizing
Open this row’s settings. The one factor you’ll want to do inside of those settings is converting the Sizing of your row to extend the width:
- Make This Row Fullwidth: Sure
- Use Customized Gutter Width: Sure
- Gutter Width: 1

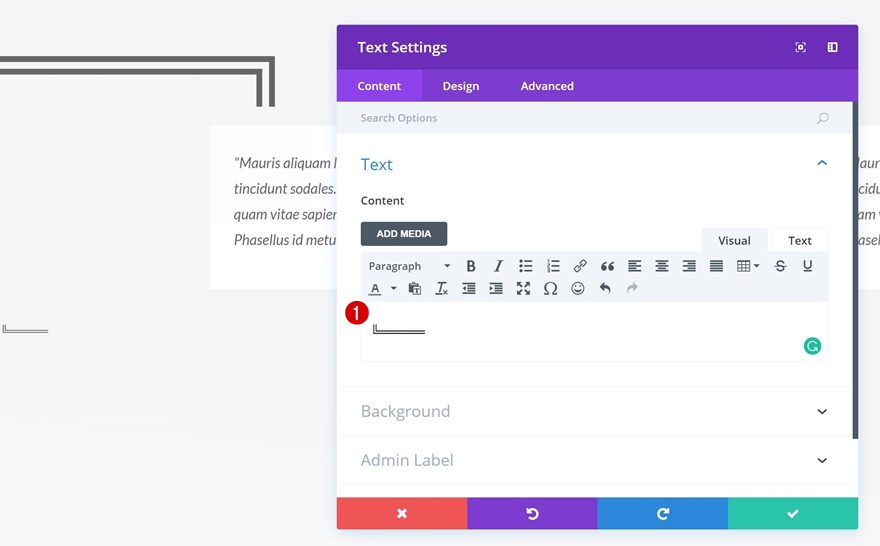
Upload Textual content Module
Symbols
Subsequent, upload a Textual content Module with the next symbols:
░░░░░░░░░░░░░░░░░░░░
░░
░░
░░
░░
░░
░░
░░
░░

Textual content Settings
Now we will mess around with the textual content settings of those symbols. To succeed in the similar outcome as the instance, use the next settings:
- Textual content Measurement: 100px
- Textual content Orientation: Left

Spacing
Finally, we’re additionally going to push down the Textual content Module through including ‘-200px’ to the ground margin.

Create Instance #2
Upload New Row #1
Row Place
The second one instance wishes two rows. We’re going to put the primary row in the similar spot as within the first instance:
Column Construction
We’ll most effective want one column for this row as smartly.
Sizing
Observe the next Sizing settings on your row subsequent:
- Make This Row Fullwidth: Sure
- Use Customized Gutter Width: Sure
- Gutter Width: 1
Spacing
And use ’40px’ for the highest and backside padding of this row.

Upload Textual content Module
Symbols
Proceed through including a Textual content Module on your row with the next symbols:
═════╗

Textual content Settings
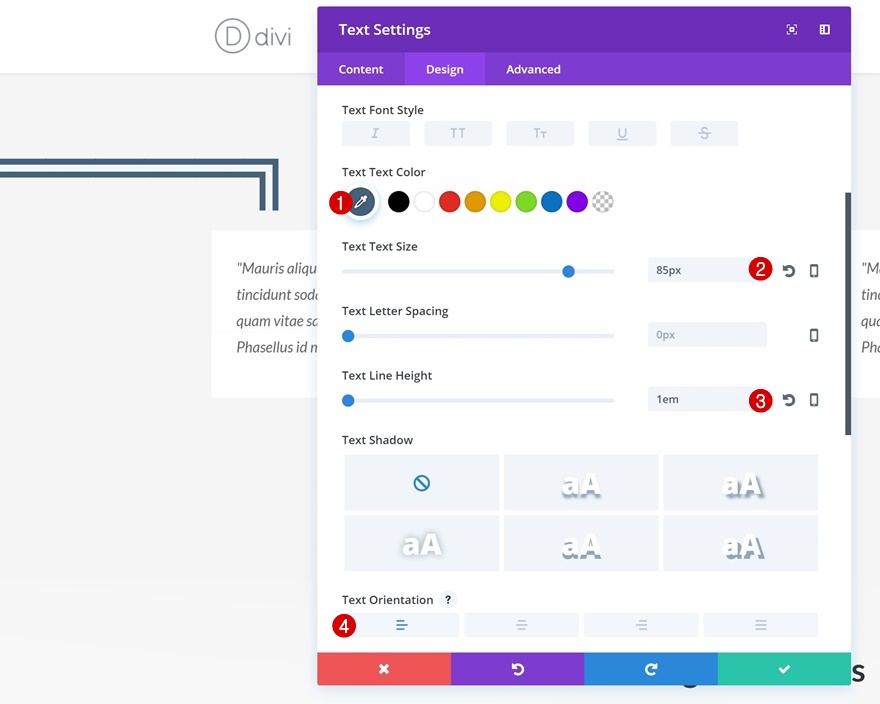
Open the textual content settings subsequent and observe the next adjustments:
- Textual content Colour: #44627c
- Textual content Measurement: 85px
- Textual content Line Top: 1em
- Textual content Orientation: Left
Upload New Row #2
Row Place
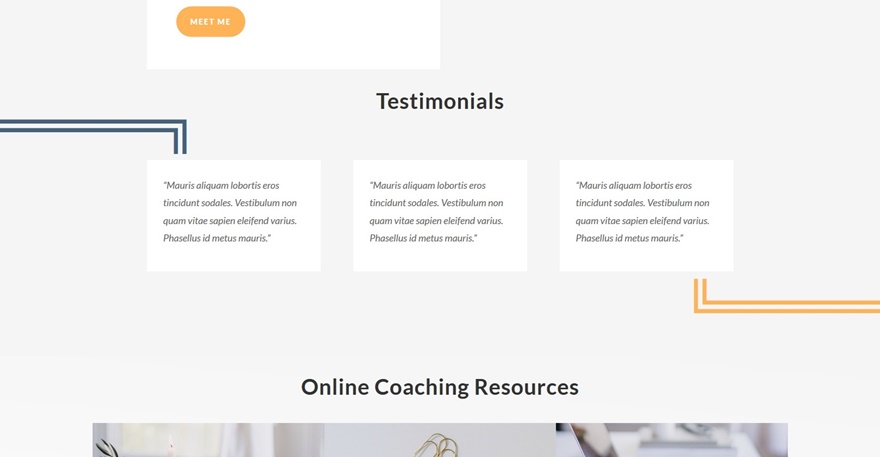
We’re going to do the very same factor on the finish of the testimonials with symmetrical symbols. Upload a brand new row proper underneath your testimonials.

Column Construction
Upload one column on your row subsequent.

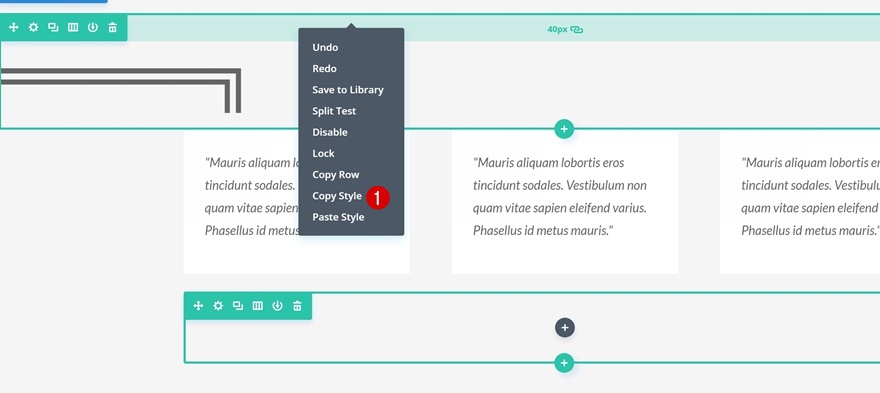
Replica & Paste Row Taste
To save lots of ourselves a while, we’re going to duplicate the manner of the former row we’ve created and paste it into our new row.

Upload Textual content Module
Symbols
The Textual content Module on this row wishes the next symbols which can be symmetric to the former ones we’ve used:
╚═════
Textual content Settings
Proceed through opening the Textual content Settings of this module and observe the next adjustments:
- Textual content Colour: #ffb356
- Textual content Measurement: 85px
- Textual content Line Top: 1em
- Textual content Orientation: Proper

Sizing
Finally, we’re additionally going to modify the Sizing of this Textual content Module to make it glance similarly as excellent on cellular:
- Width: 74%
- Module Alignment: Proper

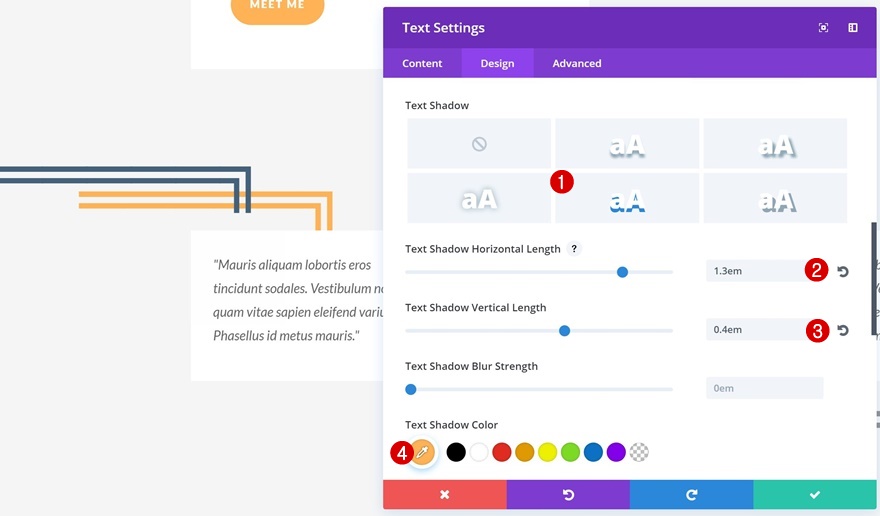
Additional: Upload Textual content Shadow to Symbols

Textual content Shadow Textual content Module #1
Need to take this case one step additional? Upload a textual content shadow as smartly. Open your first image Textual content Module and observe the next textual content shadow:
- Textual content Shadow Horizontal Duration: 1.3em
- Textual content Shadow Vertical Duration: 0.4em
- Textual content Shadow Colour: #ffb356
Textual content Shadow Textual content Module #2
Then, open your 2nd Textual content Module and observe the next textual content shadow as smartly:
- Textual content Shadow Horizontal Duration: -1.6em
- Textual content Shadow Vertical Duration: -0.3em
- Textual content Shadow Colour: #44627c

Create Instance #3

Upload New Row
Row Place
For the ultimate instance of this instructional, upload your row at the following spot in your touchdown web page:

Column Construction
We’re, once more, the usage of just one column.

Sizing
And we’ll building up the width of our row the usage of the next Sizing settings:
- Make This Row Fullwidth: Sure
- Use Customized Gutter Width: Sure
- Gutter Width: 1

Upload Textual content Module #1
Symbols
To create our instance, we’ll want two Textual content Modules. Upload your first Textual content Module the usage of the next symbols:
❖❖

Textual content Settings
Use the next settings for this primary Textual content Module:
- Textual content Colour: #44627c
- Textual content Measurement: 200px
- Textual content Line Top: 1em
- Textual content Orientation: Heart

Upload Textual content Module #2
Symbols
The second one Textual content Module most effective wishes one image:
❖

Textual content Settings
Observe the next textual content settings to this Textual content Module:
- Textual content Colour: #ffb356
- Textual content Measurement: 200px
- Textual content Line Top: 1em
- Textual content Orientation: Heart

Spacing
Finally, upload ‘-100px’ to the highest margin and also you’re carried out!

Preview
Now that we’ve long gone via the entire steps and the entire examples, let’s take a last have a look at the outcome on other display screen sizes.
Ultimate Ideas
On this Divi design instructional, we’ve proven you the best way to use symbols to your internet design with Divi. We’ve implemented this approach to Divi’s Life Coach Layout Pack. Including symbols on your site in an artistic approach permit you to personalize your site and convey it to lifestyles. We’ve proven you 3 stunning tactics on the best way to do it however the sky’s the prohibit, so move forward and provides it a take a look at with different symbols as smartly. You probably have any questions or ideas, remember to depart a remark within the remark segment underneath!
The publish How to Creatively Use Symbols in Your Web Design with Divi gave the impression first on Elegant Themes Blog.
WordPress Web Design