
Each week, we give you new and unfastened Divi format packs which you’ll use to your subsequent challenge. For some of the format packs, we additionally percentage a use case that’ll allow you to take your web site to the following stage.
This week, as a part of our ongoing Divi design initiative, we’re going to turn you methods to create surprising gallery testimonials the usage of Divi’s Wedding Planner Layout Pack. This instructional will allow you to hyperlink testimonials in your portfolio at the identical spot. This lets you get one step nearer to convincing guests of your talents and changing them into leads. We’ll additionally follow a refined impact on hover for the photographs you show.
Let’s get to it!
Contents
- 1 Preview
- 2 Open Marriage ceremony Planner Format Pack’s Touchdown Web page
- 3 Alter Testimonials Segment
- 3.1 Take away 2d Row
- 3.2 Take away Symbol Module in Column 1
- 3.3 Exchange Row #1 Settings
- 3.4 Exchange Textual content Module Settings
- 3.5 Clone Textual content Module & Position Underneath Earlier Textual content Module
- 3.6 Upload Row #2
- 3.7 Upload Symbol Module to Column 1
- 3.8 Clone Symbol Module 3 Instances and Exchange Photographs
- 4 Create Testimonial on Reverse Aspect
- 5 Upload Hover Impact
- 6 Preview
- 7 Ultimate Ideas
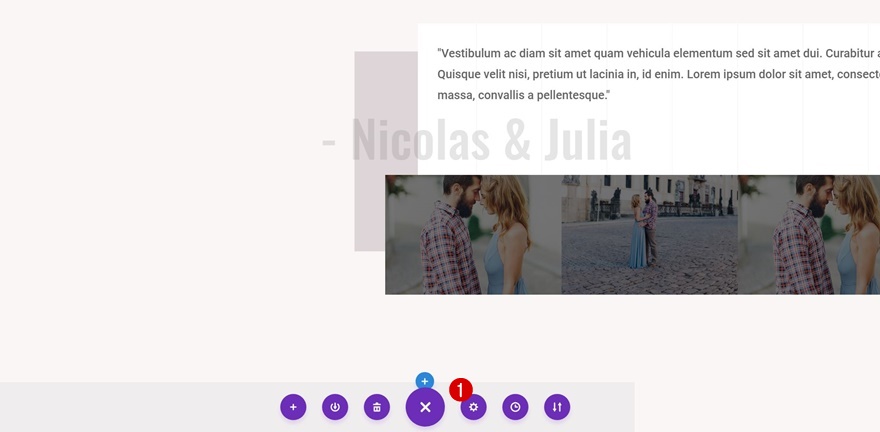
Preview
Earlier than we dive into the academic, let’s check out the outcome on other display sizes.

On Hover

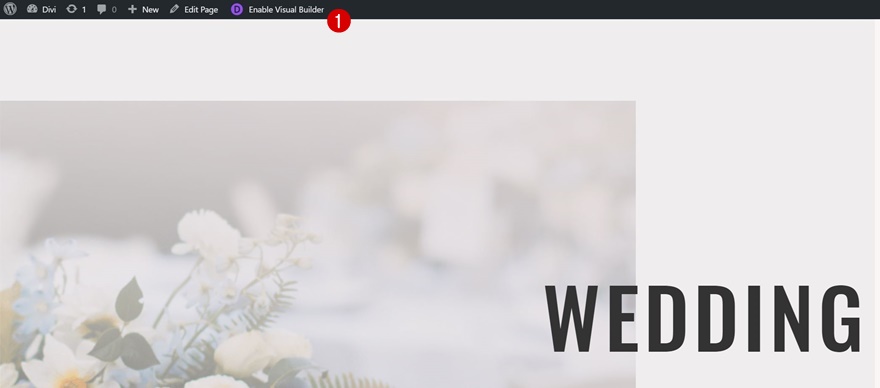
Open Marriage ceremony Planner Format Pack’s Touchdown Web page
Get started through opening the touchdown web page you’ve created the usage of Divi’s surprising Wedding Planner Layout Pack.
Alter Testimonials Segment
Take away 2d Row
This format already features a testimonial phase. As an alternative of making a brand new phase, we’re going to change this phase to create the gallery testimonials. Scroll down till you return around the phase and delete the second one row.

Take away Symbol Module in Column 1
There’s one row left in that phase now. Proceed through deleting the Symbol Module you’ll in finding within the first column of that row.

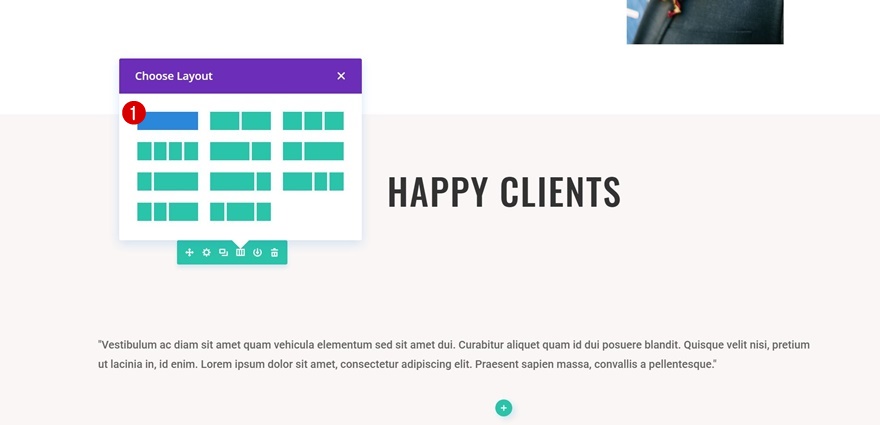
Exchange Row #1 Settings
Column Construction
We’ll want to make some changes to the settings of this row to make it glance the way in which we need to. Get started through converting the column construction into one column as a substitute of 2.
Background Colour
Subsequent, upload a white background colour in your row.

Background Symbol
We’ll reuse a background trend which you’ll in finding for your Media Library referred to as ‘divider.png’. After you’ve decided on this trend as your background picture, follow the next settings to it:
- Background Symbol Measurement: Exact Measurement
- Background Symbol Repeat: Repeat


Row Alignment
We’ll create those gallery testimonials on each the left and proper facet of your web page. We’ll get started with the left facet and for that, we’ll want to follow a left Row Alignment to our row.

Spacing
Open the Spacing settings subsequent and upload some customized margin and padding in your row:
- Best Margin: 50px
- Best & Backside Padding: 0px

Field Shadow
Finally, we’re additionally going to mess around with the field shadow of this row to create a pleasant impact:
- Field Shadow Horizontal Place: 60px
- Field Shadow Vertical Place: 80px
- Field Shadow Unfold Power: 37px
- Shadow Colour: #ded5d8
- Field Shadow Place: Outer Shadow

Exchange Textual content Module Settings
Take away Background Colour
The Textual content Module you’ll in finding on this row already has a ton of settings we need to stay. Then again, we’ll additionally want to make some changes to make it fit with our finish consequence. The very first thing you’ll want to do whenever you open the Textual content Module’s settings is deleting the background colour that has been carried out to it.

Spacing
This Textual content Module has some customized margin carried out to it as neatly. Cross forward and delete the entire customized margin since we received’t want it.

Clone Textual content Module & Position Underneath Earlier Textual content Module
Find Textual content Module on Web page
The following part we’ll want in our row is the Textual content Module containing the names of the testifier(s). We’re going to avoid wasting ourselves a while and reuse some of the Textual content Modules you’ll already in finding at the web page. Cross forward and find the next Textual content Module and clone it:

Position in Row
Position the cloned Textual content Module proper under the former Textual content Module for your testimonial row.

Exchange Content material
Exchange the content material to the names you need to look for your testimonial.

Exchange Textual content Settings
Then, open the textual content settings and make the next adjustments:
- Heading 6 Textual content Alignment: Proper
- Heading 6 Textual content Measurement: 77px

Exchange Spacing
We’re going to make this Textual content Module overlap the row field shadow and phase background through making use of the next spacing settings:
- Best Margin: -50px
- Proper Margin: -150px
- Backside Padding: 20px

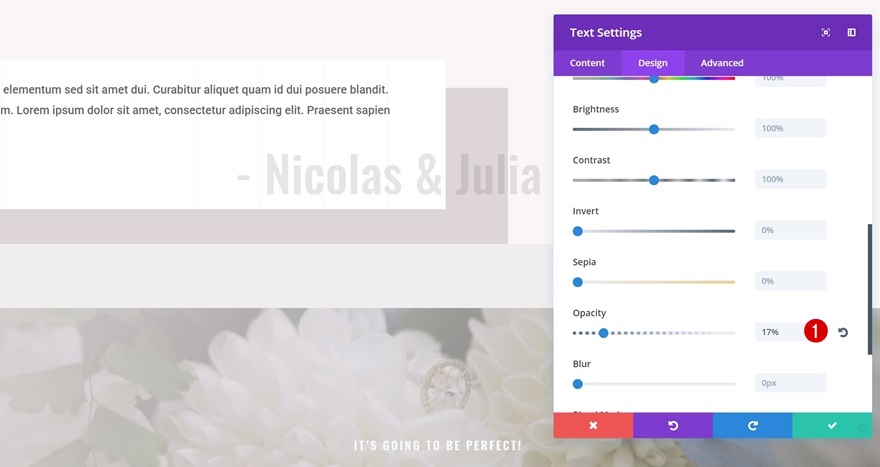
Exchange Opacity
We’re additionally going to extend the opacity of our Textual content Module to ‘17%’ to make it a little extra hanging.
Upload Row #2
Column Construction
We’ve completed the testimonial row. The next move is including the accompanying gallery. For this, we’re going to make use of a brand new row with the next column construction:

Row Alignment
We need to push this gallery to the left facet of the web page as neatly through the usage of left Row Alignment.

Sizing
To create the gallery, we’re merely going to make use of an Symbol Module for every some of the columns. To erase the distance between columns and create a coherent consequence, follow the next settings to the Sizing of your row:
- Use Customized Gutter Width: Sure
- Gutter Width: 1

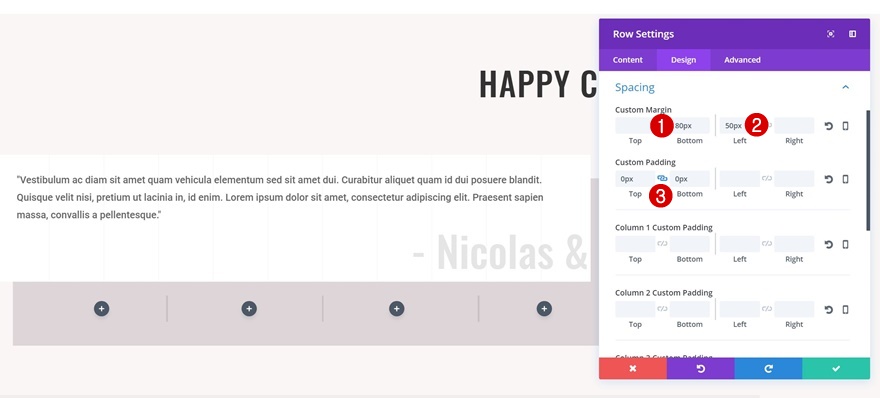
Spacing
Open the Spacing settings subsequent and follow the next customized margin and padding in your row:
- Backside Margin: 80px
- Left Margin: 50px
- Best & Backside Padding: 0px
Upload Symbol Module to Column 1
Add Symbol
Even if we’ll want 4 Symbol Modules in overall, we’re going to start out through developing one and cloning it to the opposite columns afterwards to avoid wasting ourselves time and effort. Upload an Symbol Module to the primary column of your row and add a picture of your selection.

Open in Lightbox
Give customers the chance to view the picture in a larger layout through enabling the ‘Open in Lightbox’ possibility within the hyperlink settings of your Symbol Module.

Clear out
We’re additionally going to lower the brightness of our Symbol Module to ‘47%’ within the Filters settings. Making use of this surroundings is a part of the sophisticated hover impact we’ll upload to our gallery photographs.

CSS ID
We’re going to make use of a CSS ID to take away the clear out on hover later in this submit, so cross forward and upload ‘image-hover’ to the CSS ID of your Symbol Module.

Clone Symbol Module 3 Instances and Exchange Photographs
You’ll be able to now clone the Symbol Module thrice and position it in the remainder columns. Exchange the picture for every one the columns in step with your wishes.

Create Testimonial on Reverse Aspect
Clone Each Current Rows
To create the very same gallery testimonial at the reverse facet, we’ll want to make some adjustments. Get started through cloning each rows.

Exchange Row Alignment of Each Rows
Then, trade the row alignment of each rows into proper. You’ll realize that the second one row doesn’t apply but. That’s as a result of we’ll want to regulate the spacing settings in some of the subsequent steps.

Exchange Field Shadow of Row #1
As an alternative of the usage of ’60px’ for the Horizontal Repeat of your first row, use ‘-60px’ as a substitute.

Exchange Spacing of Row #2
Take away the left margin of your 2nd row and upload ’50px’ to the correct as a substitute. While you do, you’ll realize that your row has been driven to the correct facet as neatly.

Exchange Textual content Orientation & Spacing of 2d Textual content Module
The Textual content Module containing the names of the folk attesting must be driven to the left as neatly. To try this, get started through the usage of left Textual content Alignment within the Heading 6 textual content settings.
 Take away the correct margin as neatly and upload ‘-150px’ to the left margin as a substitute.

Upload Hover Impact
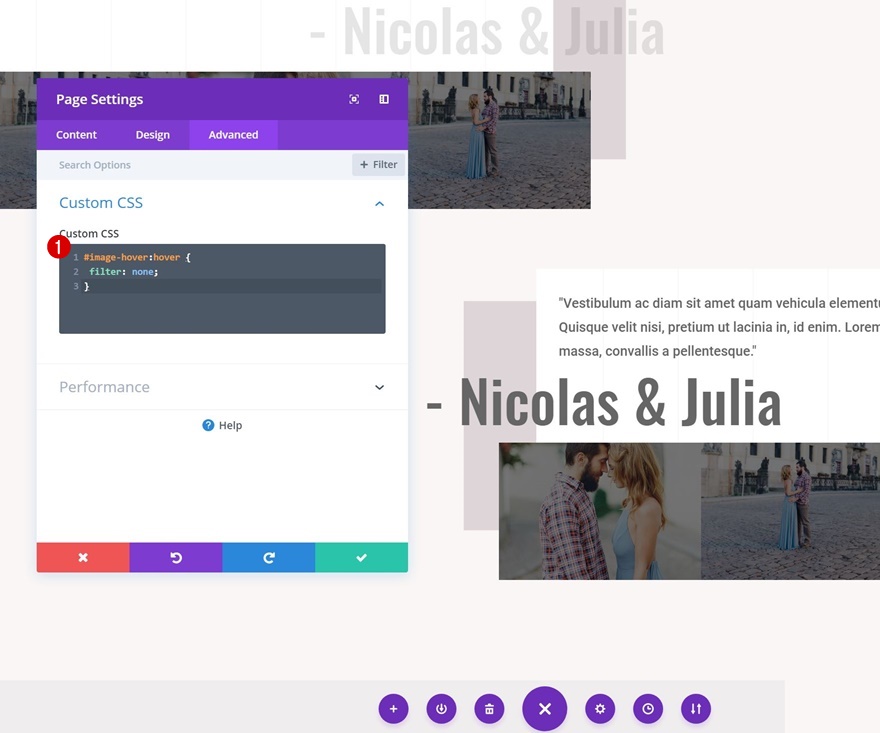
Open Web page Settings
The very last thing left to do for this instructional is including the CSS code traces that’ll allow the hover impact. To try this, open your web page surroundings through clicking at the following icon on the backside of your web page:
Take away Clear out on Hover with CSS Code
The one factor we’re going to do is take away the clear out we’ve carried out to our Symbol Module on hover the usage of the next CSS code traces and we’re finished:
#image-hover:hover {
clear out: none;
}
Preview
Now that we’ve long gone via all of the steps, let’s take a last have a look at the outcome on other display sizes.
On Hover
Ultimate Ideas
On this use case weblog submit, we’ve proven you methods to create surprising gallery testimonials the usage of Divi’s Wedding Planner Layout Pack. Those gallery testimonials allow you to hyperlink testimonials in your portfolio and get one step nearer to changing guests into leads and in the end into shoppers. When you’ve got any questions or ideas, be sure to go away a remark within the remark phase under!
The submit How to Create Stunning Gallery Testimonials with Divi seemed first on Elegant Themes Blog.
WordPress Web Design