
I’ve devoted an important period of time to looking to achiev of double-sided printing and slicing the use of a Cricut. In spite of the abundance of on-line guides, persistently aligning designs completely on all sides all through slicing remained a problem. Due to this fact, I embarked alone adventure of trial and blunder and ultimately found out a a success means.
Why make a selection double-sided printing, you could surprise?
Whilst Cricut’s print and minimize function is usually dependable, the true take a look at comes with tasks like double-sided trade playing cards, or thanks playing cards, the place precision in each design alignment and slicing is a very powerful.
On this information, I’ll lead you during the steps to create a double-sided thanks card with designs on all sides. We’ll get started through developing the design, then transfer directly to uploading it into Cricut Design Area, and after all, print and minimize it with as with reference to easiest alignment as imaginable.
Environment Up Your Design
Get started through launching Cricut Design Area. Choose “Shapes” and insert a rectangle onto your canvas. Resize it to function a reference on your design’s most slicing measurement.
This step is a very powerful for later precision.
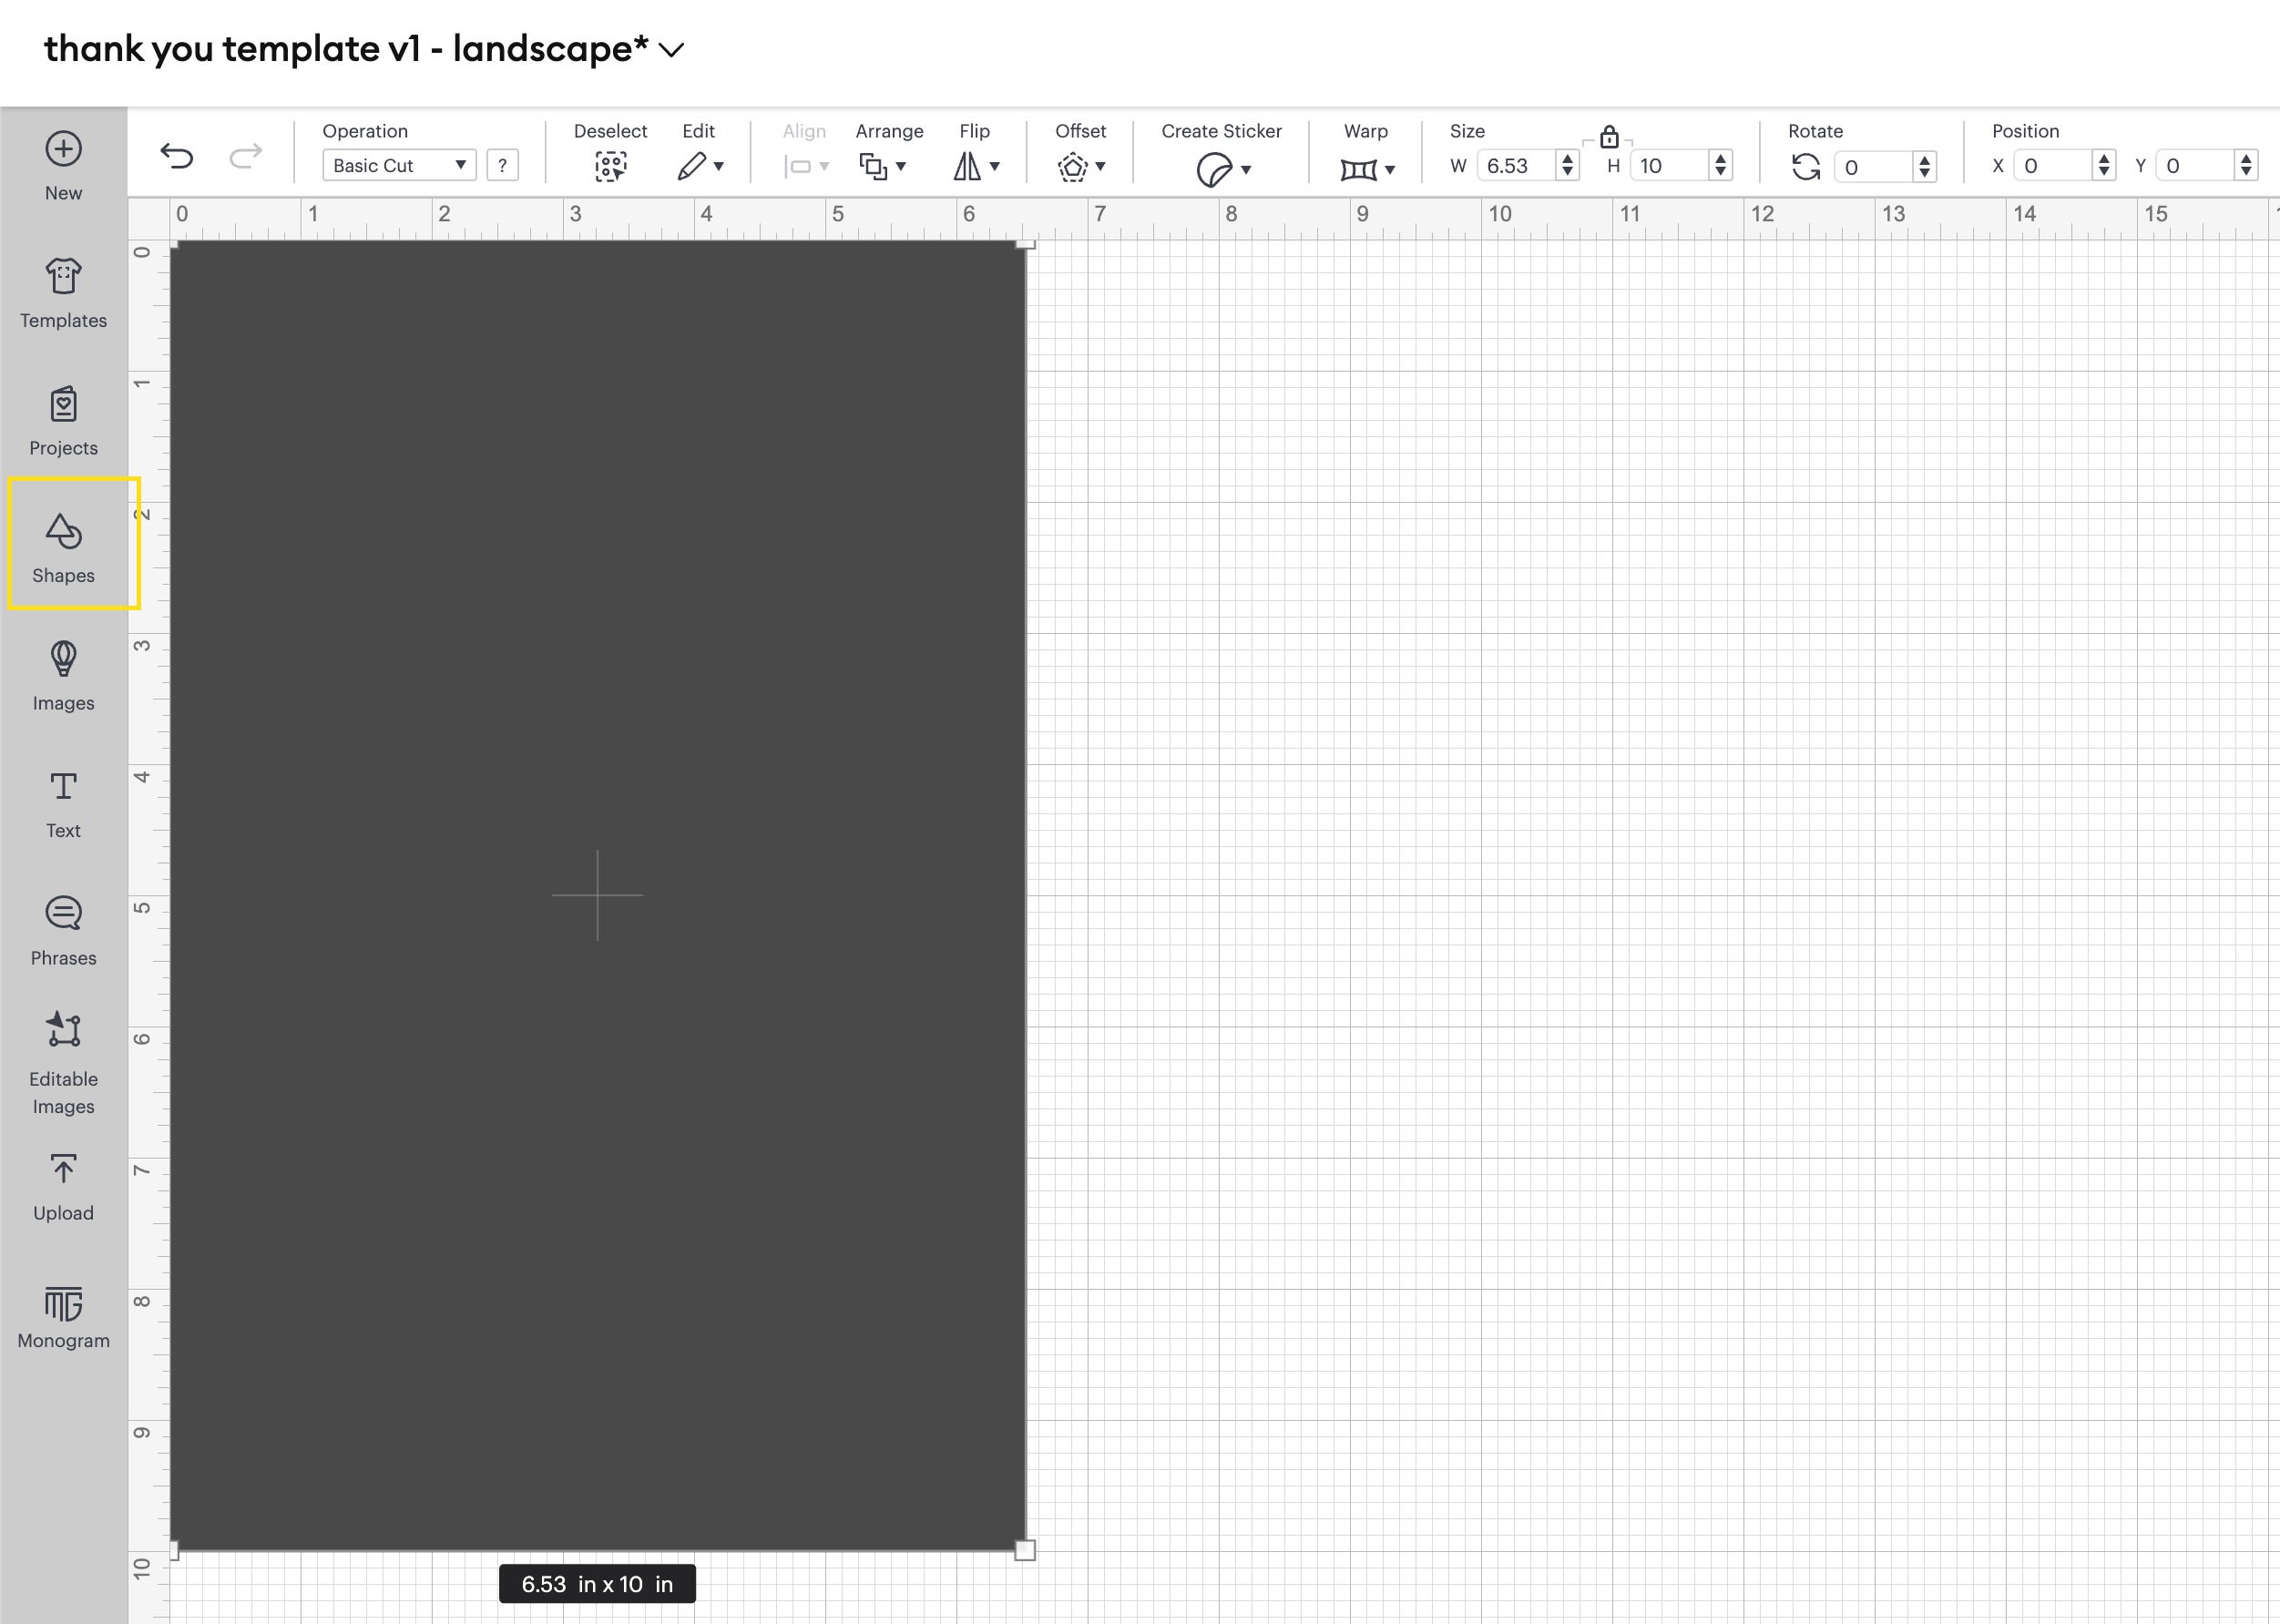
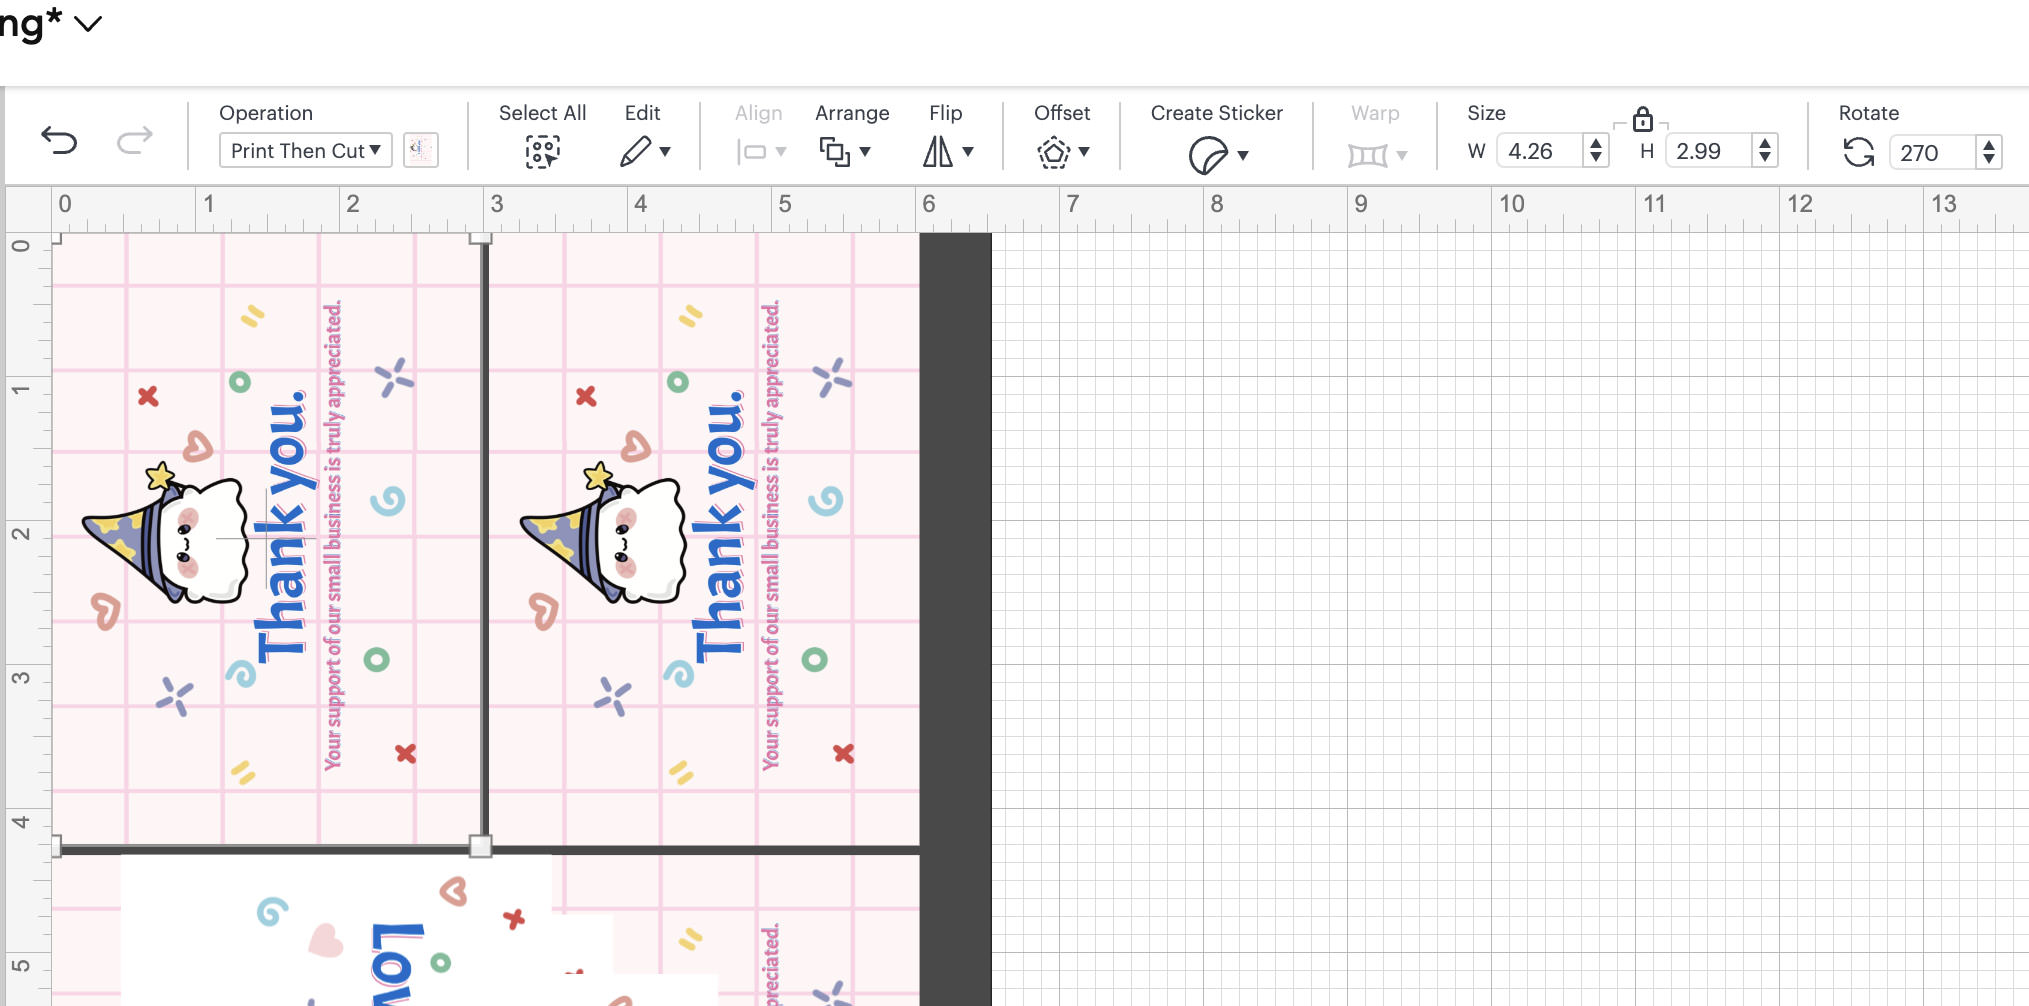
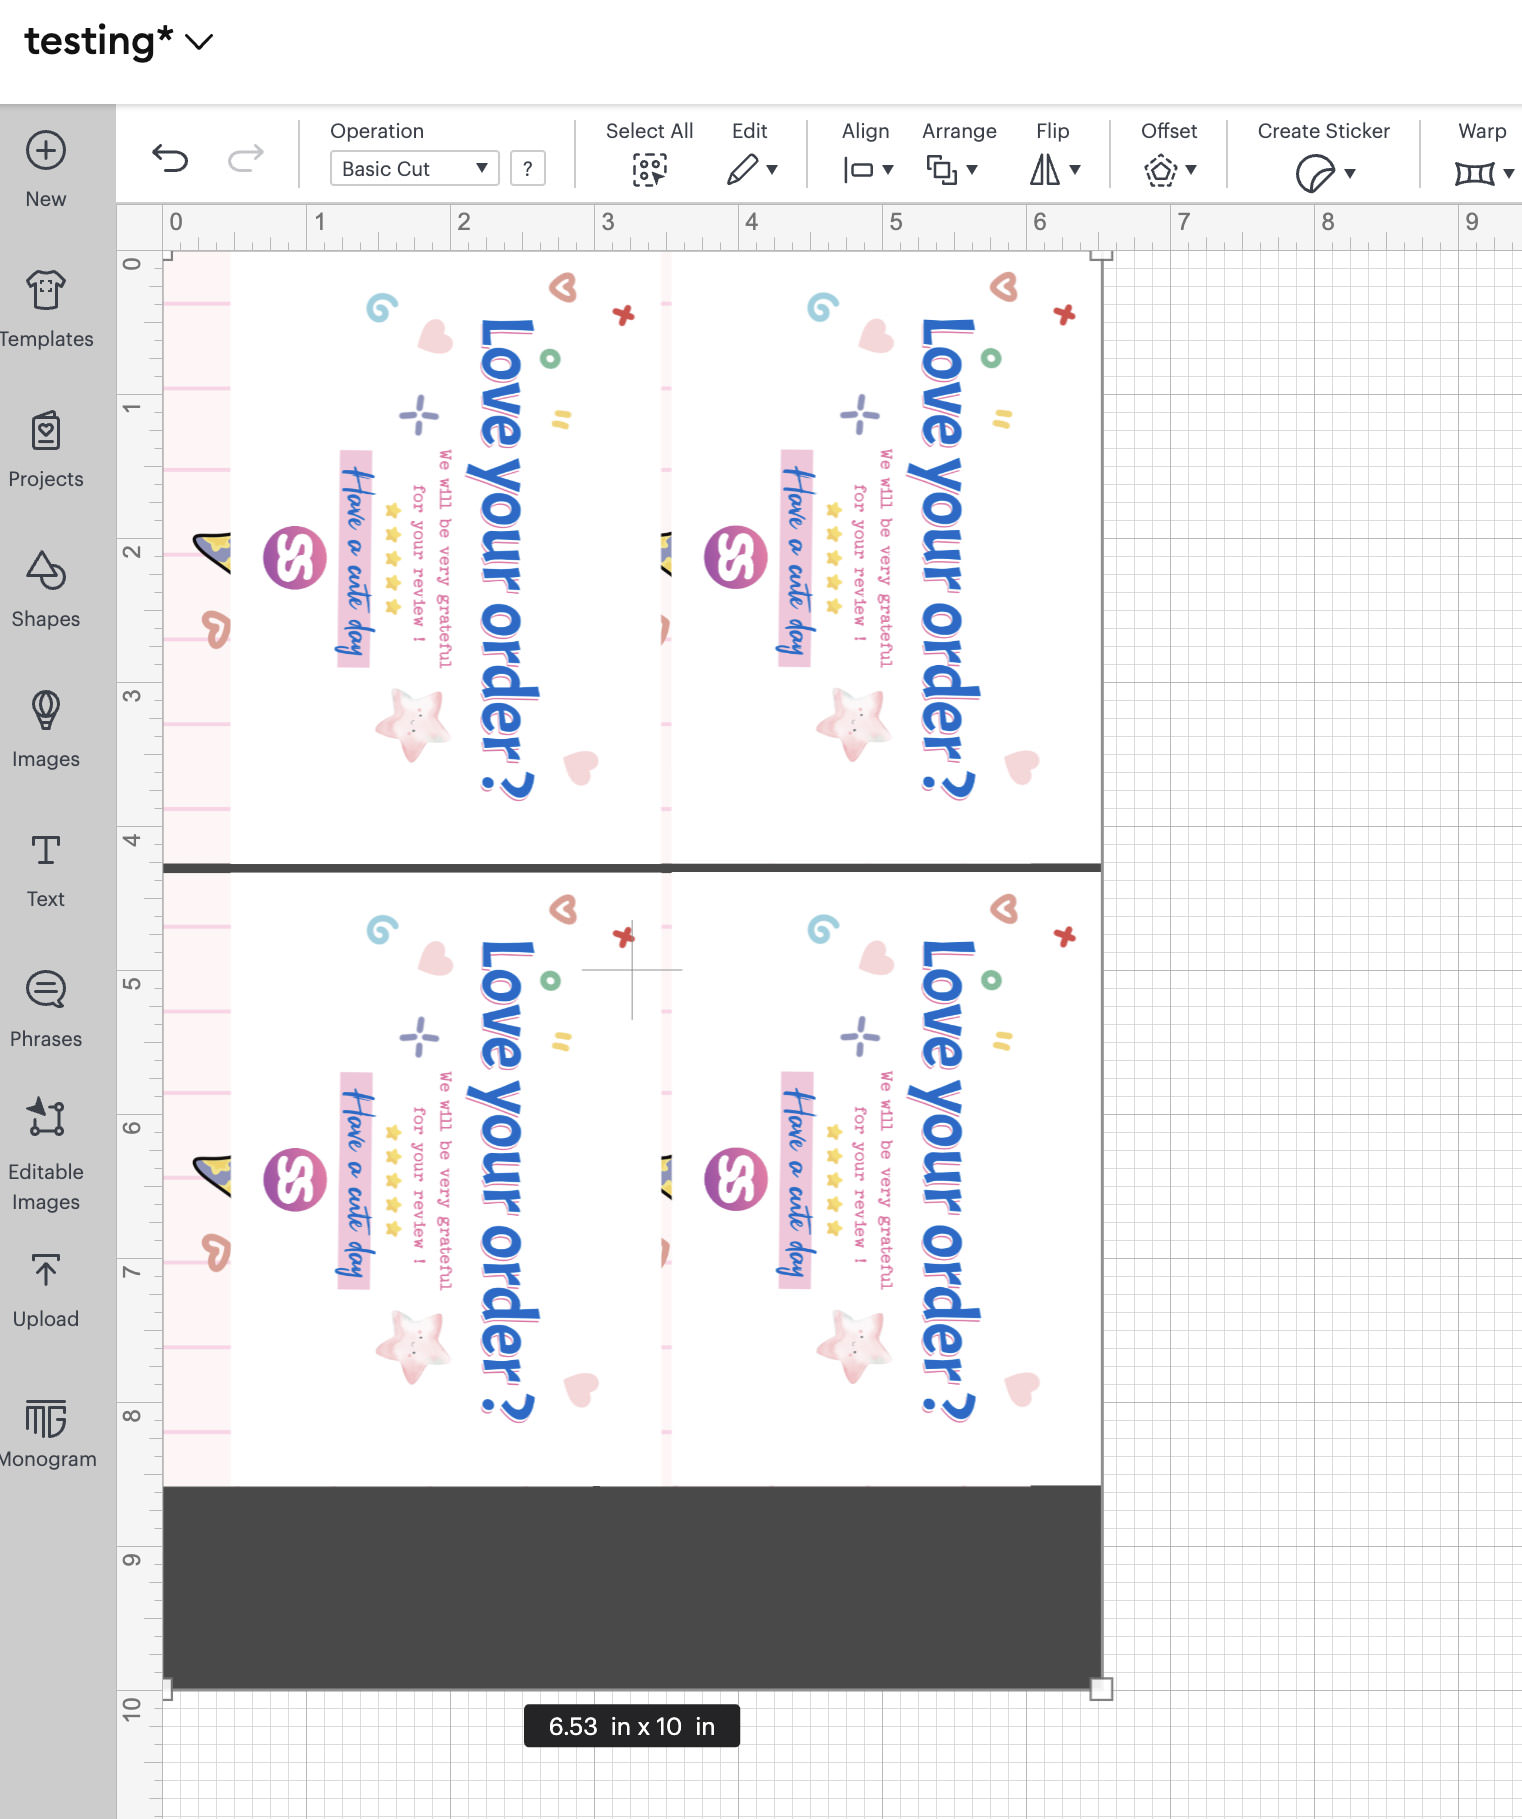
I take advantage of the Cricut Maker 3, so I set my rectangle’s measurement to 6.53 inches in width and 10 inches in peak, which could be very with reference to the utmost slicing measurement.

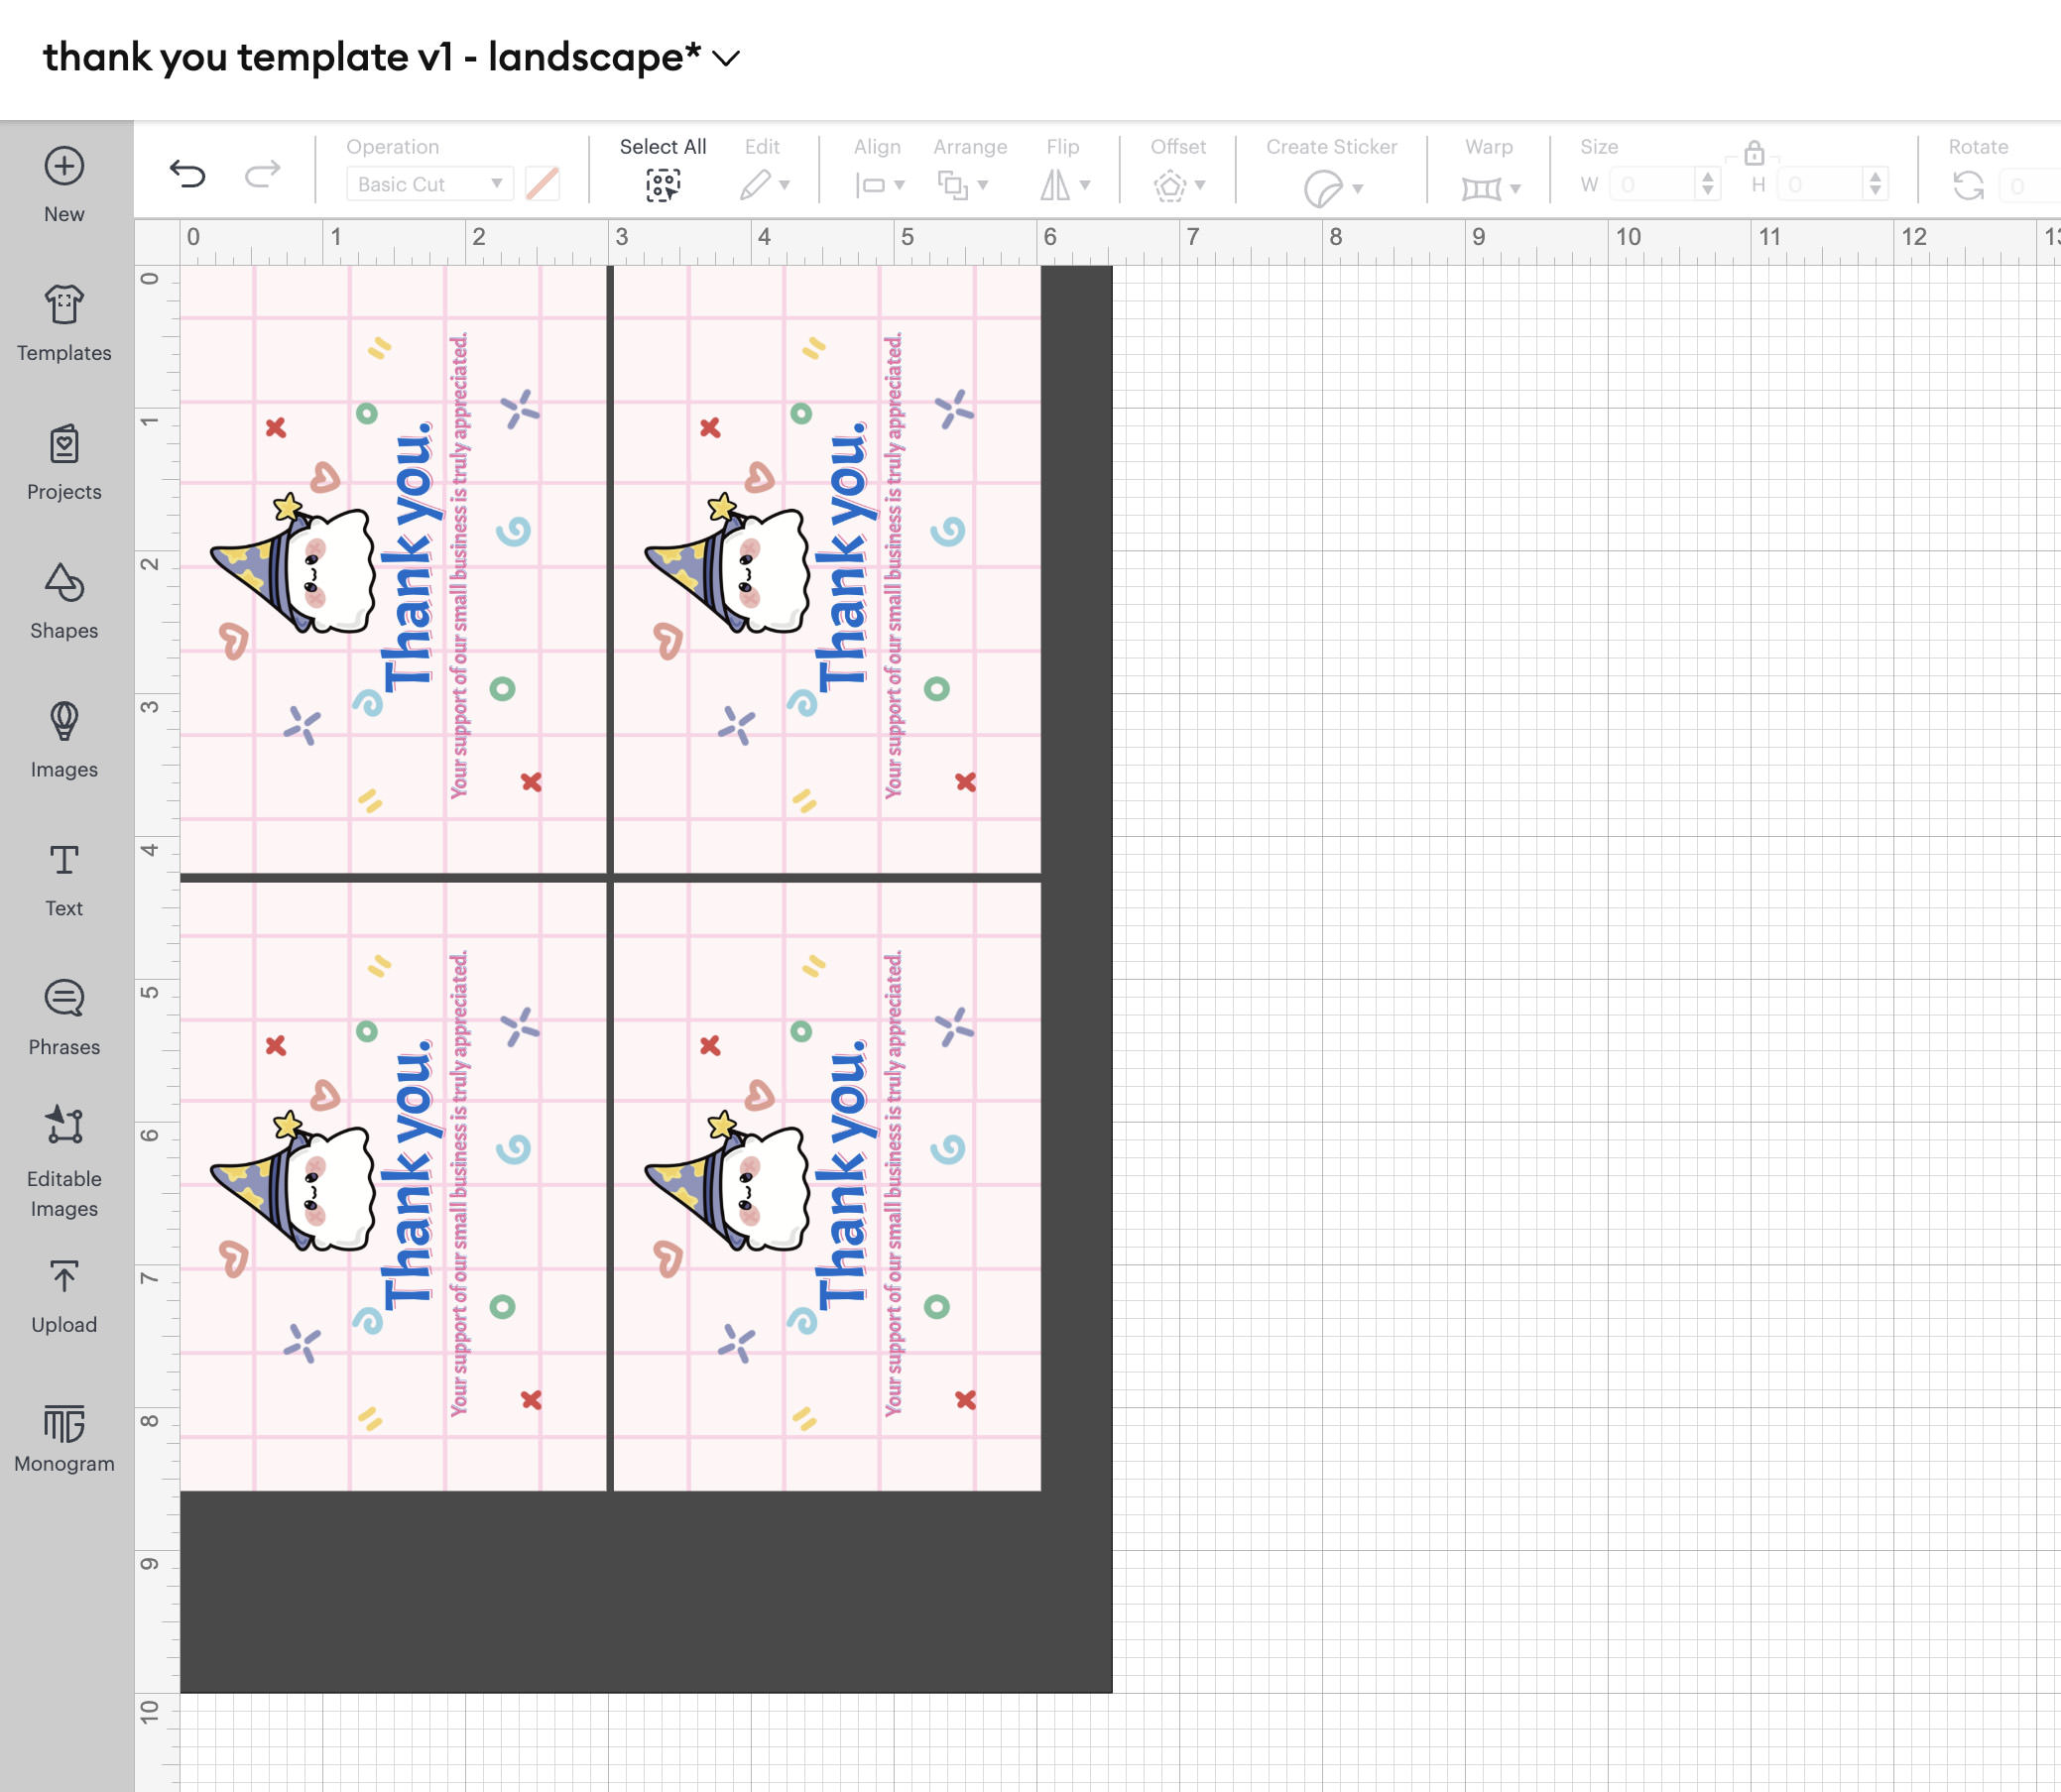
After developing each the back and front designs of the thanks card in Photoshop, I first imported the entrance design into the canvas. Then, I duplicated it 3 times, leading to a complete of 4 designs, as proven within the screenshot under.
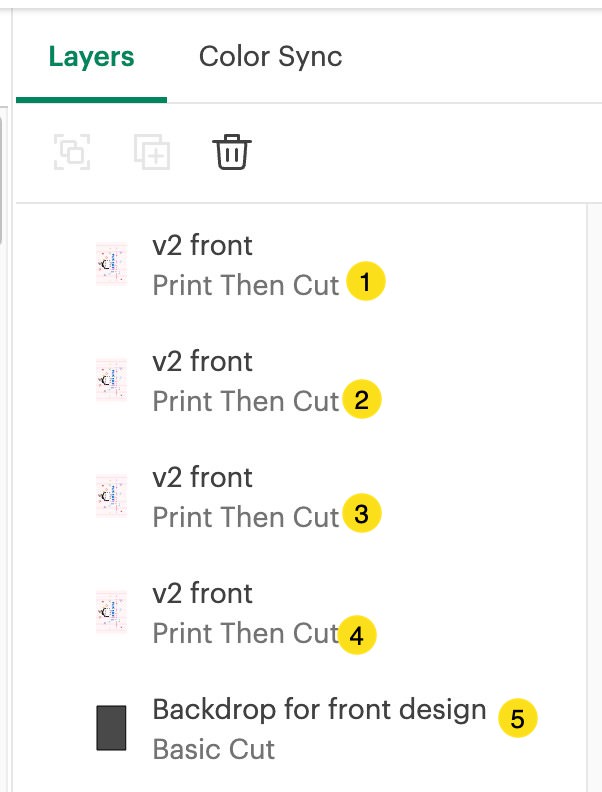
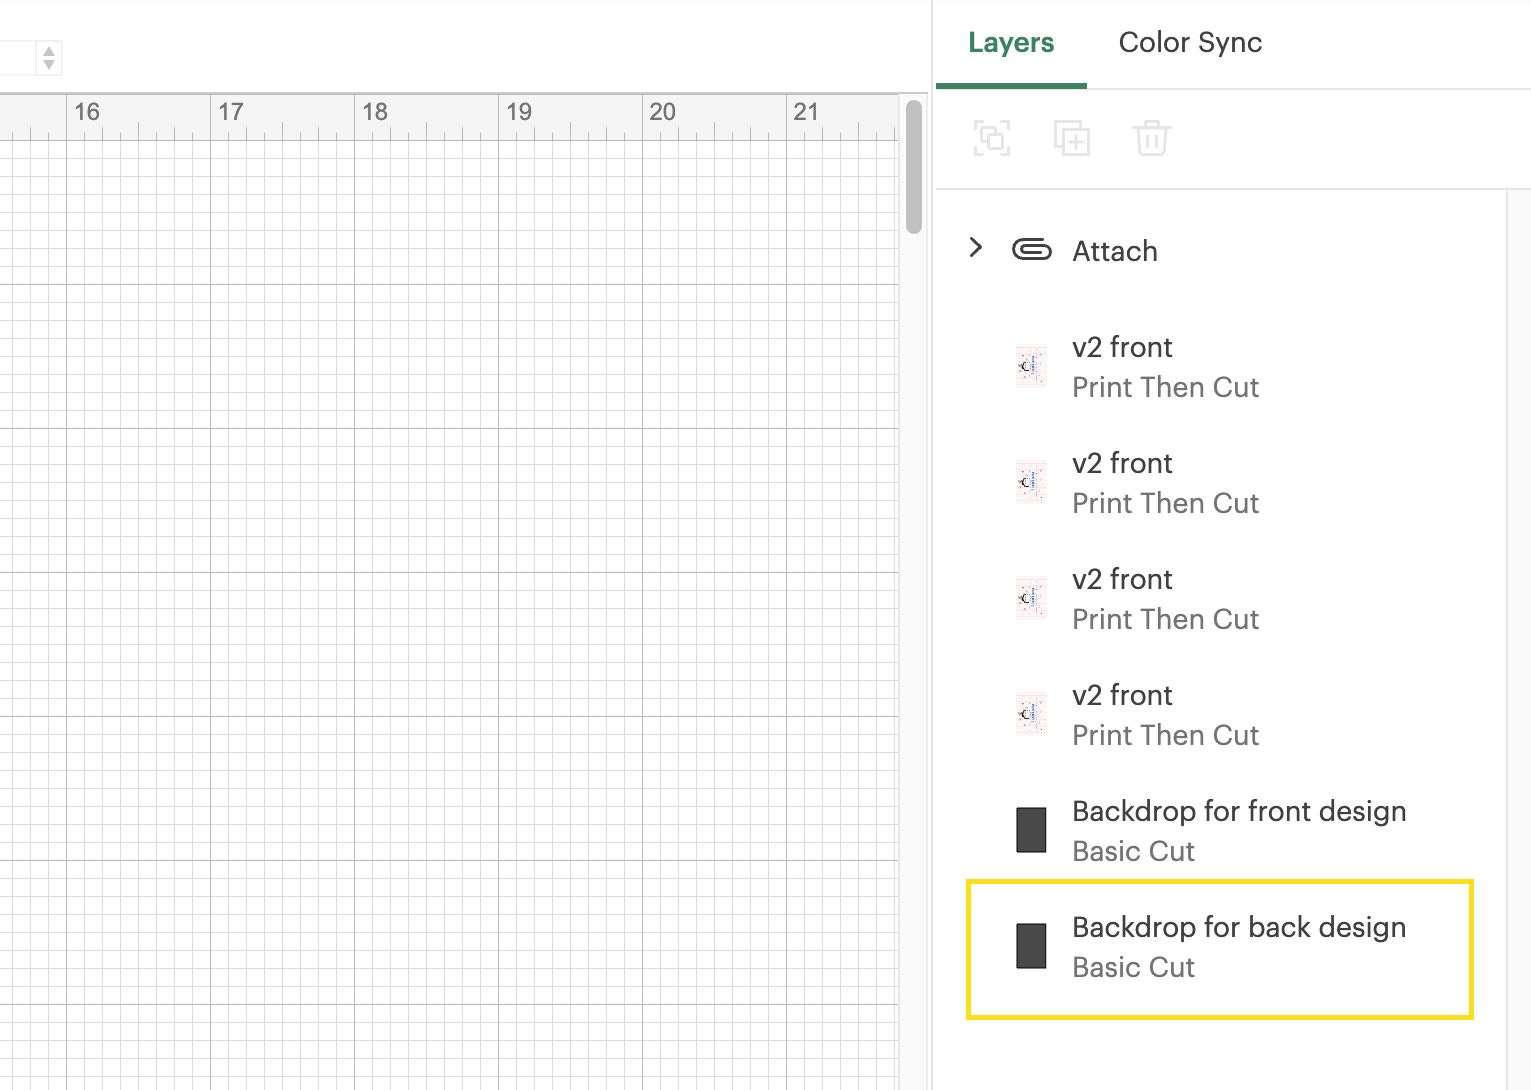
The Layers panel displays 5 pieces: 4 entrance designs and one backdrop for the entrance design.
Subsequent, I’ll import the thank-you card’s again design and copy it 3 times, making a complete of 4, identical to the entrance’s design previous.
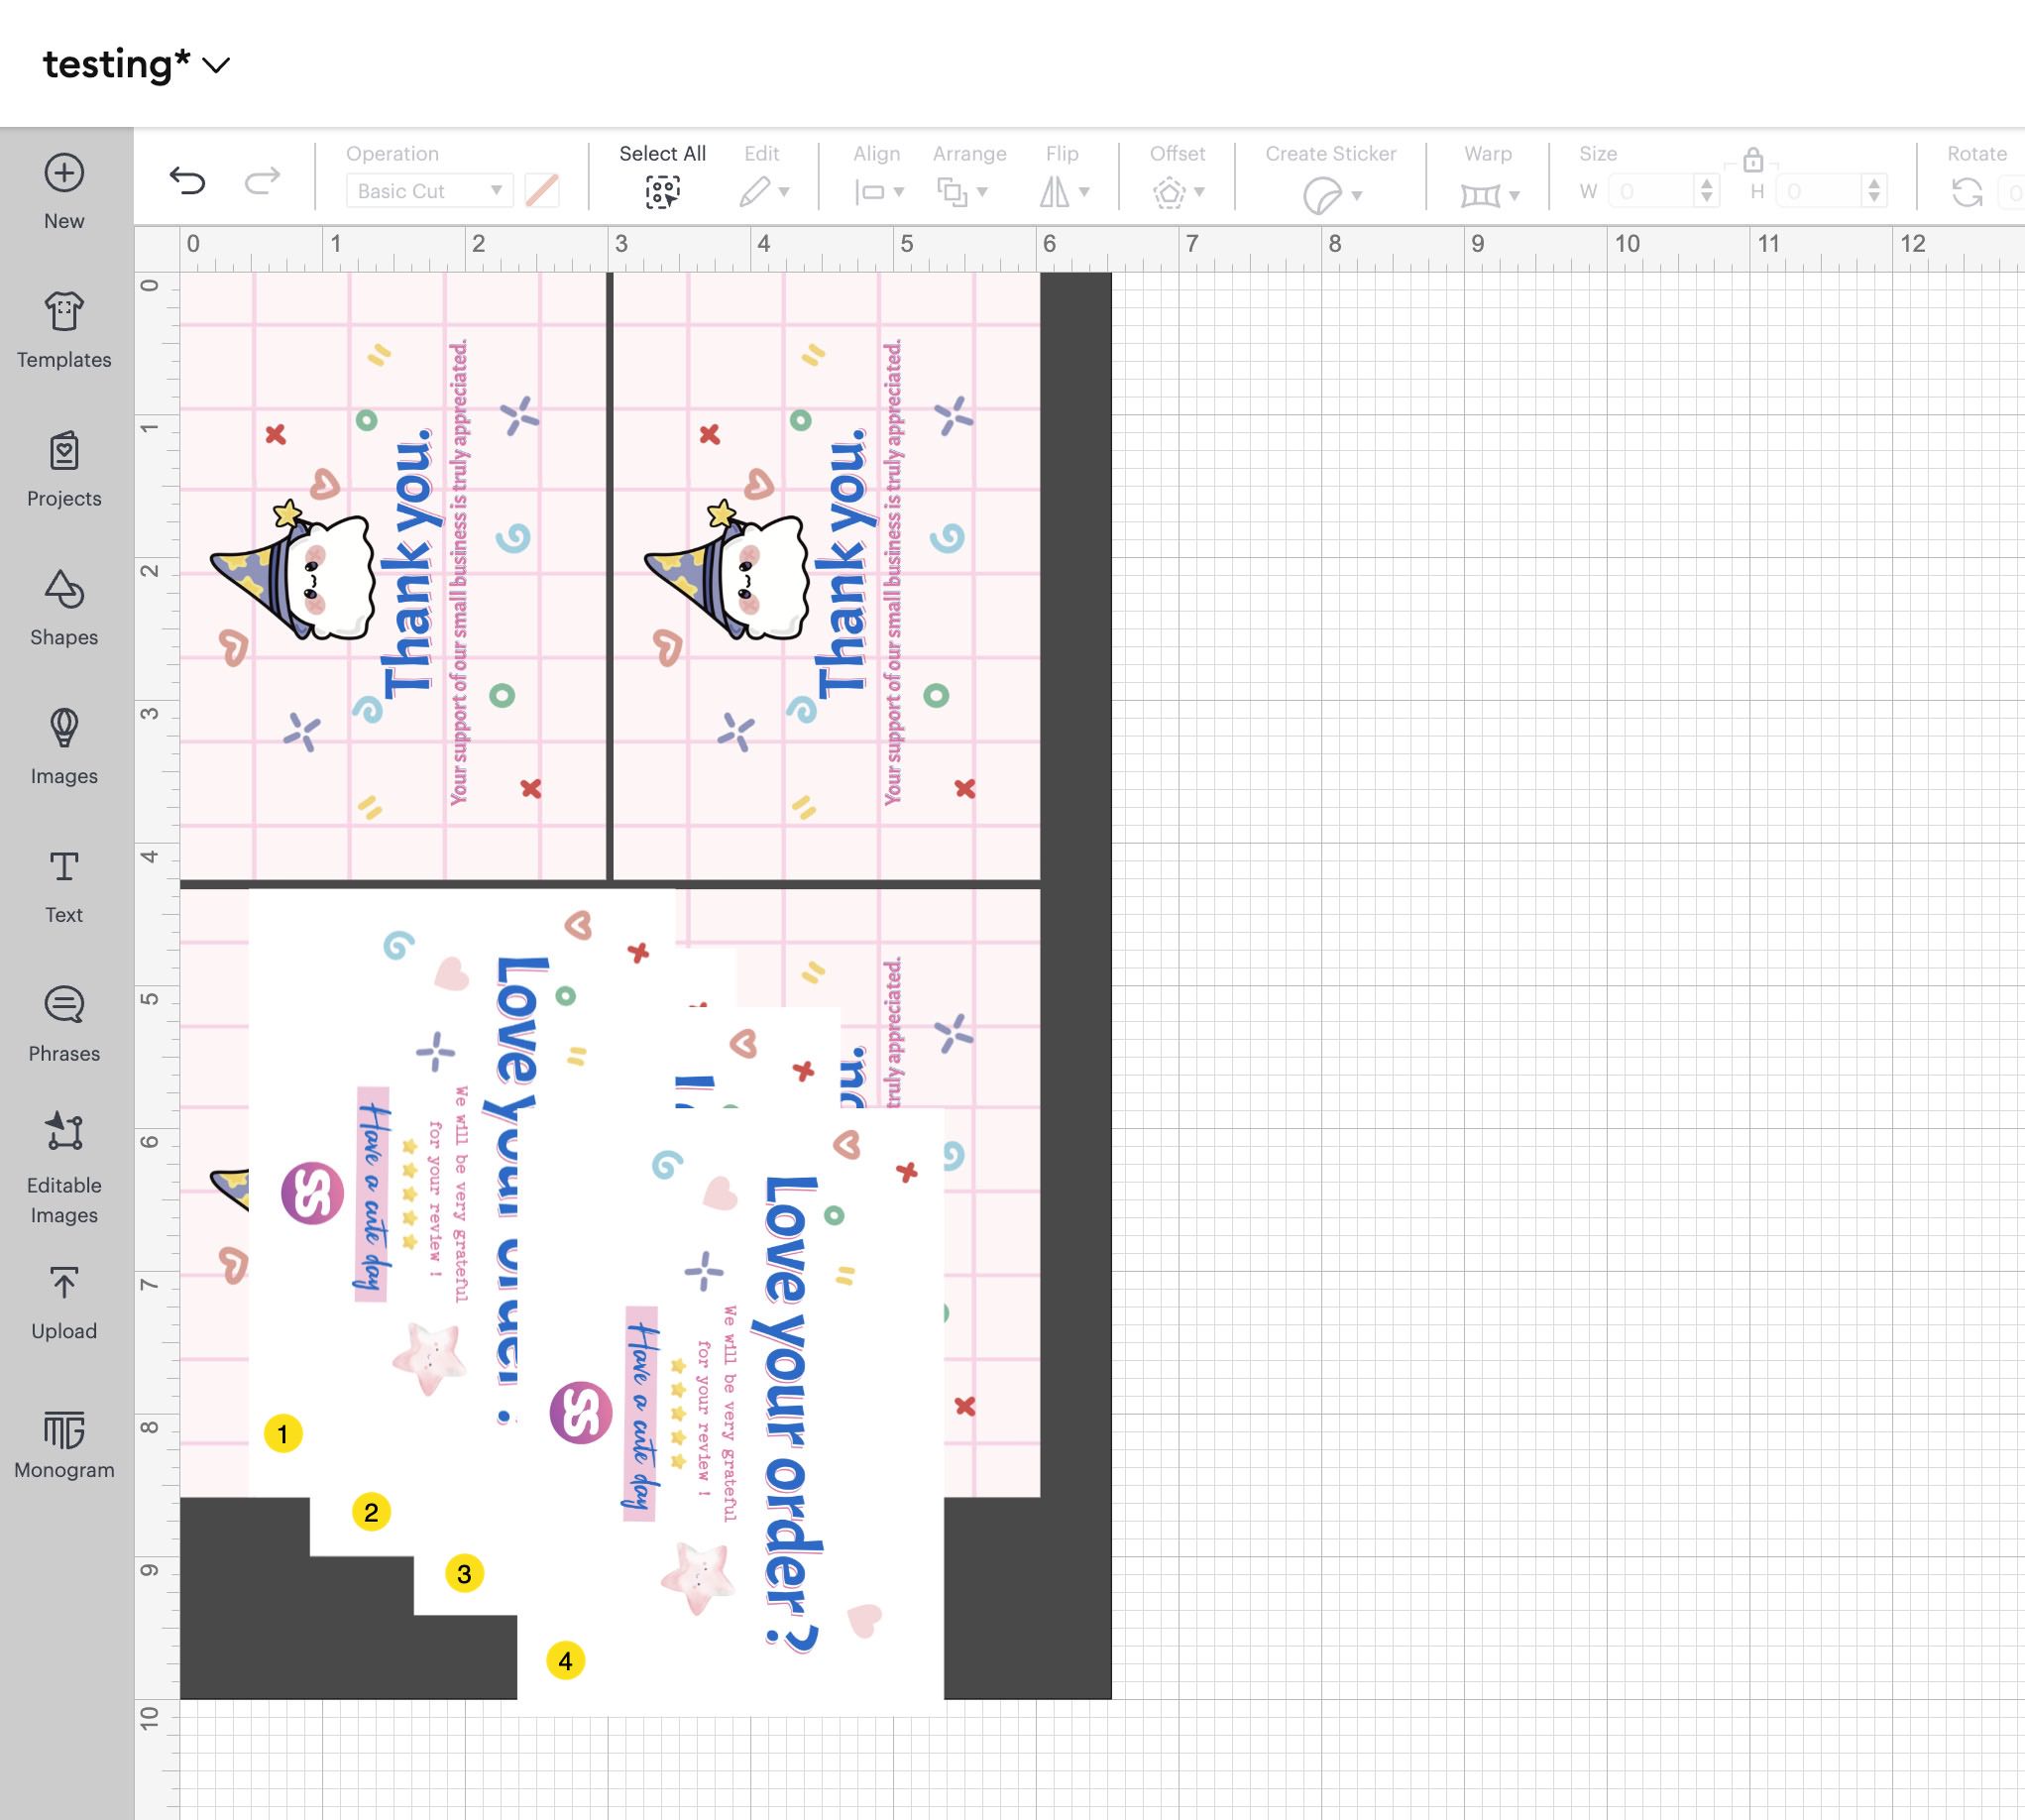
Then, each and every of them is situated exactly over its corresponding entrance design. As an alternative of manually aligning them, use the X and Y coordinates from the entrance design for actual placement.
Reproduction any other backdrop for the again designs. Label them distinctly to keep away from confusion later.
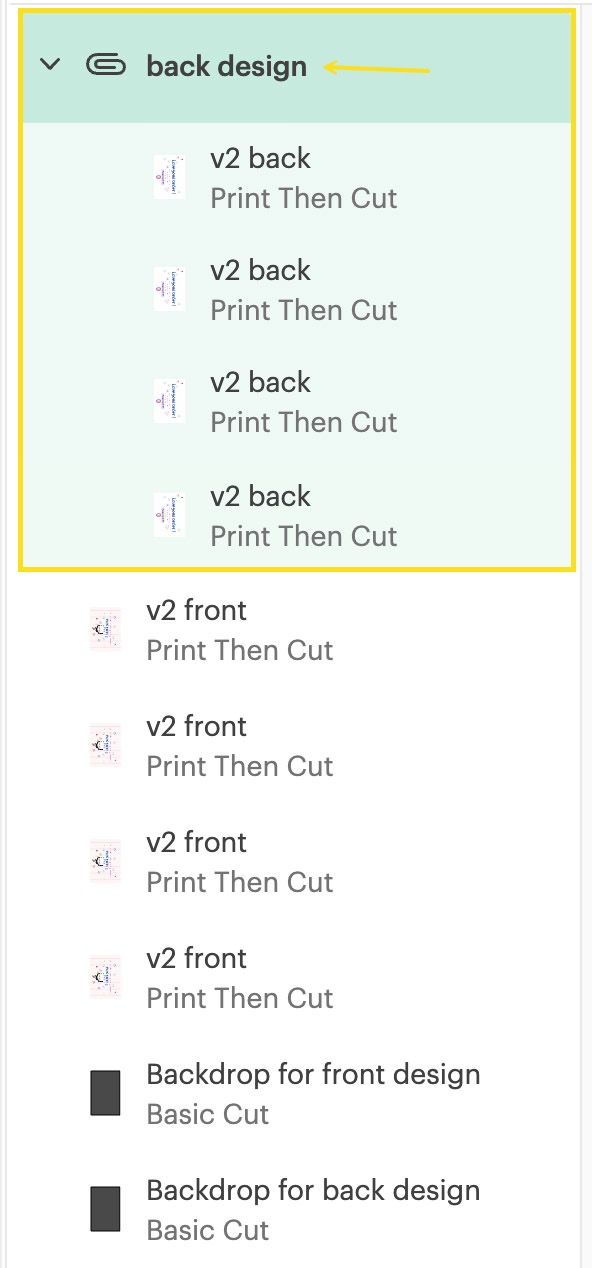
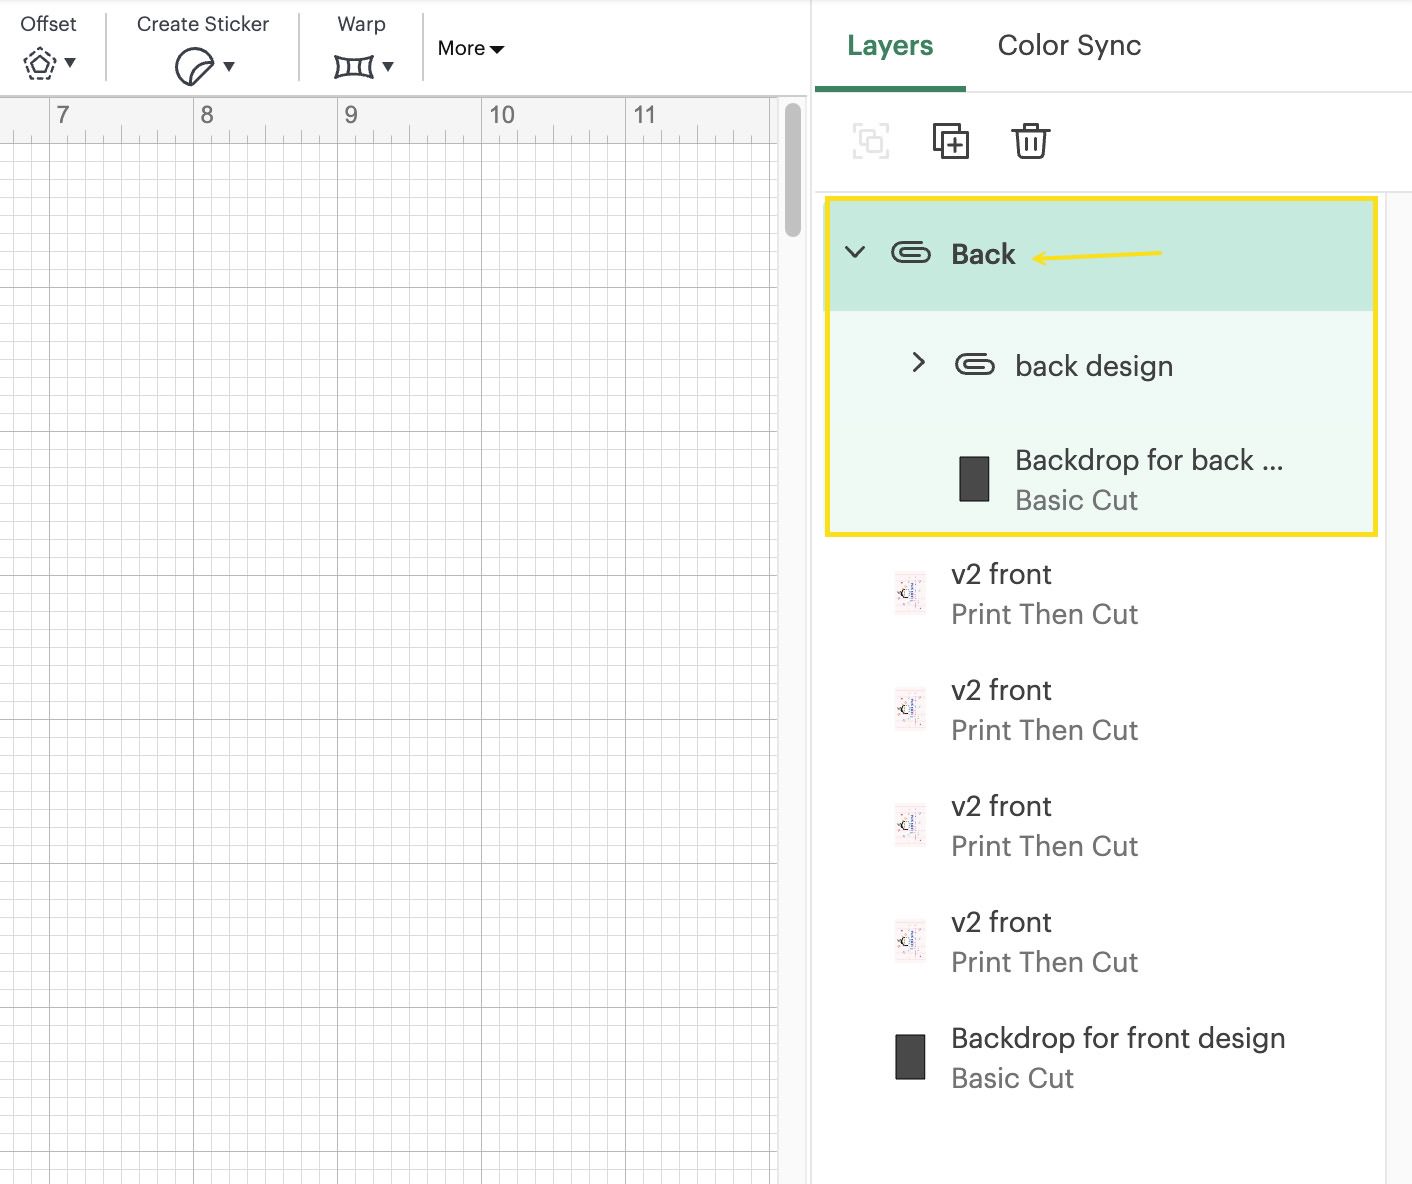
Within the Layers panel, connect all 4 again designs and title the gang “again design.”
Choose the “again design” team and its backdrop, then align them to the appropriate.
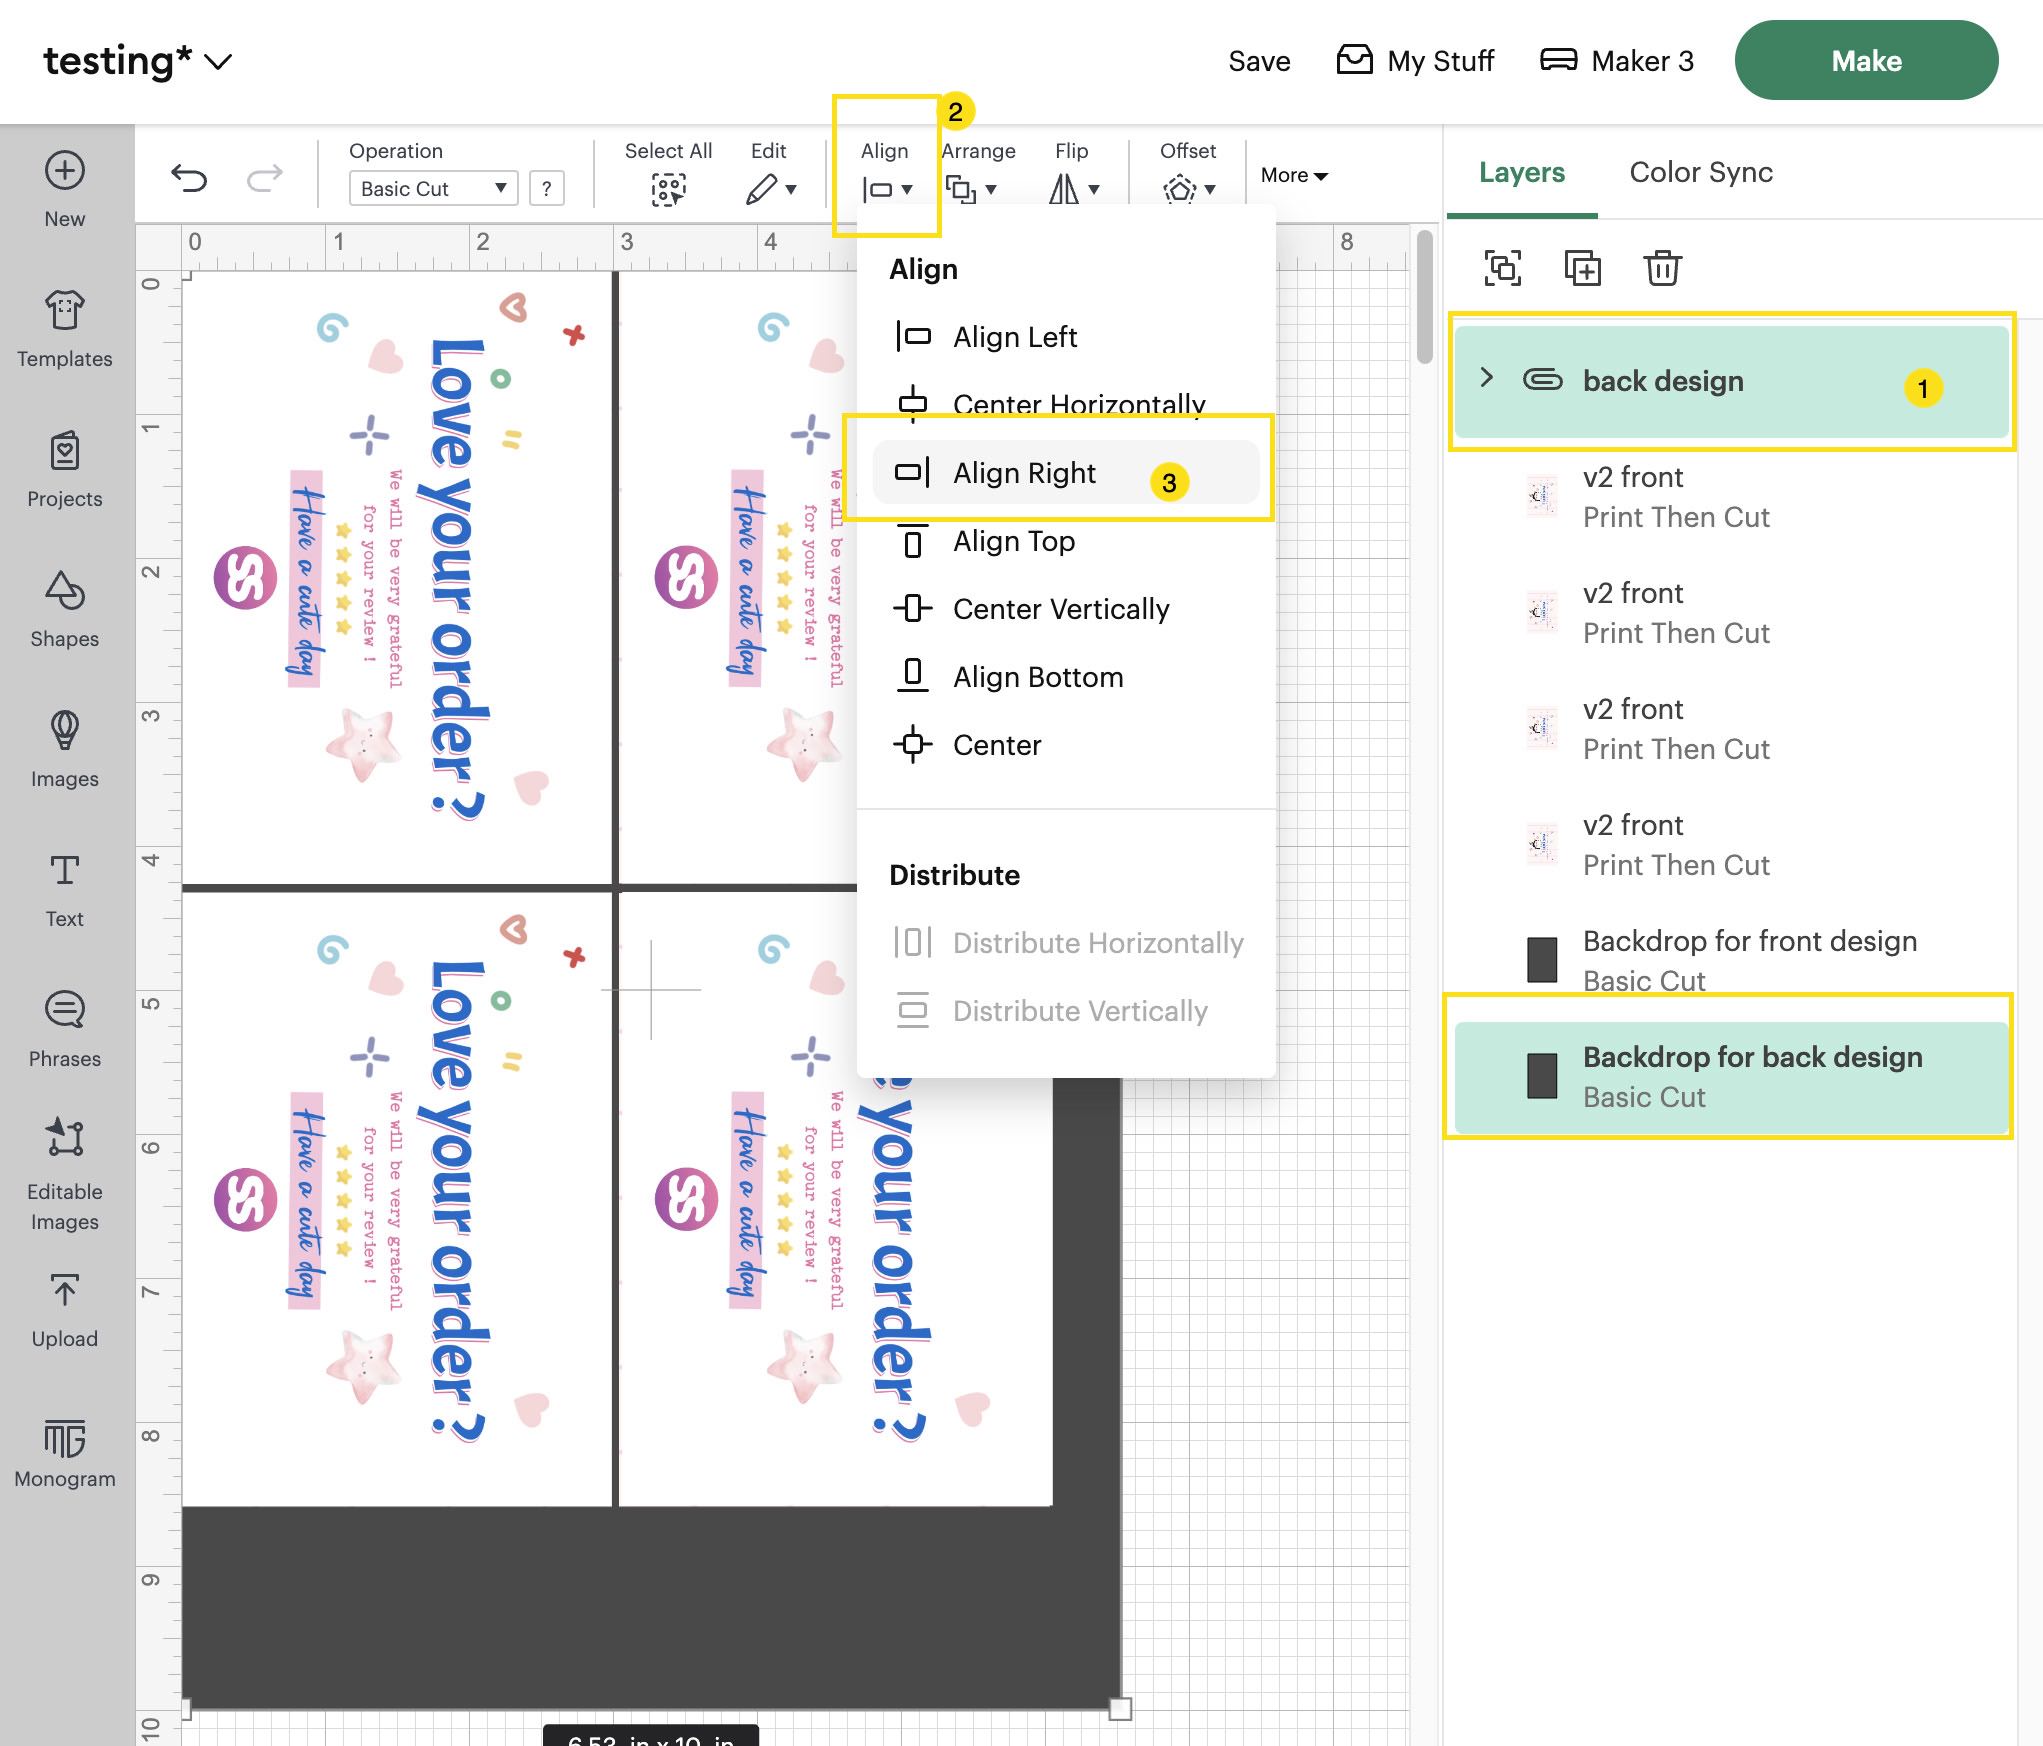
This may occasionally transfer them horizontally whilst keeping up their vertical place, as proven within the screenshot under.
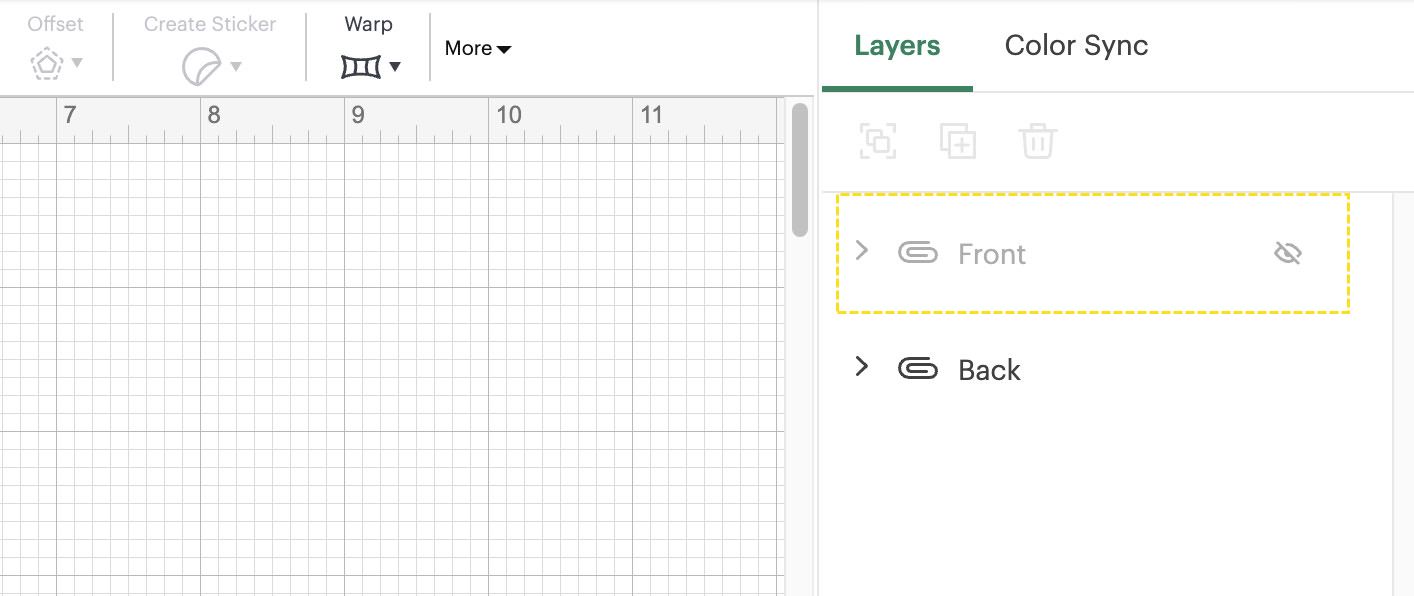
Connect the “again design” team and its backdrop in combination, naming it “Again.”
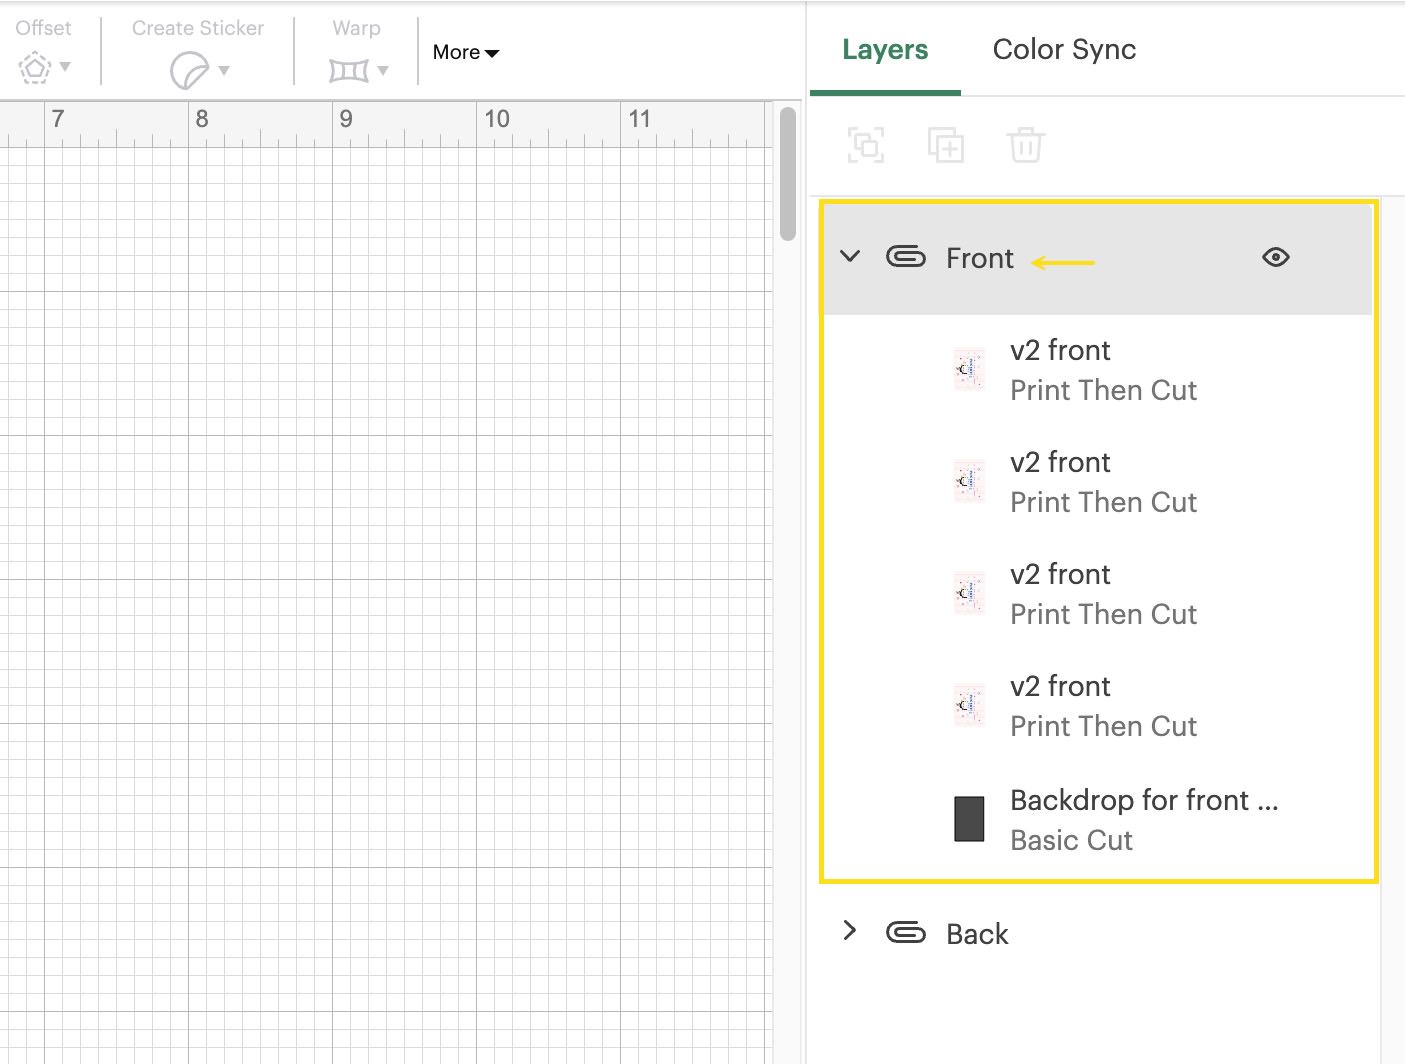
Repeat a an identical procedure for the entrance designs, naming the gang “Entrance.”
The Print and Lower Procedure
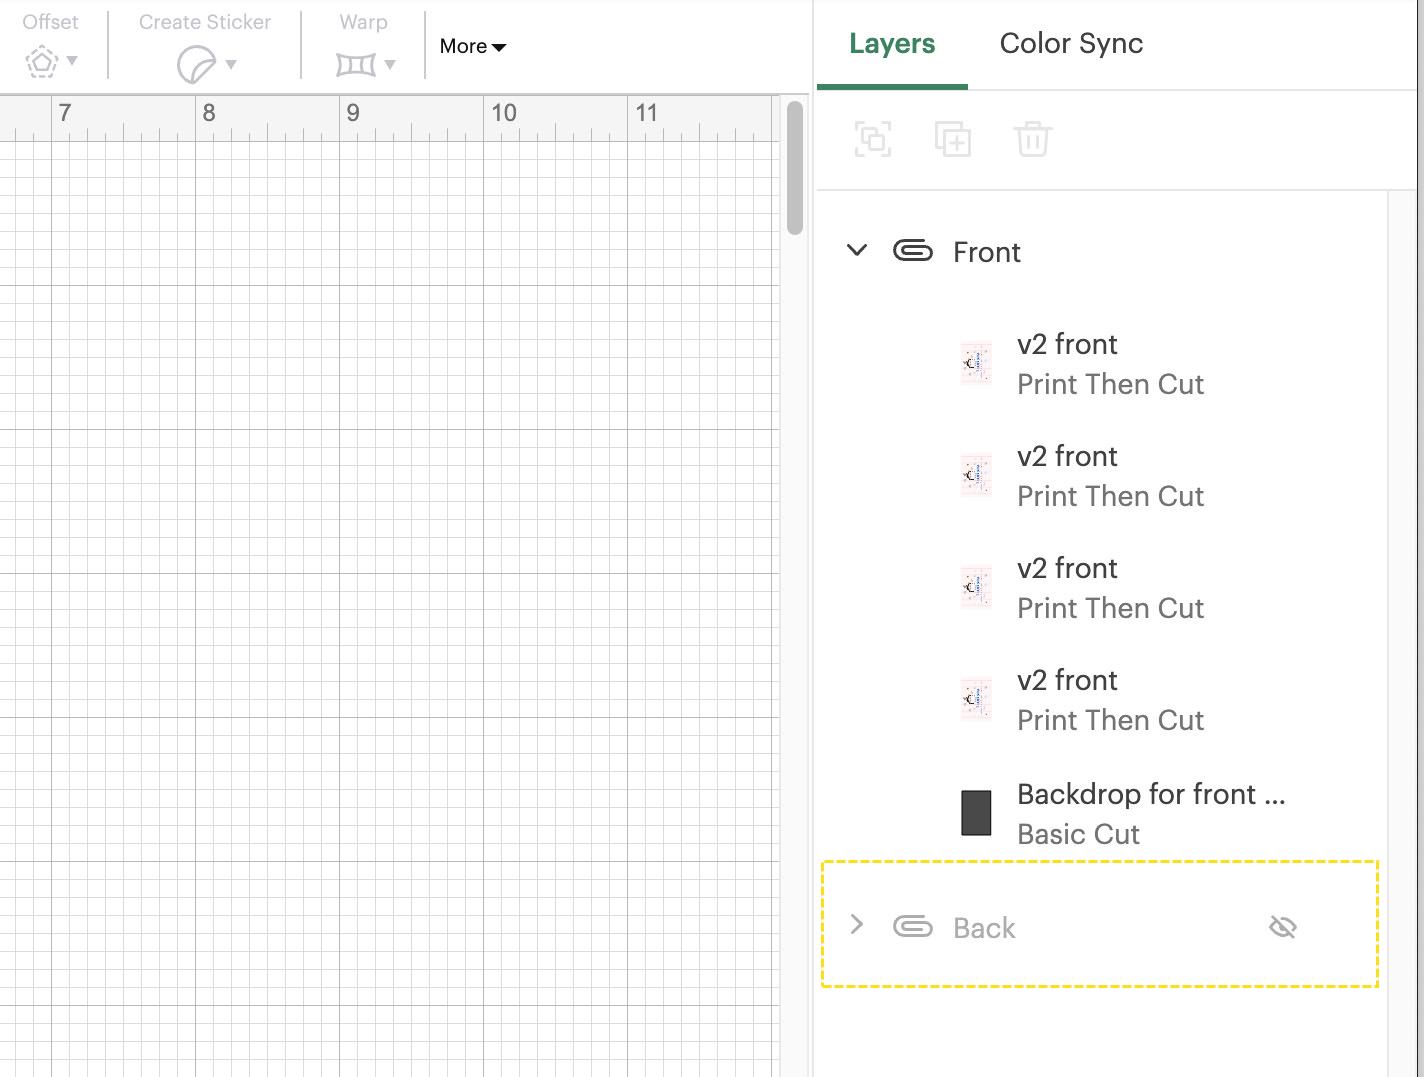
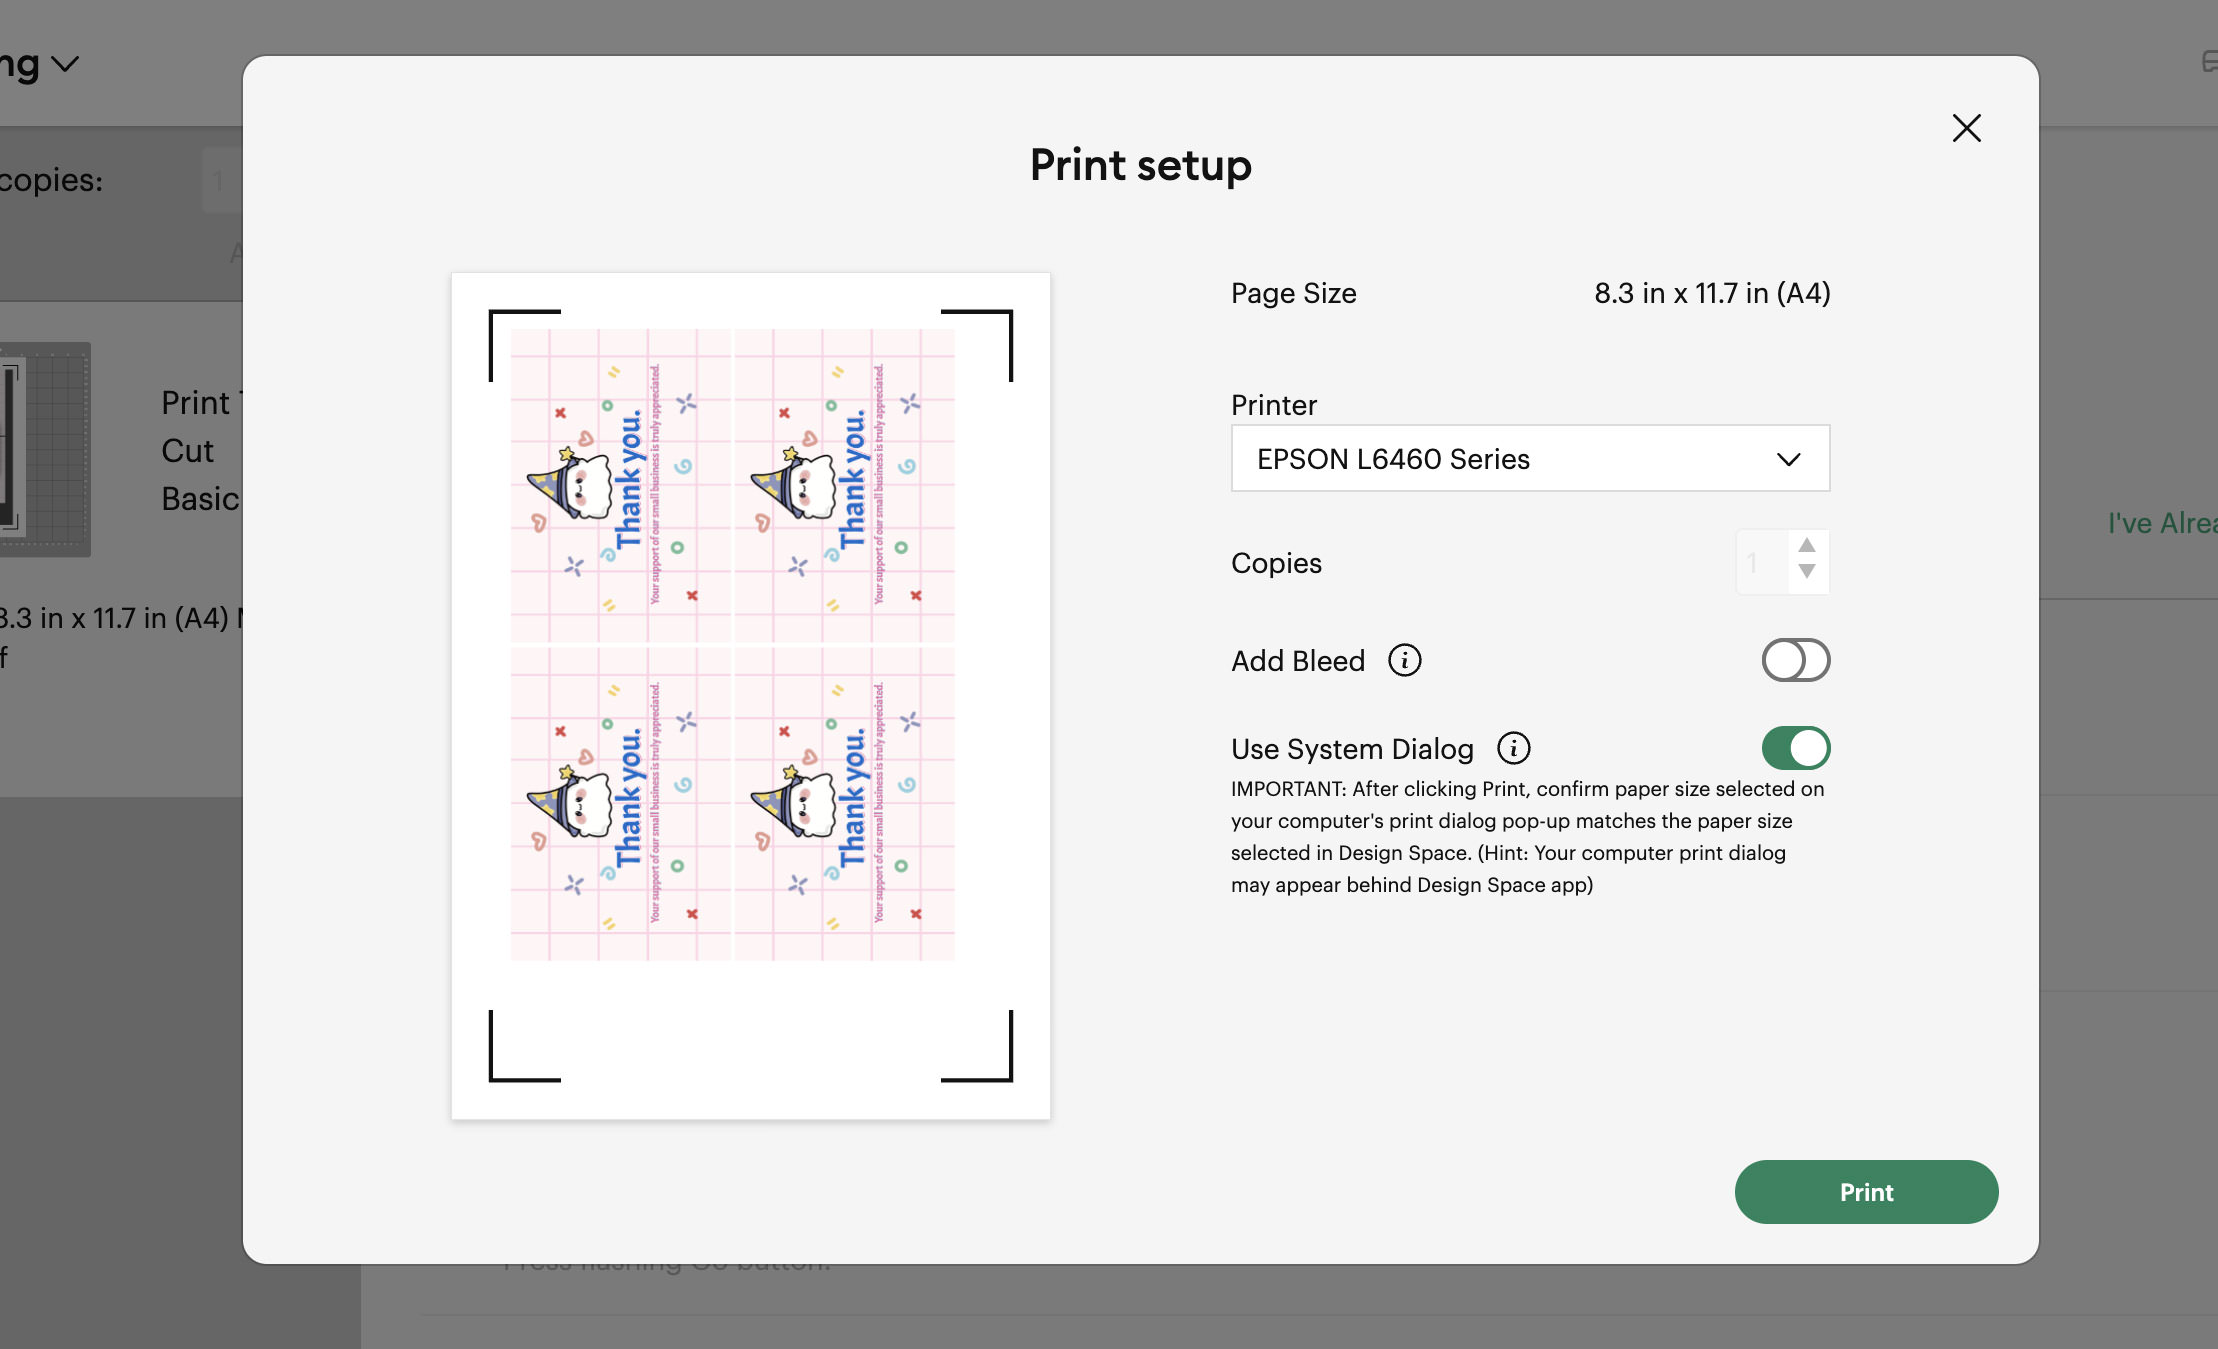
With the setup entire, it’s time to print the thank-you card. First, conceal the “Again” team , click on “Make” and continue to print the entrance design.
Be certain that to show off “Upload Bleed” and activate “Use Machine Discussion” within the printer setup.
After printing the entrance, cancel the slicing procedure to go back to the canvas. Turn the broadcast sheet and reinsert it into the printer for the again design.

Again in Cricut Design Area, conceal the “Entrance” layer, make the “Again” layer visual, and print the again design.
As soon as published, position it for your Cricut slicing mat with the again design going through up. Then continue to set the base subject matter and let Cricut do the slicing. You will have to finally end up with completely aligned back and front designs after slicing.
I am hoping this information complements your crafting revel in. Glad crafting!
The publish Mastering Double-Sided Print and Lower with Cricut seemed first on Hongkiat.
WordPress Website Development Source: https://www.hongkiat.com/blog/double-sided-print-and-cut-cricut/