
If you’re in quest of to run your WordPress web site in a miles smoother surroundings, then putting in place your WordPress on localhost, akin to XAMPP, is without equal answer you will have. It provides you with the freedom to tweak round with issues and plugins and performs an important position for your workflow.
Contents
5 Causes Why You Will have to Expand Your WordPress Website on Localhost
So far as the importance of localhost is anxious, here’s a listing of the reason why you will have to believe launching your WordPress web site on localhost sooner than importing it to a web-host:
- It incurs no value.
- It’s the maximum safe platform for checking out your web site.
- No exterior affect is concerned providing you with the leverage of being as versatile as you need.
- You’ll be able to carry out extra successfully and briefly.
- You undergo no downtime.
However, sooner than we pass forward with teaching our readers on how they are able to setup an final localhost surroundings for WordPress, it’s first important that they will have to know what XAMPP is.
Supporting PHP 7, XAMPP is a light-weight device that allows you to create an excellent cyber web server surroundings in your native device for checking out your WordPress web site. It’s composed of 4 parts; Apache, MySQL, PHP, and Perl.
Even supposing, you’ll run XAMPP surroundings on Mac and Linux, then again, nowadays we’re going to train you the way you’ll arrange XAMPP on Home windows 10.
Putting in XAMPP
First off, obtain XAMPP from a competent supply such because the Apache Friends web site.
The report measurement is round 109 MB. Once your obtain completes, start up the launcher. XAMPP setup wizard is all that you wish to have to steer you in the course of the set up.
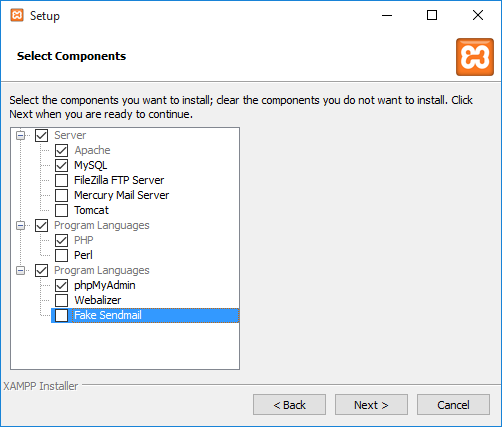
Click on Subsequent. It’ll lead you to a brand new display the place you’ll customized make a selection the parts that you just want to set up for your localhost. Since, we wish to run WordPress in our localhost surroundings, depart MySQL and phpMyAdmin checked and uncheck the rest choices.
Create the listing trail the place you want to set up your XAMPP report; as an example, C:Program FilesXAMPP.
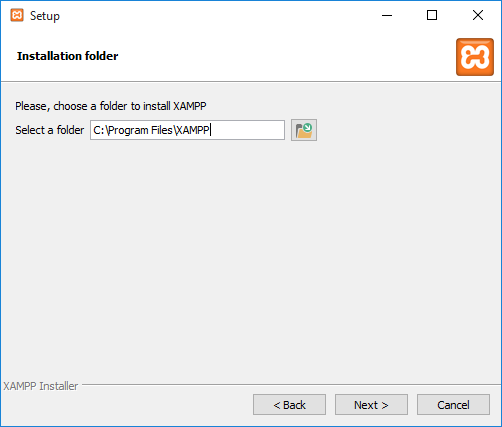
After offering the basis trail to the listing, click on Subsequent and look forward to XAMPP to put in required recordsdata in your native device.
Out of your working device’s Programs folder, navigate to the XAMPP subfolder and release XAMPP Regulate Panel. The next display can be proven:
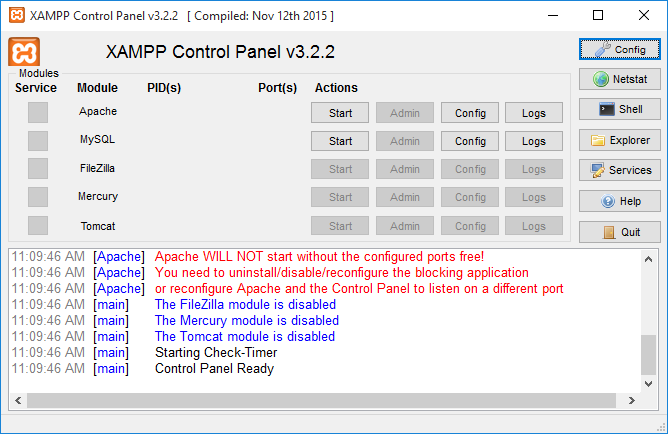
See all that crimson textual content! This occurs when you’ve got port mistakes in your native device.
Solving Port Mistakes
XAMPP generally activates mistakes when different other systems are working on port 80 and 443. Those two ports are required by way of Apache and MySQL to run.
As a way to repair the mistakes associated with ports, apply those easy steps:
- Cross to Get started, kind in “services and products.msc”, and make a selection the most efficient fit.
- Scroll down within the Products and services window to seek out Global Extensive Internet Publishing Carrier.
- Proper-click on it and make a selection Forestall.
- This will have to unlock port 80. Whilst you restart XAMPP, it will have to run with out mistakes.
If the problem stays unresolved, you’ll drive unblock the ports by way of implementing a brand new firewall rule:
- Open Home windows Firewall in your device and click on on Complex Settings at the left
- Click on on Inbound at the left after which at the a long way proper, click on New Rule.
- Click on Port after which TCP. Within the box beneath for Particular Port sorts in “80, 443” and click on Subsequent.
- Test Permit the Connection field after which click on Subsequent.
- Ensure all choices are checked and click on Subsequent.
- Within the Identify box, input no matter you need, however for the sake of consistency let’s kind in LOCALHOST1. Click on End.
- Now repeat steps 1-6, however identify this new rule LOCALHOST2 and click on End.
- Restart your laptop.
By way of imposing those steps, you’re going to see that ports 80 and 443 at the moment are in the neighborhood open in your laptop.
Beginning Up XAMPP
As soon as your whole port mistakes are all fastened, we can proceed with putting in place the localhost surroundings. Needless to say the above steps are best appropriate if the working device observes port mistakes. On this case, it’s Home windows.
Now input XAMPP Regulate Panel, get started Apache and MySQL.
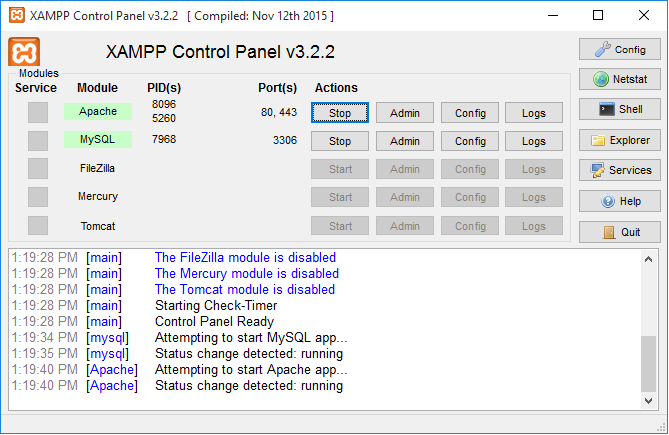
As you’ll see, each the services and products are operating completely now.
Growing A MySQL Database
To run WordPress on localhost, we require a database. The database is helping in organizing and securing the content material of your web site successfully.
To create a database, click on the Admin button within the MySQL possibility out of your XAMPP keep watch over panel.
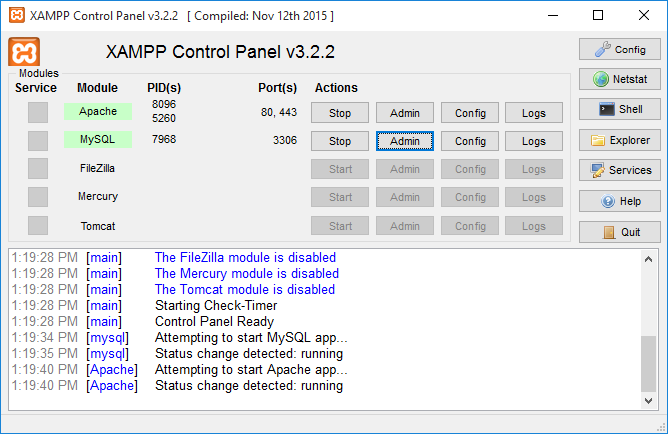
You are going to be navigated to phpMyAdmin window. It’ll mechanically pop open in your display.
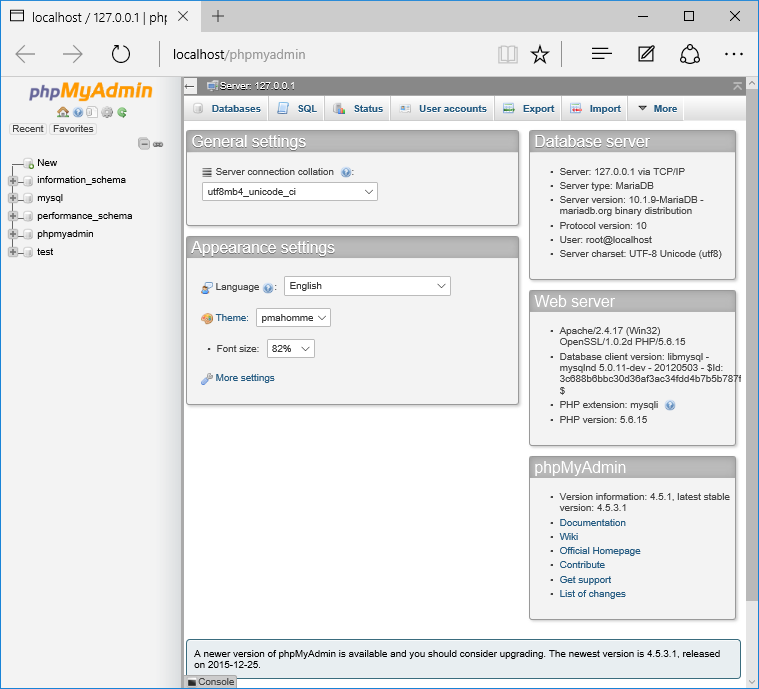
Within the menu bar of the phpMyAdmin, make a selection Databases.
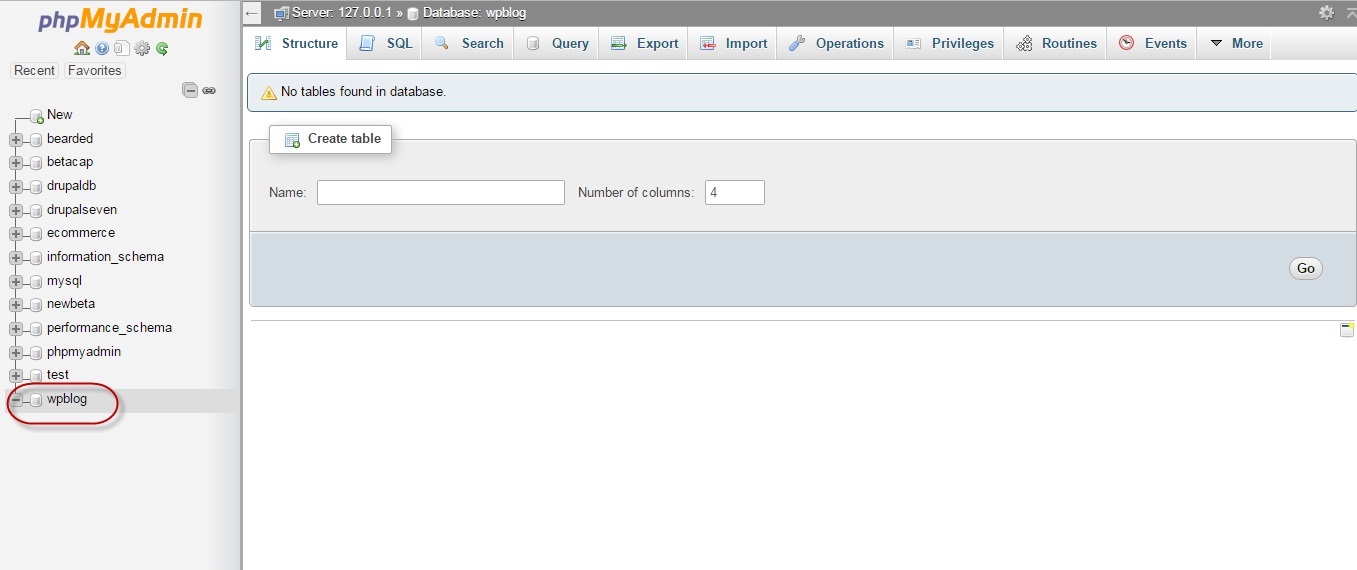
It’ll show numerous pre-created databases in your laptop. All you need to do is create a brand new database. For now, we can create a database termed as WPBlog and hit Create.

A brand new database named “wpblog” will now be created to your WordPress web site working on localhost. You’ll be able to practice and get admission to it from the left panel of phpMyAdmin.
Environment Up WordPress
We’re in any case accomplished with growing the database and launching XAMPP on our native device.
First, obtain WordPress set up package deal.
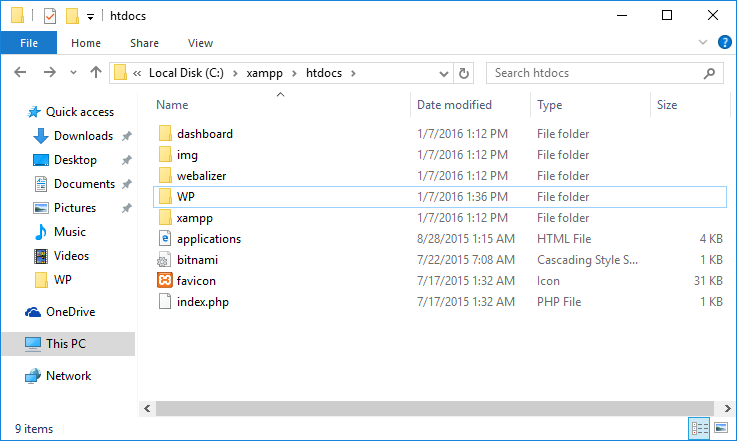
To verify complete capability, the WordPress will have to be put in within the htdocs folder to be had within the XAMPP root listing.
As mentioned above, XAMPP is put in within the folder “Program Information” of within the C: power.
Find the folder “XAMPP” after which set up WordPress within the subdirectory “htdocs”.
Unzip the recordsdata in C:Program FilesXAMPPhtdocs[Folder name].
In our case, we now have set the folder identify to WP.
Voila! We’ve effectively arrange WordPress on our native device. Ensure that the XAMPP is working.
As a way to get admission to WordPress, get started up your browser and for your deal with bar, kind down the next deal with http://localhost/wp/.
Putting in WordPress
Now, it’s time to put in it sooner than you get started enjoying round together with your check web site.
Select a language.
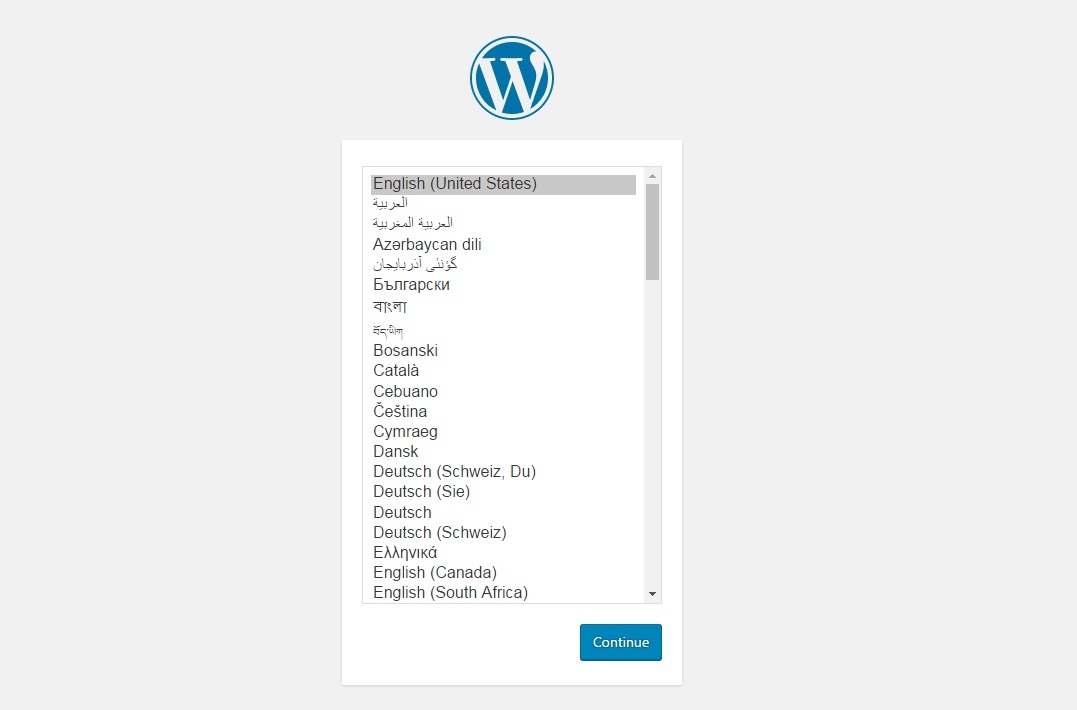
For now, we can make a selection English (United States).
Click on Proceed.
Subsequent, input wpblog within the Database Identify box. Ensure that your username is ready to root. Depart the password segment clean.
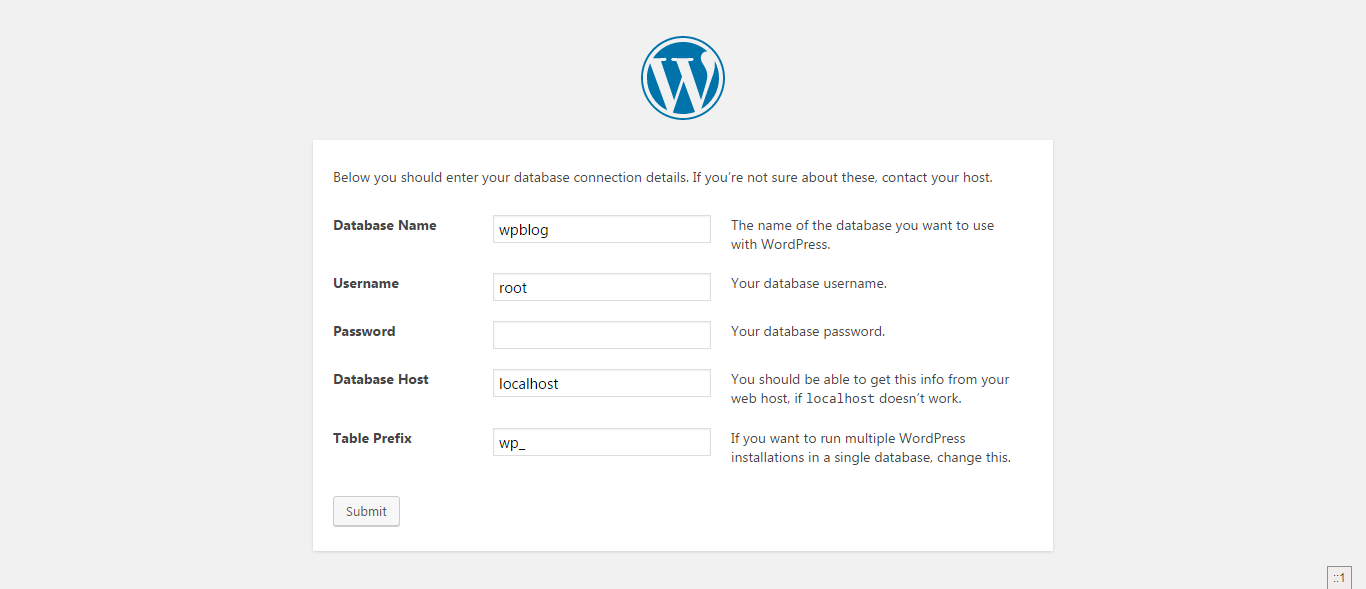
Depart the remaining as it’s. Click on Put up.
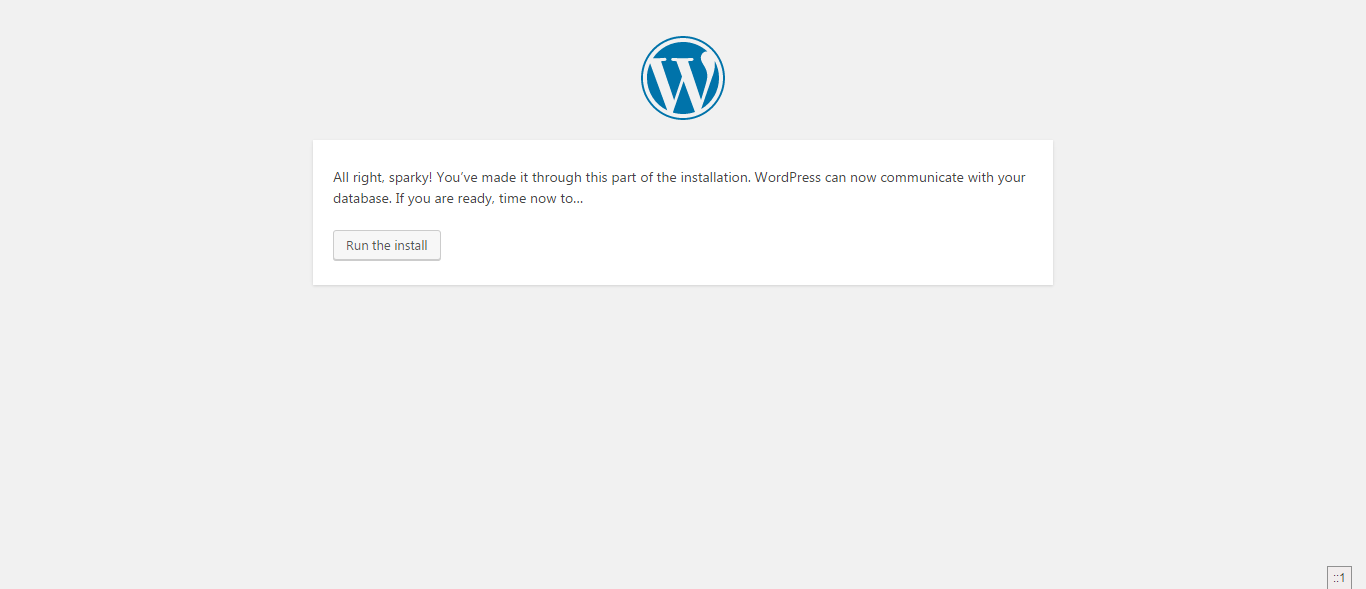
Once you hit the post button, you’re going to be directed to a small message the place you don’t have anything, however click on Run the Set up.
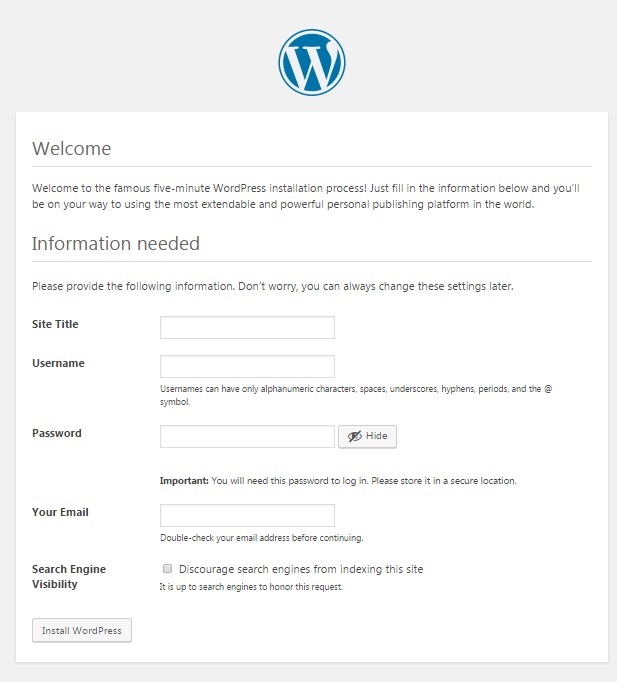
Now, set your Website Identify, Username, Password and Electronic mail Cope with for getting access to the WordPress admin panel.
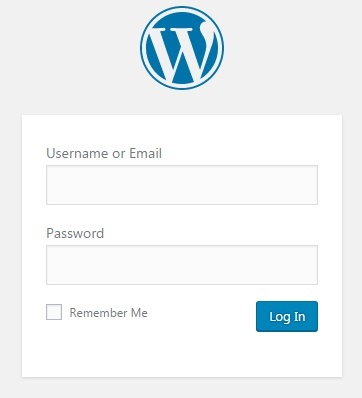
There you pass, your WordPress can be put in and introduced mechanically on crowning glory. Each and every time you want to get admission to your WordPress admin panel, you merely have to make use of your localhost deal with with a prefix wp-admin. Now your host deal with will turn into http://localhost/wp/ wp-admin which can lead you to a login web page as proven beneath.
Hope you to find this newsletter useful as we now have defined an intensive step by step procedure on how you can arrange WordPress web page on localhost.
So You’ve Put in WordPress In the community, What Now?
After you have put in WordPress in your localhost, you can wish to deal with it like a reside web site. Log in for your WordPress web site and get used to the admin panel by way of exploring via other choices at the sidebar.
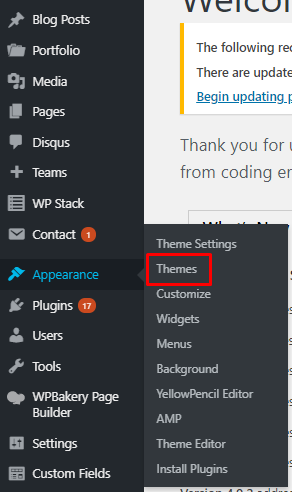
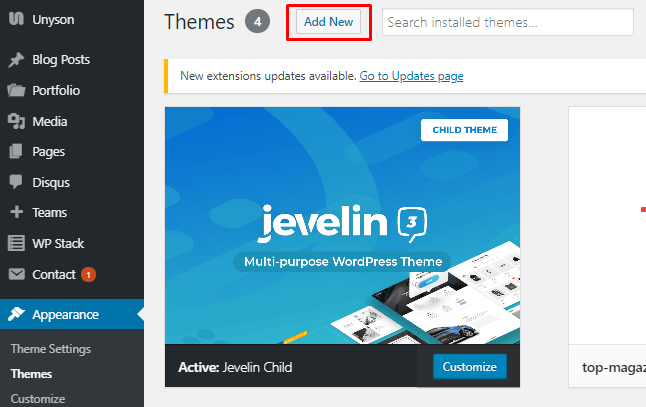
To kickstart your WordPress web site, you would have to obtain and set up a theme. To try this, navigate to Look and make a selection Issues
From the Issues window, make a selection the Upload New strategy to obtain and set up the WordPress theme of your selection.
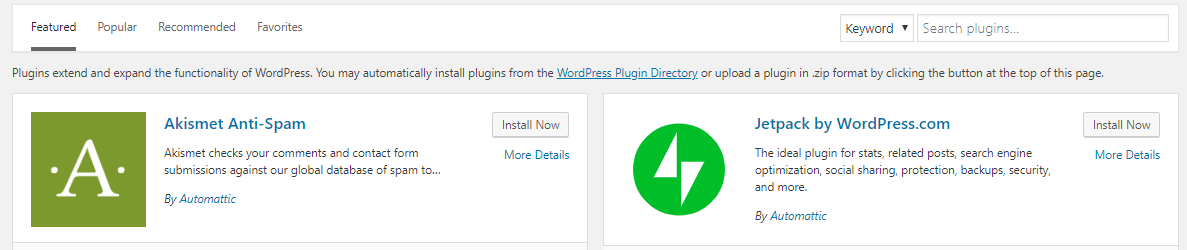
Subsequent comes plugins. Plugins are crucial to make your WordPress web site serve as easily. Take a look at this listing of essential WordPress plugins that you just should set up in your new web site.
Navigate to Plugins at the sidebar of your WordPress admin panel and make a selection Upload New.
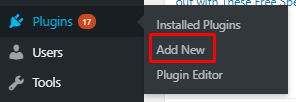
From the Upload New possibility, it is possible for you to to obtain and set up new plugins for your WordPress web site.
Migrate from Native to Are living
When you are jazzing up your native web site with a pleasant theme and funky plugins, you should additionally migrate your WordPress from localhost to reside web page.
However sooner than you do this, you should create duplicates of your in the neighborhood hosted WordPress web site.
Growing Duplicates
To create duplicates, you should obtain the Duplicator plugin in your WordPress.
After you have downloaded and activated the plugin, navigate to Duplicator possibility at the sidebar of your admin panel.
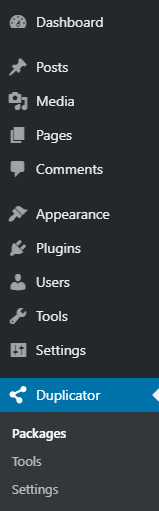
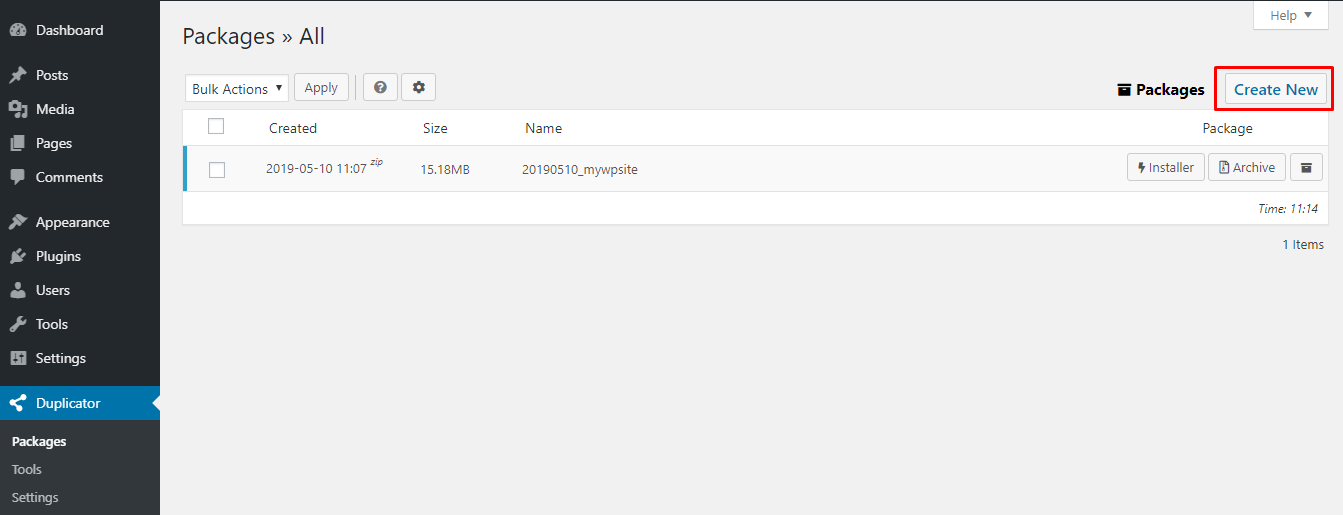
Click on on Programs to open new window. Click on on Create New to begin growing replica of your WordPress web site.
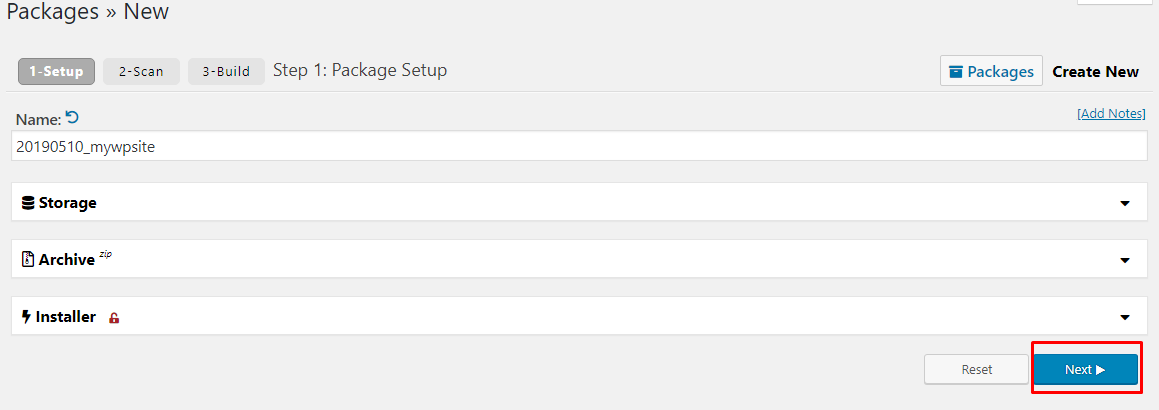
The next move is to call your replica WordPress and click on Subsequent.
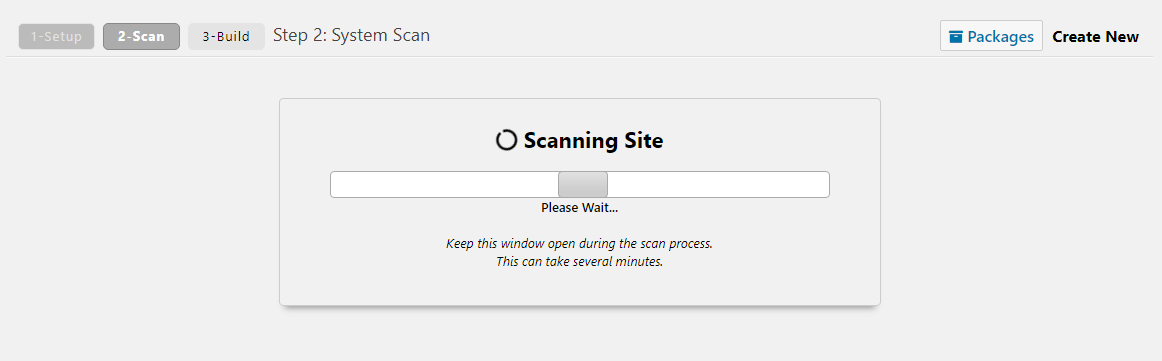
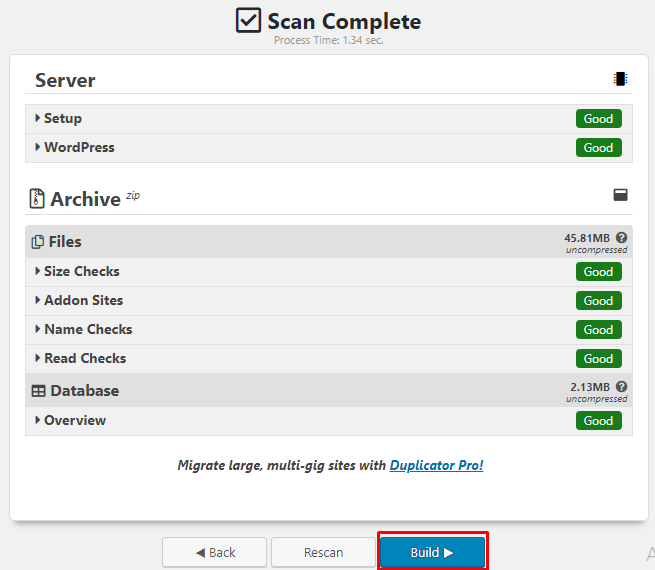
The plugin will run a couple of assessments and scan your web site to look if the whole thing is in position.
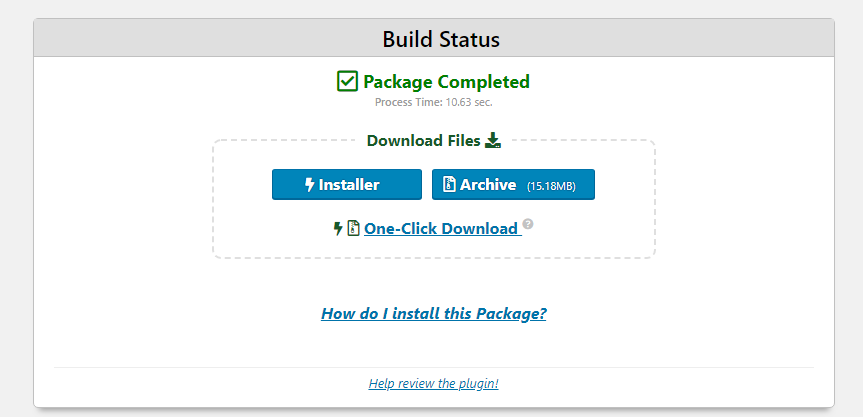
Click on on Construct to create a reproduction of your WordPress.
As soon as your replica is able, click on on One Click on Obtain to obtain the recordsdata of your WordPress’s replica.
Now it’s time emigrate your WordPress from native to reside host.
I’m going to make use of Cloudways web hosting to turn you the way you’ll transfer your in the neighborhood hosted web page to a reside host.
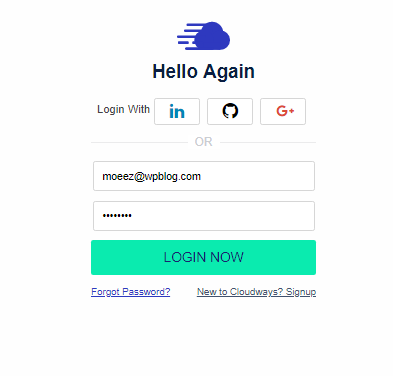
Step one is to enroll and login for your Cloudways platform.
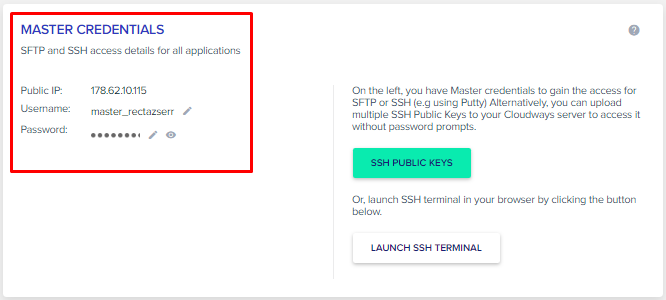
After you have logged in, click on on Server to get Grasp Credentials for your FTP.
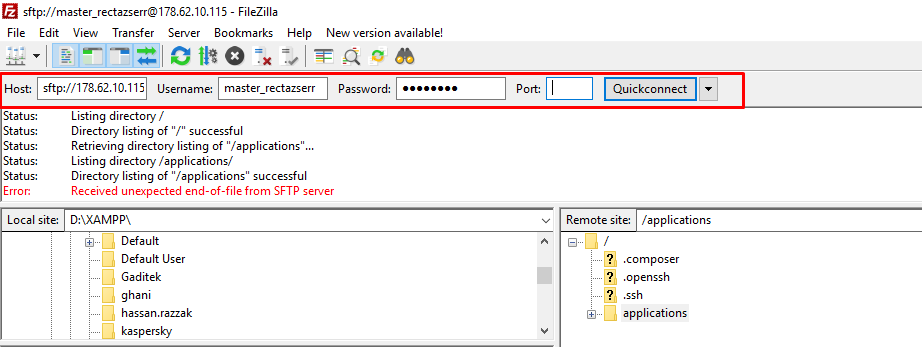
At this level, you will have your WordPress recordsdata in your laptop. To take it reside, you should switch them to the server. As a way to do this, you can want a FTP. I’m the usage of FileZilla for this instructional.
After you have put in FTP, replica the grasp credentials and login.
At the backside proper, you’re going to see an inventory of packages in your Cloudways server. Make a selection the particular software and open the public_html folder.
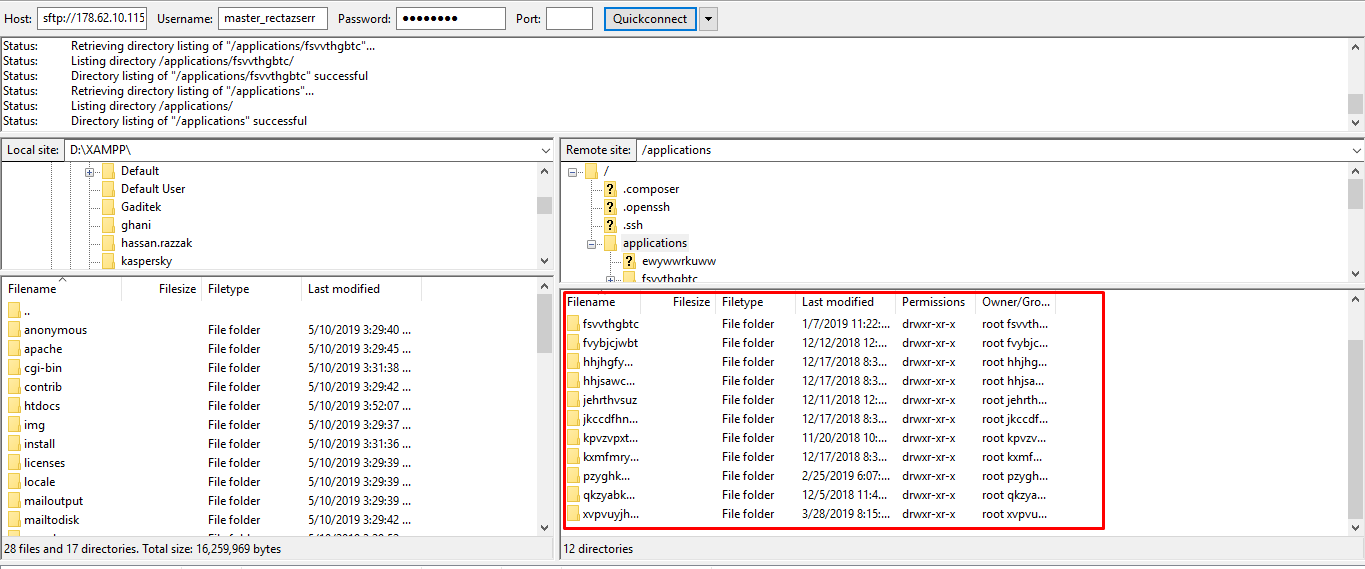
As you’ll see, I’ve more than one packages on my server. So I can make a selection any such and input the public_html folder of that particular software.
Reproduction the WordPress set up out of your device to the public_html report. Just be sure you delete the present recordsdata from the public_html folder sooner than copying the brand new recordsdata.
The next move is to run the installer setup in your reside server.
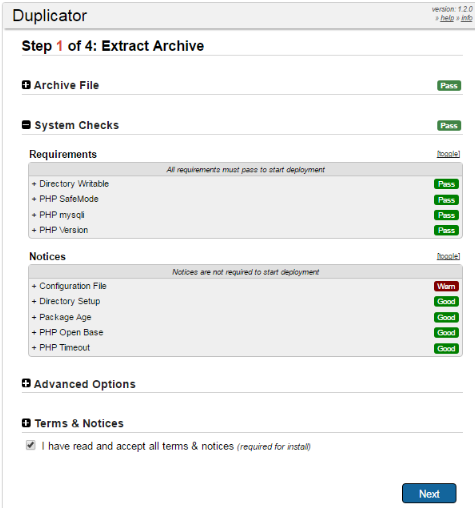
Kind your web site deal with in your browser and upload installer.php on the finish of it. As soon as you might be at the installer web page, you’re going to be taken via 4 steps.
The first step is to Extract Archive. To try this you simply want to click on Subsequent button on the backside of the web page.
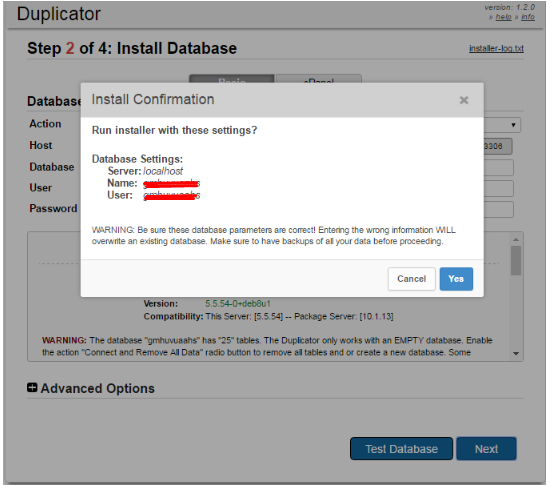
The next move is to put in database. You are going to be requested so as to add database credential which you’ll to find from the Programs tab within the Cloudways platform.
Head over to the applying that you’re operating on and you’re going to see the credentials on the backside.
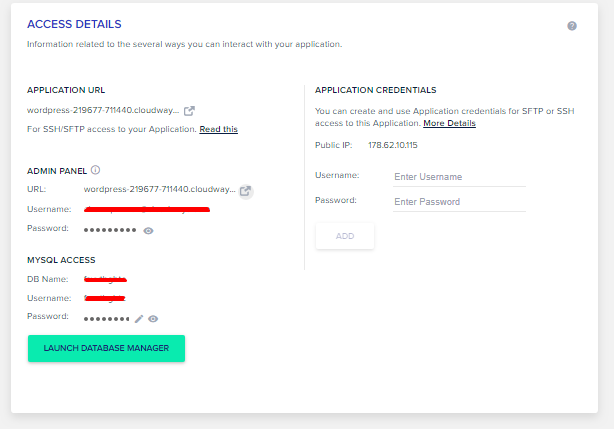
Input those credentials within the fields beneath and click on subsequent.
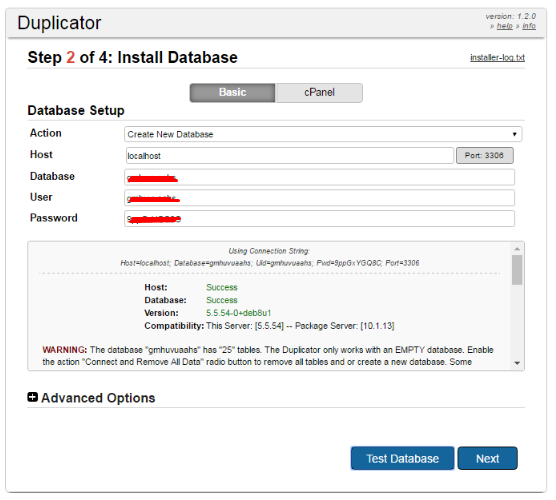
The Duplicator plugin that you just put in previous runs on empty databases. To drain your database, test the packing containers within the tables. You’ll be able to additionally create a brand new database altogether.
After you have emptied your database, click on Sure and transfer to the next move.
Subsequent, you’re going to be given a URL, Identify, and Trail to your web site.

Click on Subsequent to transport to the general step. The overall step is composed of three extra steps. Don’t concern, those are small steps and gained’t take lengthy.
The Duplicator plugin will ask you to:
- Save Permalinks
- Check Website
- Safety Cleanup
As soon as you might be accomplished right here, your new reside WordPress web site can be able.
Incessantly Requested Questions
Q1. What’s XAMPP?
XAMPP is an open supply answer and a stack package deal advanced by way of Apache Buddies. The stack is composed of:
- Apache HTTP server
- MariaDB database
- Interpreters for scripts written in PHP
- Perl programming languages
Q2. How do I exploit XAMPP?
Step 1: Click on the Admin button for your XAMPP Regulate Panel from the MySQL segment.
Step 2: To release phpMyAdmin, click on on Admin within the MySQL.
Step 3: At the new browses, click on Admin to setup MySQL. You’ll be able to additionally pass to “localhost/phpmyadmin” out of your browser.
Q3. How do I open a php report in XAMPP?
To your C: power, you’re going to see the “HTDocs” folder. Position your PHP recordsdata in that folder. The report trail is “C:xampphtdocs” to your cyber web server. Your filesmust be stored with the “.php” report extension. Openup any Internet browser in your desktop and input “localhost” into the deal with field.
The put up How to Install WordPress on Localhost Using XAMPP seemed first on WPblog.
Local SEO Agency