
For those who requested me to call the websites and programs I take advantage of each and every unmarried day, Google Force could be close to the highest of the record. What’s Google Force? a cloud-based app used for document introduction, storing, sharing, collaboration, and an entire lot extra.
Contents
- 0.1 Obtain our loose information right here for much more equipment and guidelines for expanding your productiveness.
- 0.2 How does Google Force paintings?
- 0.3 Use It
- 1 9 Useful Google Force Guidelines
- 1.1 1) Use those keyboard shortcuts.
- 1.2 2) Ship massive information to others.
- 1.3 3) Crop, masks, and upload borders to pictures.
- 1.4 4) Customise how pieces are displayed in My Force.
- 1.5 6) Save internet content material like pictures appropriate to Force.
- 1.6 7) Get entry to and edit your paperwork offline.
- 1.7 8) Have a look at the revision historical past and repair earlier variations.
- 1.8 9) Set Force as your default file location.
Obtain our loose information right here for much more equipment and guidelines for expanding your productiveness.
Actually, Google Force has extra worth than meets the attention. Do you know that you’ll be able to crop pictures appropriate inside of a Google Report? Or that you’ll be able to use Force to ship in point of fact giant information to folks — information which are too giant for Gmail?
Let’s discover ways to take complete good thing about what Google Force has to provide. (It’s possible you’ll wish to bookmark our record of little-known Google Calendar options, too.)
Skip to
When you’ve got a Google account, you have already got get admission to to Force and 15GB of loose garage.
How does Google Force paintings?
Whilst the principle serve as of Google Force is garage, Force additionally serves because the nerve heart for all your account-related task. Force integrates with Google Medical doctors, Slides, Paperwork, and Sheets which let you no longer simplest create new information however collaborate on them together with your staff in actual time.
You’ll add your information on-line or set up Force for Desktop, which lets you sync folders out of your laptop to Force. For those who edit, transfer, or take away a document at the cloud, the similar occurs in your laptop (or no matter software you might be the use of).
Use It
As we in brief discussed above, to make use of Google Force you’ll first wish to arrange an account. Merely head to Google’s homepage and click on “check in” the place you’ll be precipitated to create an account should you don’t have already got one.
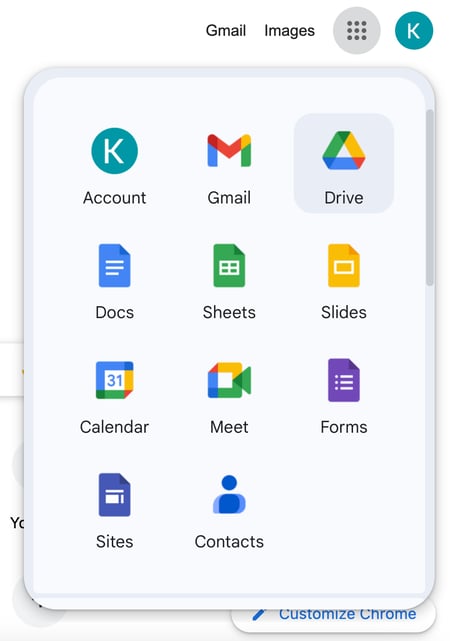
As soon as an account is created there are more than one techniques to get admission to Force. You’ll sort https://force.google.com into your browser. If already signed in, from the Google homepage you’ll be able to click on the “apps” icon within the best appropriate nook and make a choice Force from the drop down menu.
Whenever you log in, you’ll be introduced for your major Force hub the place you’ll be able to view your information and create new ones. View information which were shared with you, your shared units, or use the quest bar on the best to discover a explicit document.
Google’s AI era and seek features are embedded in Force — serving to you to briefly in finding what you wish to have. Subsequent, we’ll provide you with some fast tricks to make the use of Google Force even more uncomplicated.
9 Useful Google Force Guidelines
1) Use those keyboard shortcuts.
Are you having a look to in point of fact streamline your Google Force efforts? Google Force’s were given a ton of keyboard shortcuts to make use of, reminiscent of:
- Shift + t = Create new file.
- Shift + p = Create new presentation.
- Shift + s = Create new spreadsheet.
- / = Seek your Force.
See the entire record right here.
Ever desire a fast reminder of those shortcuts whilst the use of Google Force? You’ll at all times show the record via urgent Shift + / or Ctrl + / on Chrome OS or Home windows, or ⌘ + / on a Mac. Or, click on the equipment icon within the higher left hand nook of your display and select “Keyboard Shortcuts” from the dropdown menu.

2) Ship massive information to others.
For those who‘re searching for techniques to get round Gmail’s document dimension restrict, Google Force may turn into your go-to. Whilst Gmail limits the document dimension of attachments to twenty-five MB — which means that no sending giant video, audio, or complicated symbol information — Google Force allows you to ship information as much as 15 GB. To do that, you’ll be able to create a folder, add information to that folder, and percentage the folder with others.
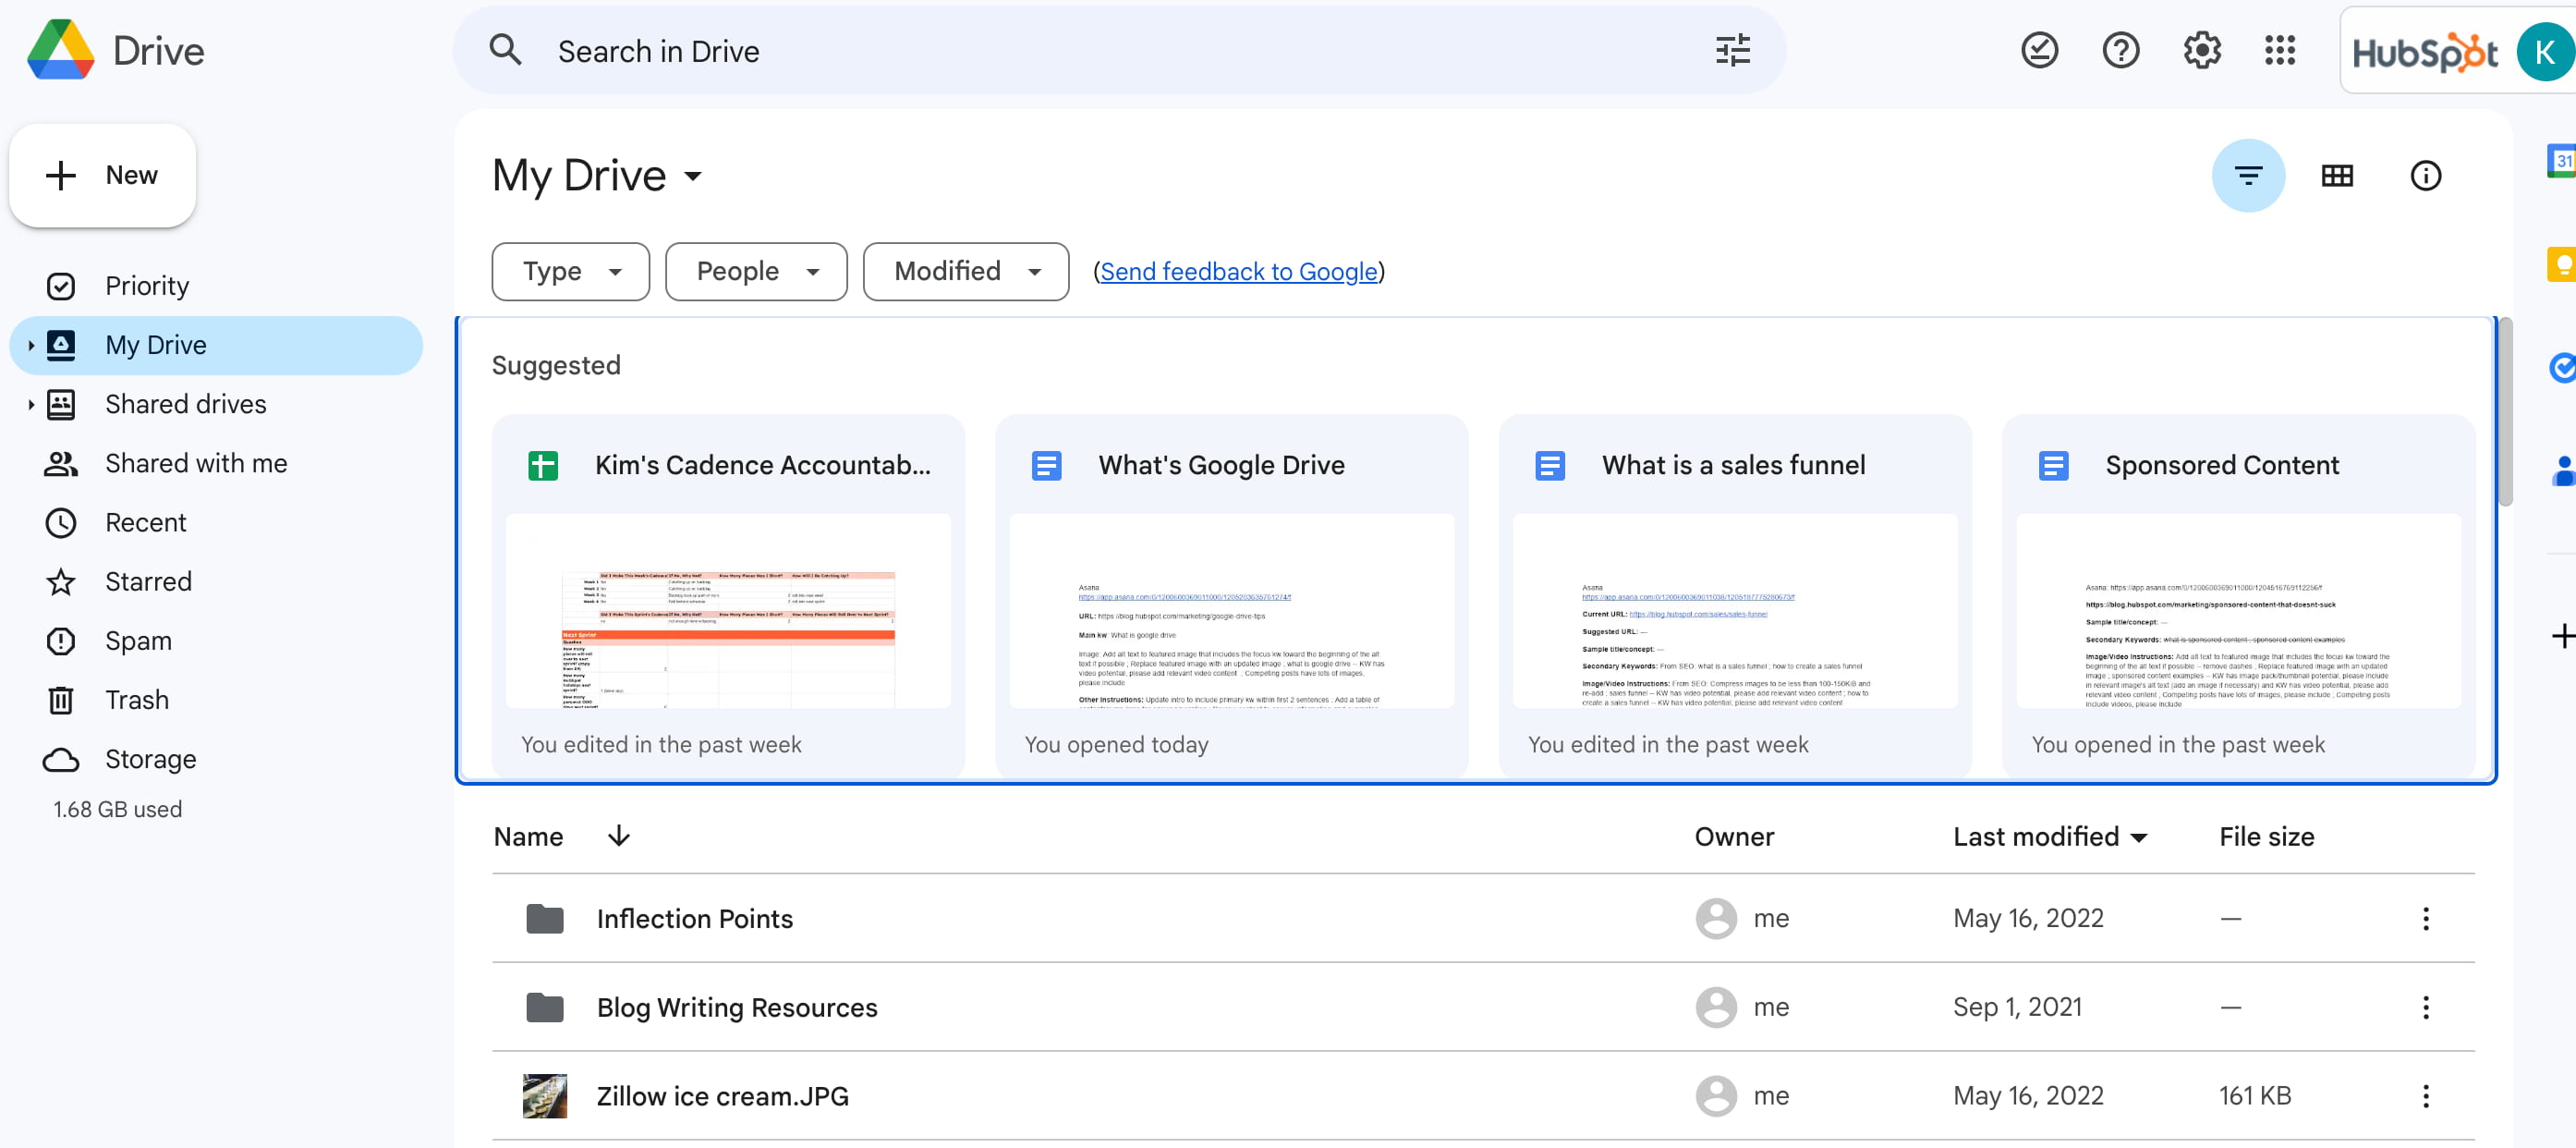
To create a folder, log in to Google Force and click on the huge, “New” button at the right-hand aspect of your display. Choose “Folder” from the dropdown menu. Then, both drag and drop information into the central pane of the display (as proven within the screenshot beneath), or right-click any place at the central pane of the display and select “Add Recordsdata.”

(Psst: Understand the call-to-action for purchasing extra cupboard space within the backside left-hand nook. As you’ll be able to believe, including massive information for your Force will impact your general cupboard space. Google will provide you with 30 GB free of charge, however should you ever want extra, you’ll be able to purchase 100 GB of extra area for $1.99/month or 1 TB for $9.99/month.)
Subsequent, percentage the folder with others via opening My Force, which is your major Google Force web page. Proper-click at the folder and select “Proportion” from the dropdown menu.

Input names and electronic mail addresses of the ones you‘d love to percentage the folder with, and select whether or not or no longer they may be able to edit or remark at the paperwork inside of. Click on accomplished, and also you’re all set!
3) Crop, masks, and upload borders to pictures.
As soon as you might have added a picture right into a file or slide of a presentation, you’ll be able to crop it, masks it, or even upload borders to it. Take a look at the directions beneath. (And should you ever wish to reset a picture again to its authentic shape, merely make a choice the picture and click on the “Reset Symbol” icon on your toolbar.)
Crop an Symbol
Choose a picture on your file or presentation and click on the crop icon on your toolbar.

From there, drag and drop the blue handles till you might have cropped the picture for your liking. To put it aside, click on “Input” in your keyboard or simply click on again into your file or slide.
Masks an Symbol
“Protecting” a picture merely way becoming a picture into a particular form. You’ll do that in a slide presentation in Force, however no longer in a file.
Choose a picture on your presentation and click on the dropdown arrow subsequent to the crop icon on your toolbar. 4 masks classes will seem that you’ll be able to make a choice from: shapes, arrows, callouts, and equation.

Choose one and the picture will take that form. You’ll resize it via dragging and losing the blue handles.

Upload borders to an Symbol
You’ll upload coloured borders to any symbol in a file or presentation, even after you might have cropped or masked it. To do that, make a choice the picture and click on the road colour icon on your toolbar, which seems like a pencil.
![]()
Select a colour (or click on “Customized” to create your personal), and the border of the picture will turn into that colour. To put it aside, merely click on off of the picture.
4) Customise how pieces are displayed in My Force.
Just lately, Google modified My Force‘s default view from “record view” to “grid view,” so all my information had been displayed like massive icons as a substitute of in an extended record. In my opinion, I wasn’t keen on this alteration — however fortunately, they made it in point of fact simple to modify it again.
Merely click on the icon furthest left of the equipment icon (which is positioned at the best appropriate of your window). That icon will appear to be the only beneath if it‘s been set to “Grid View,” and it’ll appear to be a bulleted record if it is been set to “Checklist View.”

Need to alternate how your pieces are ordered? Click on the “AZ” icon within the best appropriate hand nook to reserve pieces via “Remaining changed,” “Remaining edited via me, ”Remaining openedby me,” or their document names in alphabetical order.

In any case, you’ll be able to alter how densely packed in combination the pieces are on My Force, from “comfy” to “comfortable” to “compact.” To do that, click on the equipment icon, and select “Settings” from the dropdown menu. Underneath “Density,” take your select between the 3 choices.

6) Save internet content material like pictures appropriate to Force.
Google created a browser extension referred to as “Save to Google Force” that allows you to upload paperwork, pictures, hyperlinks, and HTML5 audio and video information to Force with a easy appropriate click on.
To allow this in your desktop laptop, obtain Google’s loose browser extension and authorize it in your laptop. Then, appropriate click on on the internet content material you wish to have to save lots of and make a choice “Save to Google Force.” You are able to get admission to that document on Force immediately.

7) Get entry to and edit your paperwork offline.
I‘ve discovered myself short of to tweak a file whilst on an aircraft with out WiFi a couple of too repeatedly, which is why I really like that Google Force means that you can get admission to and edit paperwork offline on desktop, in your iPhone or iPad, or in your Android software. You should be hooked up to the web so as to allow offline get admission to for a document — however while you’ve accomplished that, you are just right to head. All of the adjustments you made on-line will probably be up to date on-line while you repair your web connection.
Take into accout of which computer systems or units you allow offline get admission to on, despite the fact that. Google recommends sticking to non-public computer systems and units and/or ones you employ often, differently your knowledge may well be in peril.
Desktop
On a desktop laptop, the one prerequisite to viewing and modifying information offline is that you wish to have to be the use of a Chrome internet browser. So be sure you obtain Google Chrome should you plan to make use of this option.
To allow offline viewing and modifying, pass to Google Force in your internet browser and click on the equipment icon within the best appropriate hand nook. Select Settings from the dropdown menu. Then, merely test the field within the “Offline” segment, like I did beneath:

(Want extra assist? Watch Google’s educational video right here.)
iPhone & iPad
You’ll allow offline get admission to to express information in your Apple units. First, you’ll want to’re hooked up to the web to allow offline get admission to for later. Then, in finding the document you wish to have so that you can get admission to offline and contact the gray “i” button subsequent to it.
A main points panel will slide in at the appropriate — in finding “Stay on Software” and easily transfer the environment from “Off” to “On.”
While you‘re no longer hooked up to the web, you’ll see a pin icon subsequent to all your offline information. To get admission to your offline pieces, open the Google Force app and make a choice “On software” from the left-hand navigation panel. (Want extra assist? Click on right here for Google’s fortify web page.)
Android
You’ll allow offline get admission to to express information in your Apple units. First, you’ll want to’re hooked up to the web to allow offline get admission to for later. Then, in finding the document you wish to have so that you can get admission to offline and both:
- Contact the gray i button subsequent to the document and turn the environment from “Off” to “On” to “Stay on software” in the main points panel.

- Contact and cling the identify of a document for 1-2 seconds. Then, within the field that looks, contact the offline icon.


To get admission to your offline pieces, open the Google Force app and make a choice “On software” from the left-hand navigation panel. (Want extra assist? Click on right here for Google’s fortify web page.)
8) Have a look at the revision historical past and repair earlier variations.
I really like this option as it lets in me to look all the adjustments I and others have made to document in Force. Higher but, I will be able to revert again to previous variations of my document — and see which individual made explicit edits. Beautiful cool, eh?
For those who simply need a fast scan of the task historical past with out going into element, all you need to do is right-click on a document or funder and click on “View Main points” from the dropdown menu. A panel will seem at the right-hand aspect of your display appearing an outline of who made adjustments and when.

To peer the revision historical past in additional element, open the document, click on the “Record” menu on the best left of your display, and select “See revision historical past.” A revision historical past panel will seem at the right-hand aspect of your display, appearing who made adjustments and when — and which explicit adjustments that individual made, should you click on “Display extra detailed revisions” on the backside.

To revive a prior revision, click on that revision after which click on the “Repair this revision” hyperlink that looks.

Don‘t fear, restoring the revision gained’t do away with any variations of your document. You’ll go back to the present model of your file via clicking the X within the higher appropriate of the revision historical past panel. What it is going to do is transfer that earlier model to the highest of your revisions historical past.
Google Force will care for a model historical past of your entire information for as much as 30 days or 100 revisions. After that, to save lots of cupboard space, it’s going to merge revisions in keeping with the age of the document and/or dimension of the revisions in a procedure referred to as “revision pruning.” If you wish to stay revisions for longer than that — say, for a file that is up to date via more than one folks repeatedly consistent with day — you’ll be able to mark particular person Google Force information to stay the entire variations. Learn to do this right here however take note it’s going to affect cupboard space.
9) Set Force as your default file location.
Need to streamline your cloud garage enjoy? You’ll make Google Force the default save location for your entire new paperwork on a Home windows desktop laptop.
Home windows customers: To find your laptop‘s Paperwork folder and right-click it. Choose “Homes” from the dropdown menu. Click on “Come with a folder…”, after which in finding your Google Force folder. Subsequent, make a choice Google Force to spotlight it and click on “Come with folder.” Choose “Google Force” from Library Places and click on “Set save location.” To use the adjustments, click on “Follow.” And also you’re accomplished!
Editor’s word: This newsletter used to be initially revealed in June 2015 and has been up to date for comprehensiveness.

![]()