Symbol galleries proceed to be a well-liked characteristic for internet sites. And with Divi, including a stupendous and responsive symbol gallery for your site virtually too simple. This leaves some overtime to imagine techniques to make the ones pictures standout. One easy solution to make your pictures pop is first of all a black-and-white model of each and every symbol that adjustments to the colour model when soaring over the picture. This impact has been round for some time however is still an efficient and inventive solution to interact customers with a stunning show of an attractive symbol.
On this educational, I’m going to turn you simply how simple it’s to create a gallery of pictures that adjustments from black-and-white to paint with Divi’s Gallery Module. With Divi’s integrated filter out results and hover choices, you’ll do that with a couple of clicks!
Let’s get began!
Contents
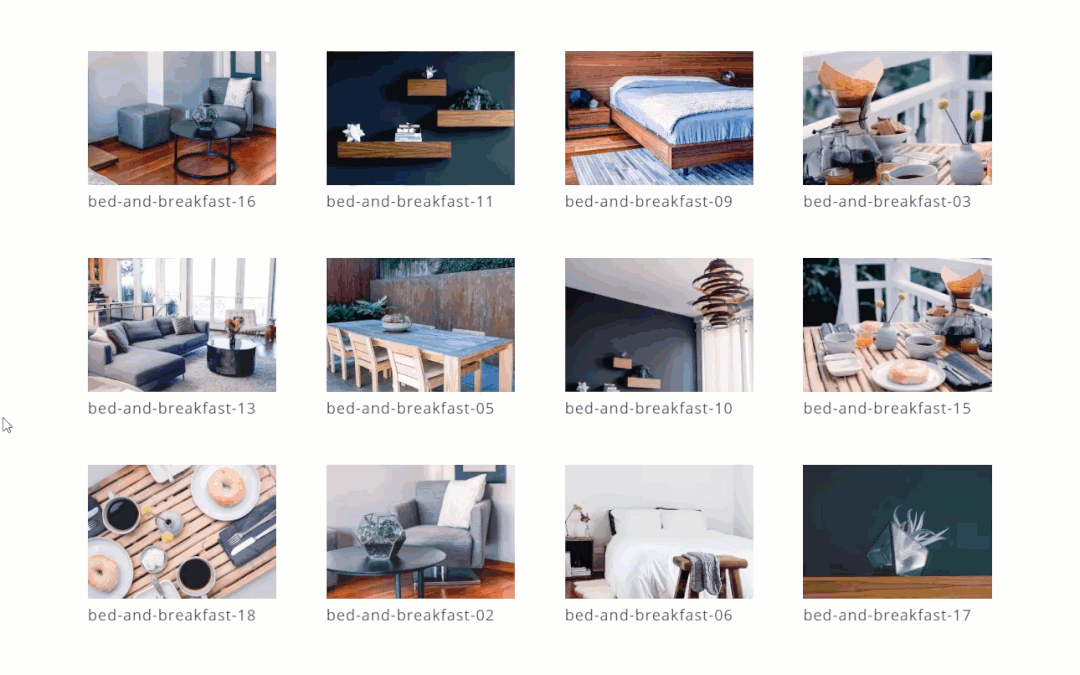
As of late’s Earlier than & After
Here’s what the picture gallery seems like by way of default the use of the Divi Symbol Gallery:
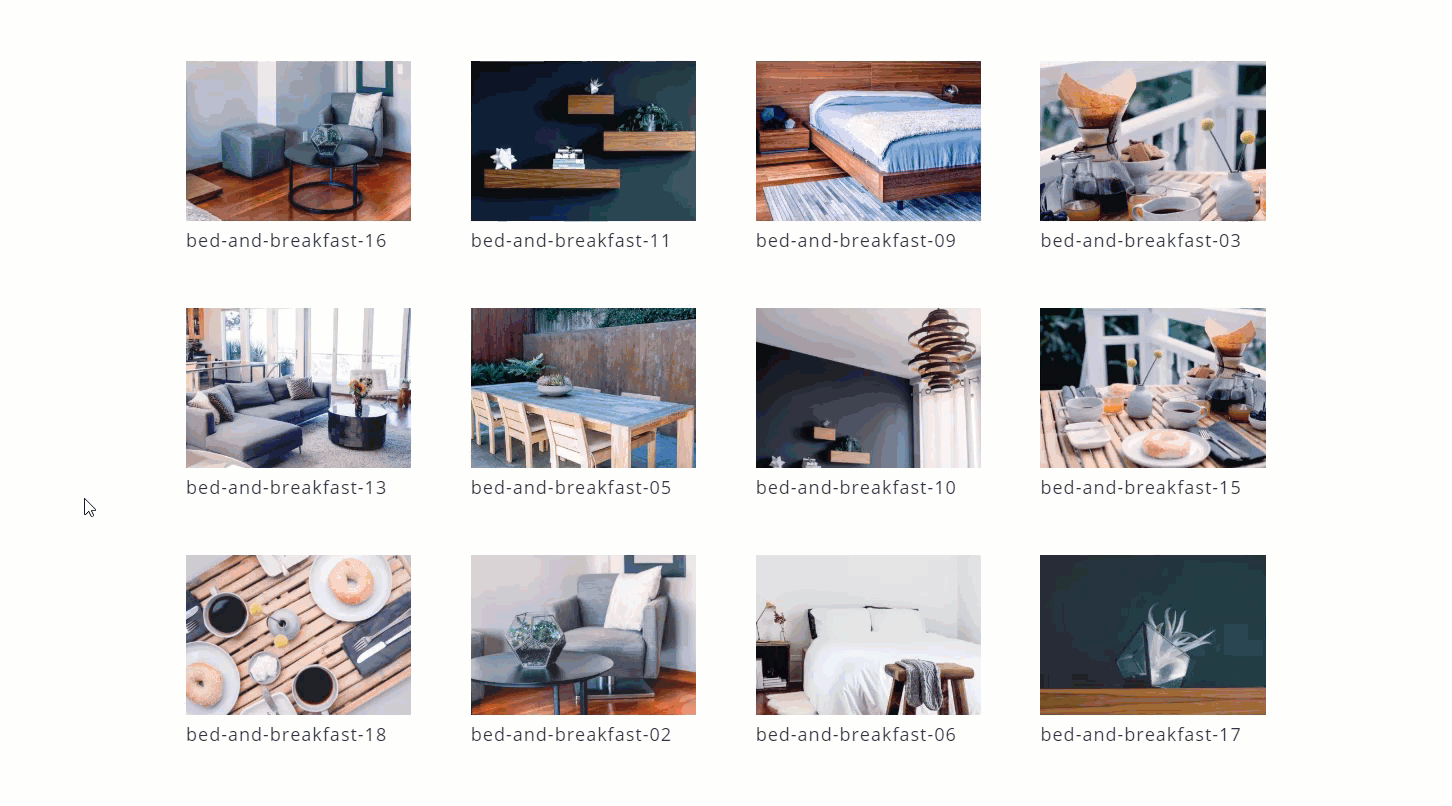
This is the brand new symbol gallery that adjustments the black-and-white pictures to paint when soaring over each and every symbol.
What You Want to Get Began
For this educational, all you’re going to want is the Divi theme put in and lively. After that, it is important to create a brand new web page, upload a name, and click on to make use of the Divi Builder. Then choose the choice “Construct from Scratch”. Put up your web page after which click on the button to construct at the entrance finish. Now you are prepared to head.
Putting in the Symbol Gallery
The use of the Divi Builder at the entrance finish, upload a brand new common phase with a one-column row. Then upload the Gallery Module to the row.

Within the Gallery Settings, choose the grey plus icon within the Gallery Pictures field to start out including the photographs out of your media library.

For this case, I’m including a complete of 12 pictures in order that the photographs will show well with the default four-column grid format on desktop.
Then replace the next choices:
Pictures Quantity: 12
Display Identify and Caption: NO
Display Pagination: NO

Now leap over to the design tab and replace the next:
Zoom Icon Colour: clear
Hover Overlay Colour: clear
Symbol Saturation: 0% (default), 100% (hover)
Symbol Brightness: 50% (default), 100% (hover)
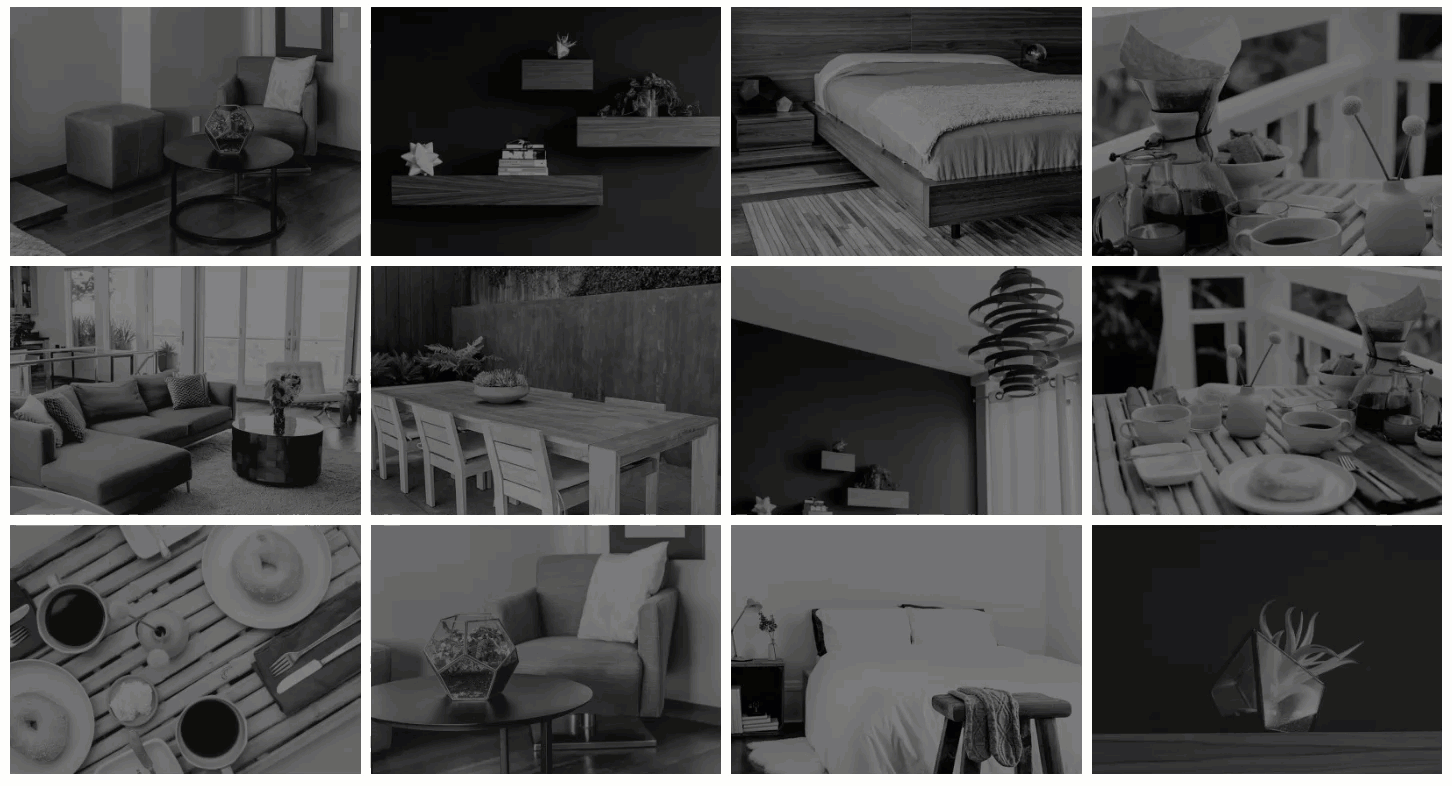
Atmosphere the picture saturation to 0% by way of default mainly tones down the colour of the picture all of the method down leaving simplest black and white. Then we merely set the saturation again to 100% to convey again the colour. The picture brightness set to 50% simply makes the picture a bit of darker by way of default. That is non-compulsory after all, however I just like the distinction it creates when soaring over the picture. It makes the colour symbol come out much more for my part.

At this level, the hover impact of each and every symbol is complete purposeful and can alternate your pictures from a black-and-white model to a colour model.
All we wish to do is make our gallery fullwidth with a bit of spacing between each and every symbol.
Making a Fullwidth Format for the Symbol Gallery
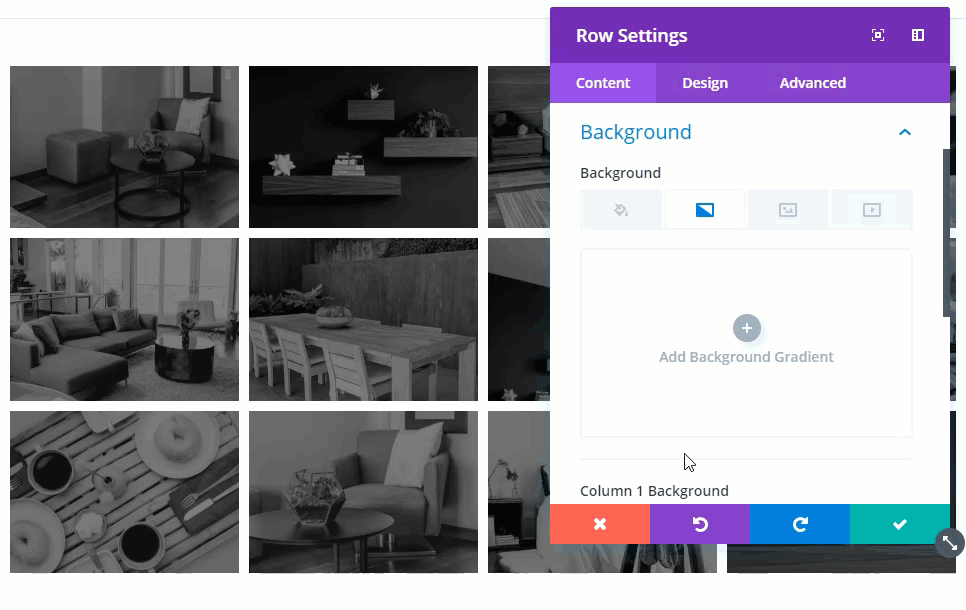
To create the fullwidth format for the picture gallery, let’s save our gallery settings for now and open the row settings. Beneath the design tab, replace the next:
Make This Row Fullwidth: YES
Use Customized Gutter Width: YES
Gutter Width: 1
Customized Padding: 0px most sensible, 0px backside

This will likely make the gallery span the whole width of the web page and take out any margin between the photographs. For those who like this taste you’ll stay it after all, however I’m going to turn you learn how to upload your personal customized margin between the ones pictures.
So as to add a customized margin between the photographs within the gallery, open the gallery module and replace the next:
Customized Margin: 5px most sensible, 5px backside, 5px left, 5px proper
Border Width: 5px
Border Colour: clear

Ultimate Consequence
Now let’s take a look at the overall results of our design.
And, since our symbol borders are clear, we will simply alternate the background of our row to other colours or gradients.
Ultimate Ideas
I am hoping this educational gives you a bit of inspiration for making your symbol galleries standout. For some reason why, converting pictures from black-and-white to paint turns out to make the ones pictures glance much more stunning on hover. And don’t omit to discover the numerous design permutations imaginable with Divi’s integrated taste choices. Have amusing!
I stay up for listening to from you within the feedback.
Cheers!
The submit How to Create an Image Gallery that Changes from Black-and-White to Color with Divi’s Gallery Module seemed first on Elegant Themes Blog.
WordPress Web Design