
Including delicate interactions in your web site can in reality spice up the total consumer revel in guests have. Probably the most issues that’ll make your web site glance that extra fancier, whilst nonetheless respecting user-friendliness, is making row content material seem on hover. This can be a nice means for showcasing services and products, merchandise, options and extra.
On this instructional, we’ll display you the right way to create a particular design from A to Z, however if you get the means, you’ll be able to make it paintings for any more or less web site you’re running on. On the finish of this weblog put up, we’ll additionally percentage the JSON record of this design that you’ll be able to obtain for FREE and use with none restrictions.
Let’s get to it!
Preview
Ahead of we dive into the educational, let’s take a snappy have a look at the result on other display screen sizes.
Desktop
Cellular
Let’s Get started Growing!
Upload New Phase
Default Background Colour
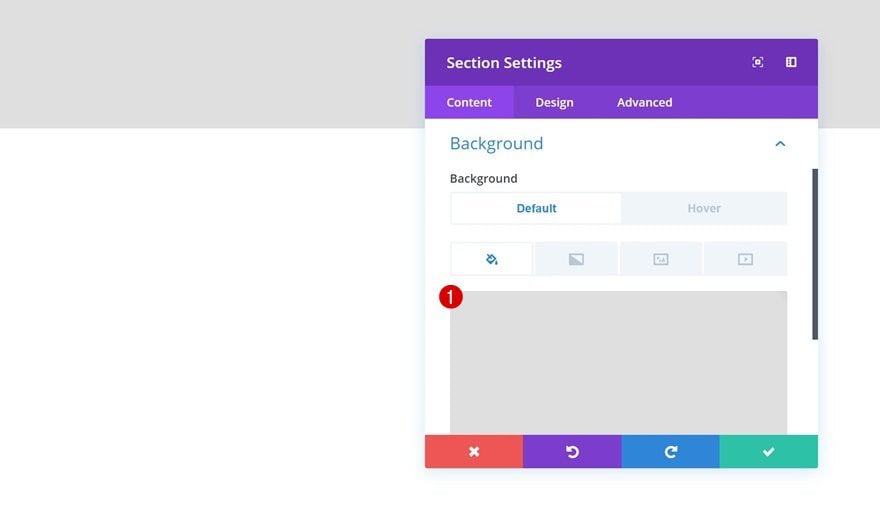
Get started off through including a brand new segment to a brand new or present web page and alter the segment background coloration.
- Background Colour: #e0e0e0
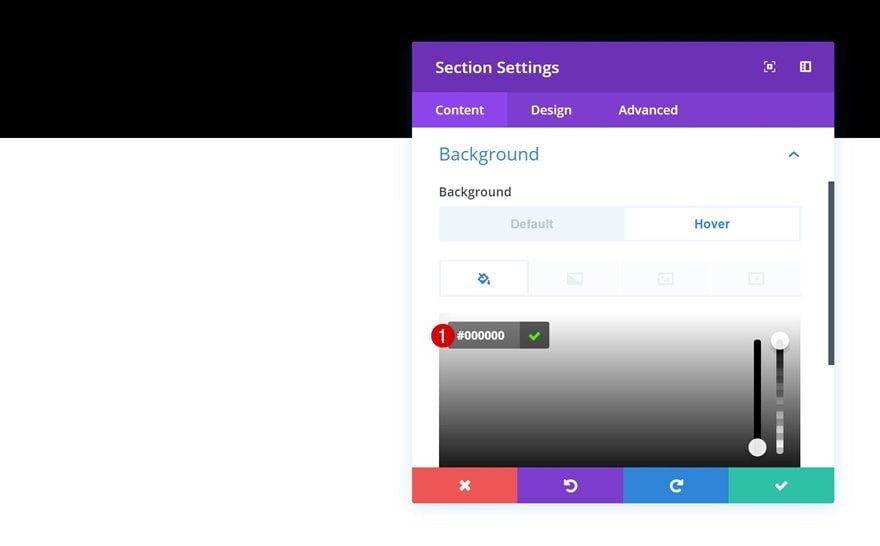
Hover Background Colour
Adjust this background coloration on hover.
- Background Colour: #000000
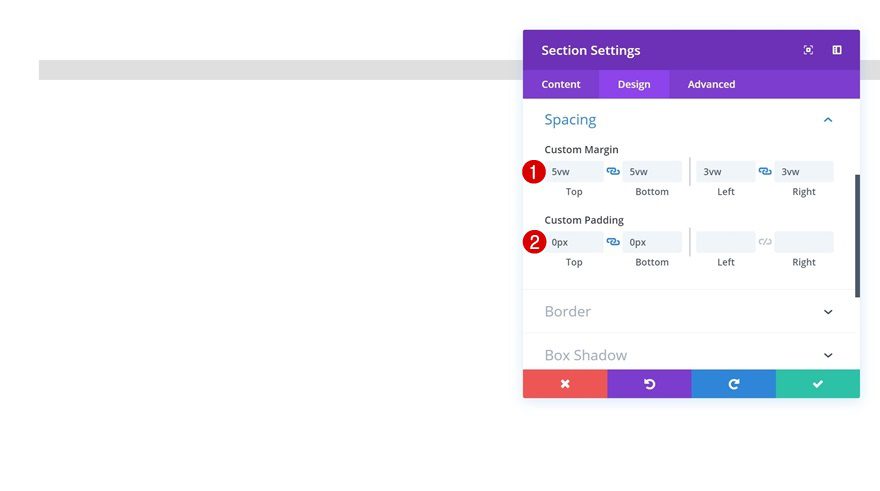
Spacing
Transfer directly to the design tab and upload some customized spacing values. To make this instructional paintings, we’ll simplest use viewport devices. This may increasingly lend a hand guarantee that the whole thing remains in position, regardless of the display screen dimension.
- Most sensible Margin: 5vw
- Backside Margin: 5vw
- Left Margin: 3vw
- Proper Margin: 3vw
- Most sensible Padding: 0px
- Backside Padding: 0px
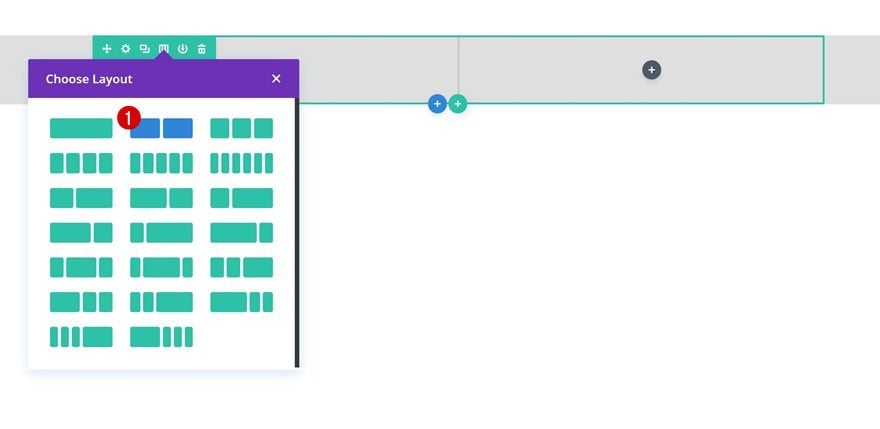
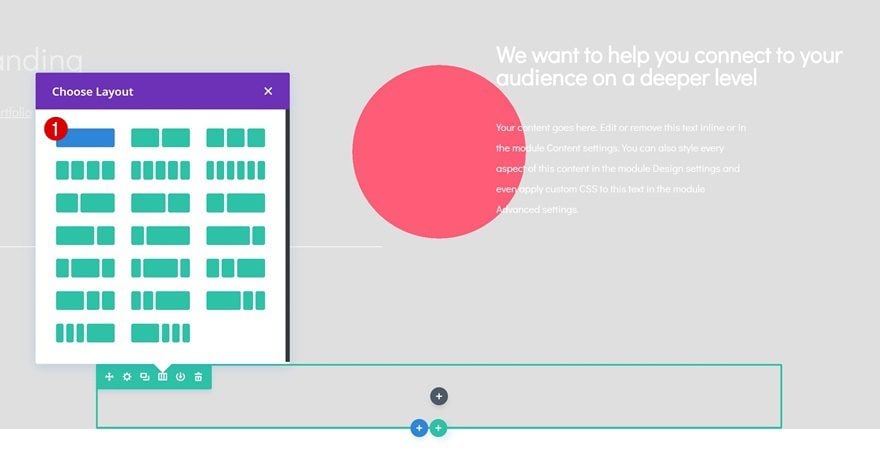
Upload Row #1
Column Construction
Proceed through including a brand new row the use of the next column construction:
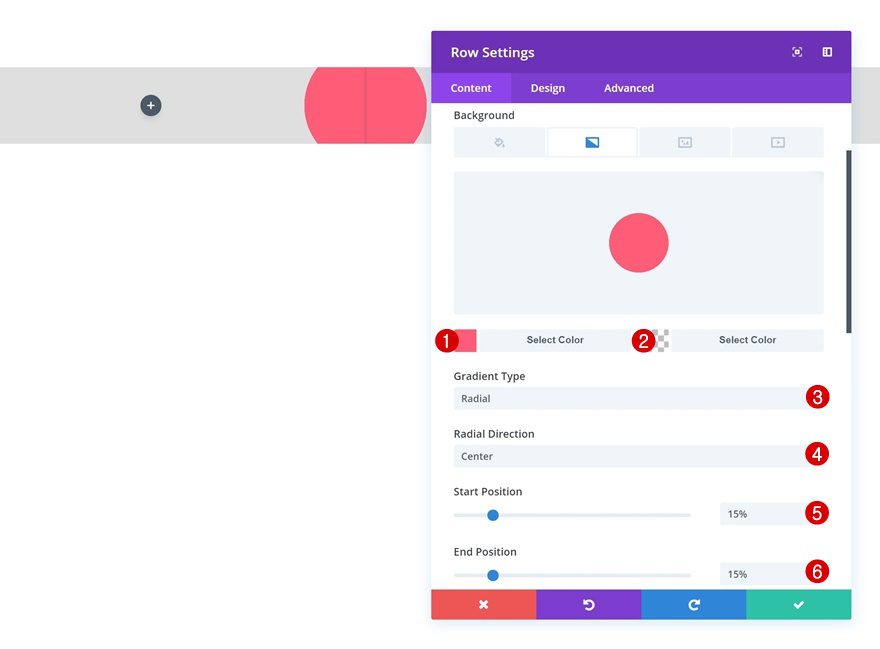
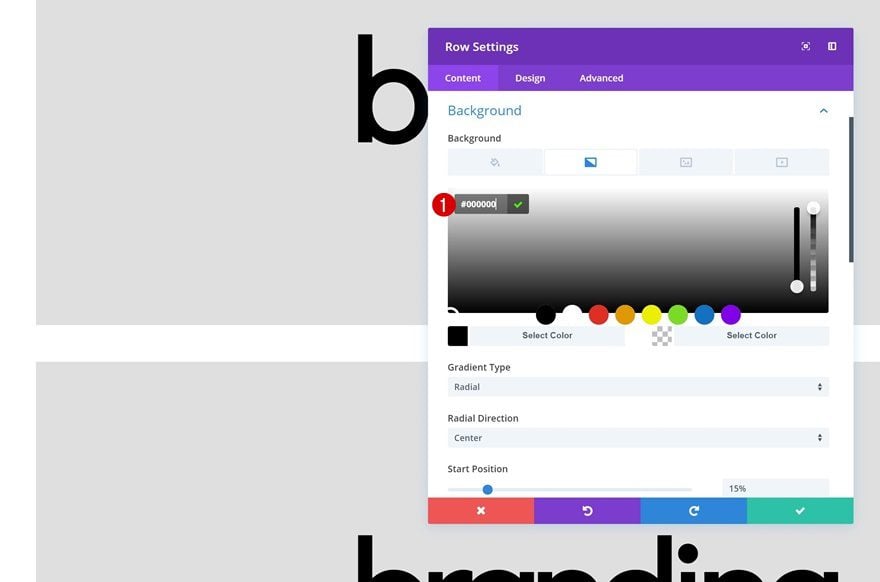
Gradient Background
With out including any modules but, open the row settings and upload a gradient background.
- Colour 1: #ff5b79
- Colour 2: rgba(255,255,255,0)
- Gradient Sort: Radial
- Radial Route: Middle
- Get started Place: 15%
- Finish Place: 15%
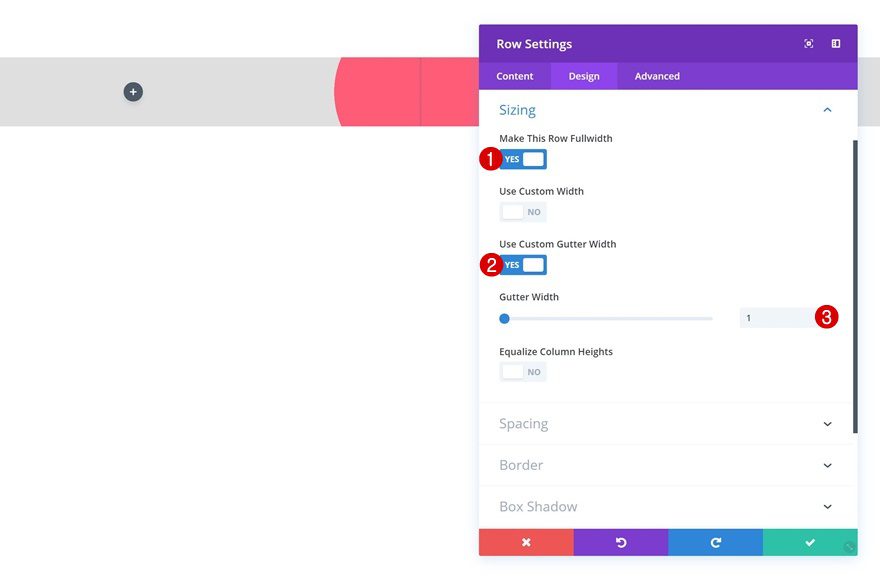
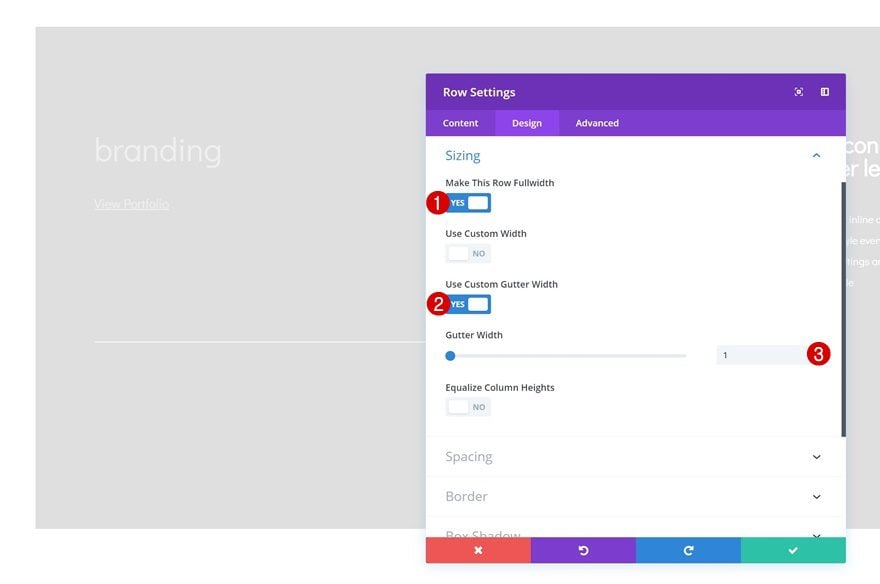
Sizing
Make some adjustments to the sizing settings of the row as neatly.
- Make This Row Fullwidth: Sure
- Use Customized Gutter Width: Sure
- Gutter Width: 1
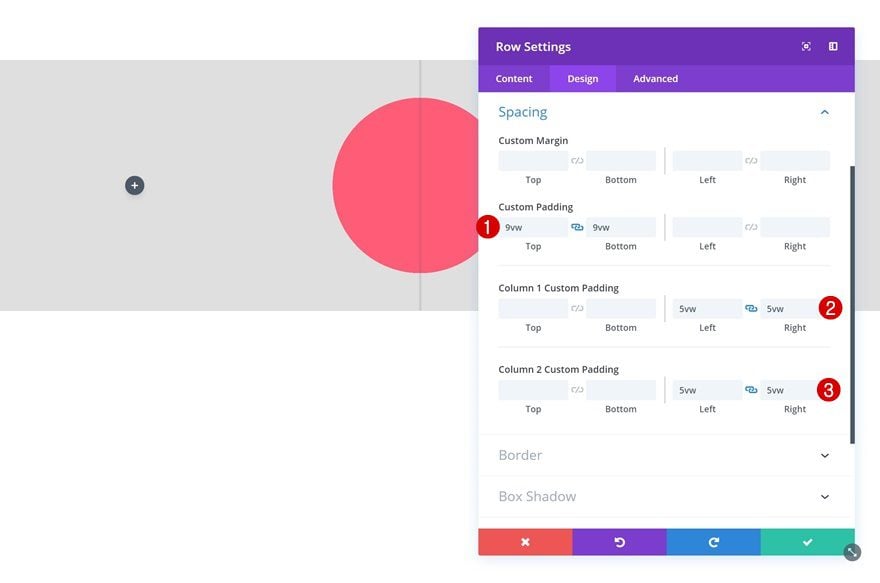
Spacing
And upload some customized padding values within the spacing settings.
- Most sensible Padding: 9vw
- Backside Padding: 9vw
- Column 1 Left Padding: 5vw
- Column 1 Proper Padding: 5vw
- Column 2 Left Padding: 5vw
- Column 2 Proper Padding: 5vw
Upload Textual content Module to Column 1
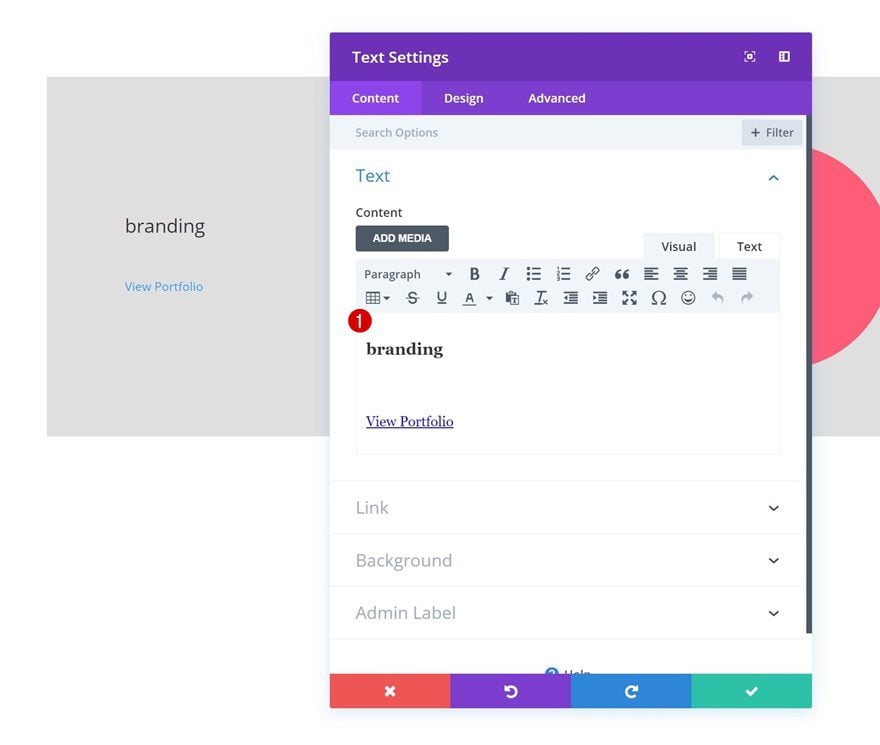
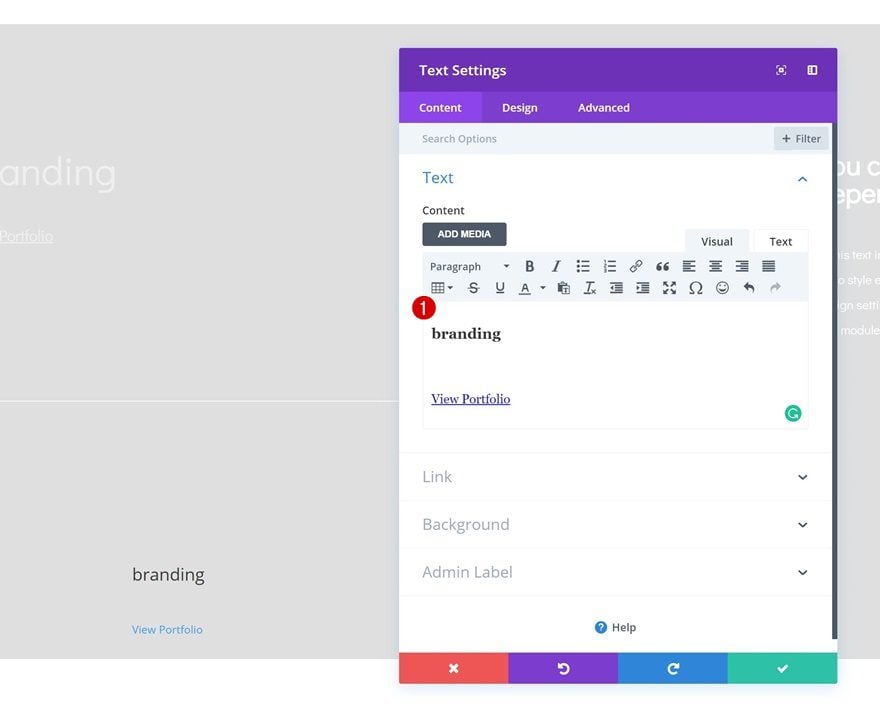
Upload Content material
Time to start out including the modules! The primary module we’ll want is a Textual content Module in column 1. Upload H3 content material and a hyperlink.
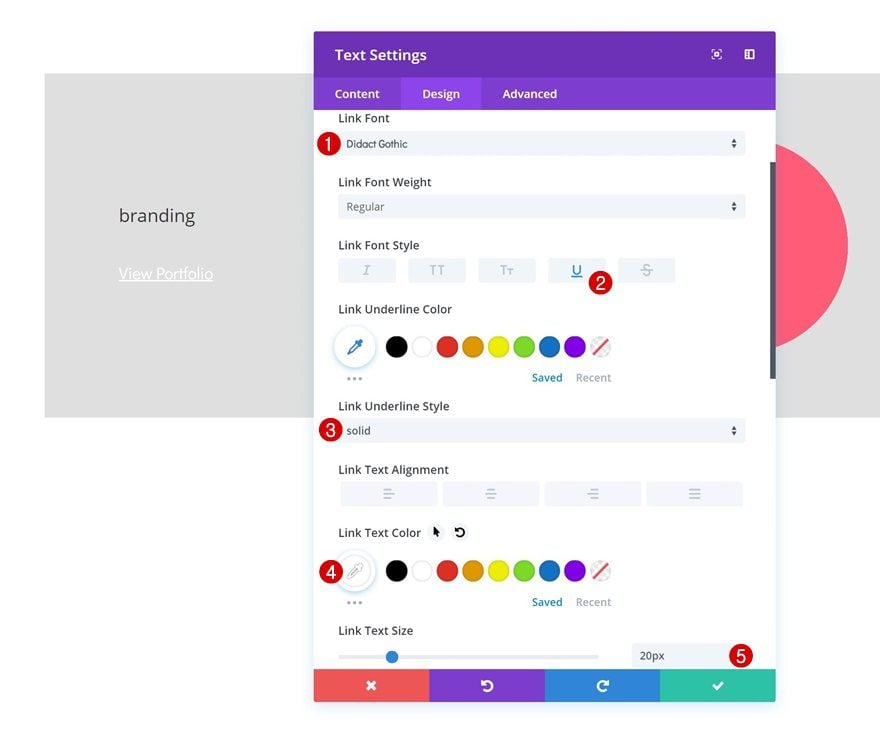
Hyperlink Textual content Settings
Then, pass to the hyperlink textual content settings and make some adjustments to the semblance of the hyperlink.
- Hyperlink Font: Didact Gothic
- Hyperlink Font Taste: Underline
- Hyperlink Underline Taste: Cast
- Hyperlink Textual content Colour: #ffffff
- Hyperlink Textual content Measurement: 20px
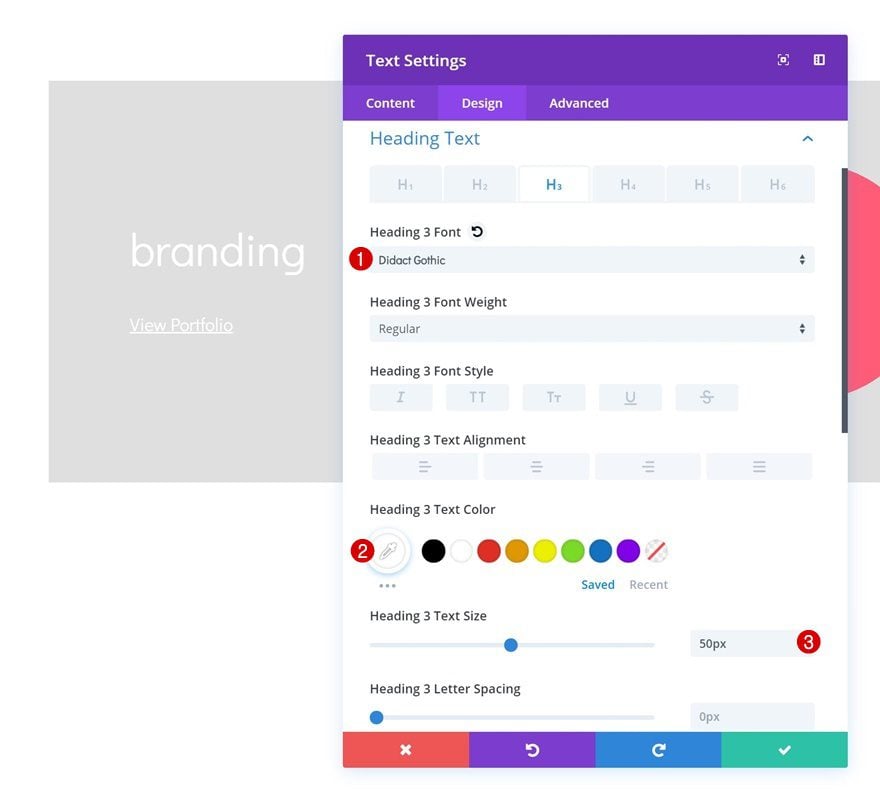
Heading Textual content Settings
Adjust the H3 textual content settings as neatly.
- Heading 3 Font: Didact Gothic
- Heading 3 Textual content Colour: #ffffff
- Heading 3 Textual content Measurement: 50px
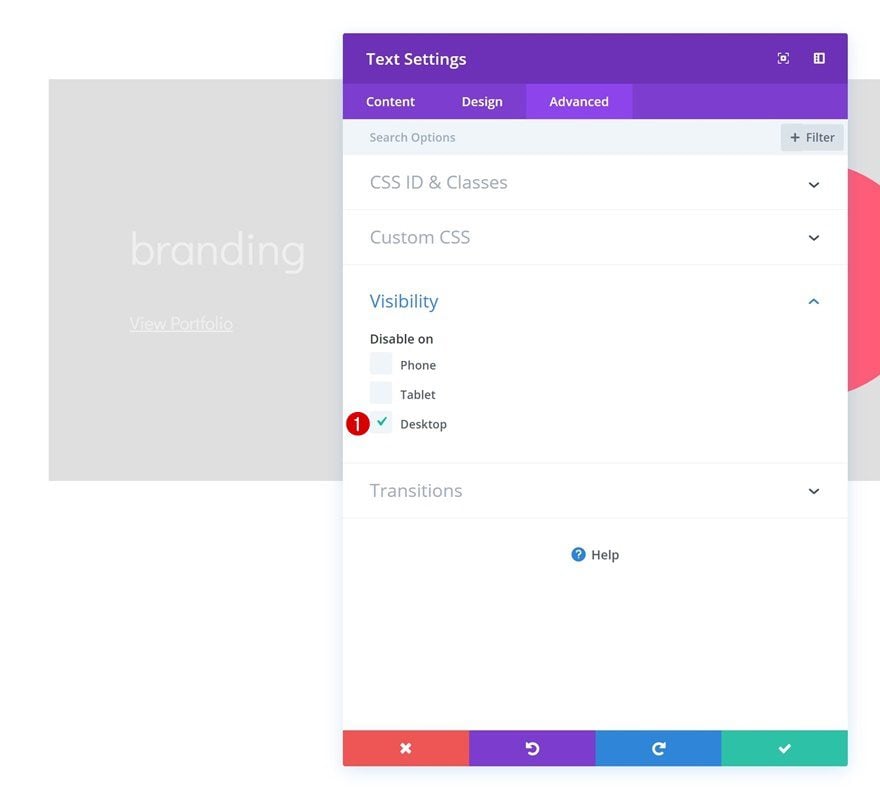
Visibility
Final however no longer least, disable the module on desktop. We simplest want this module to turn up on smaller display screen sizes.
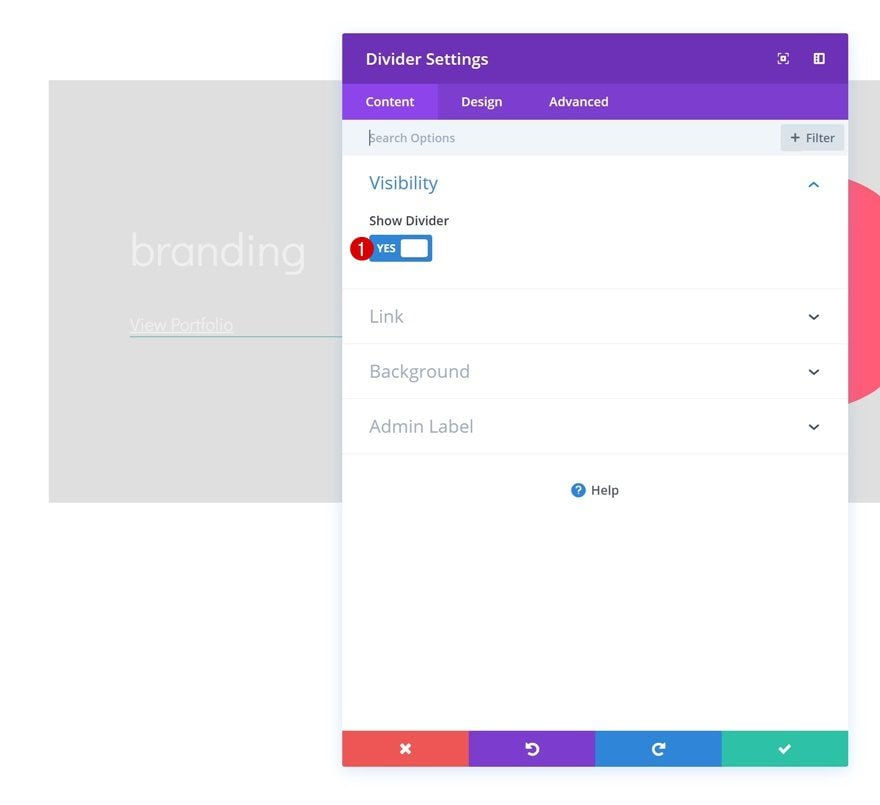
Upload Divider Module to Column 2
Visibility
The second one and remaining module wanted in column 1 is a Divider Module. Be certain the ‘Display Divider’ possibility is enabled.
- Display Divider: Sure
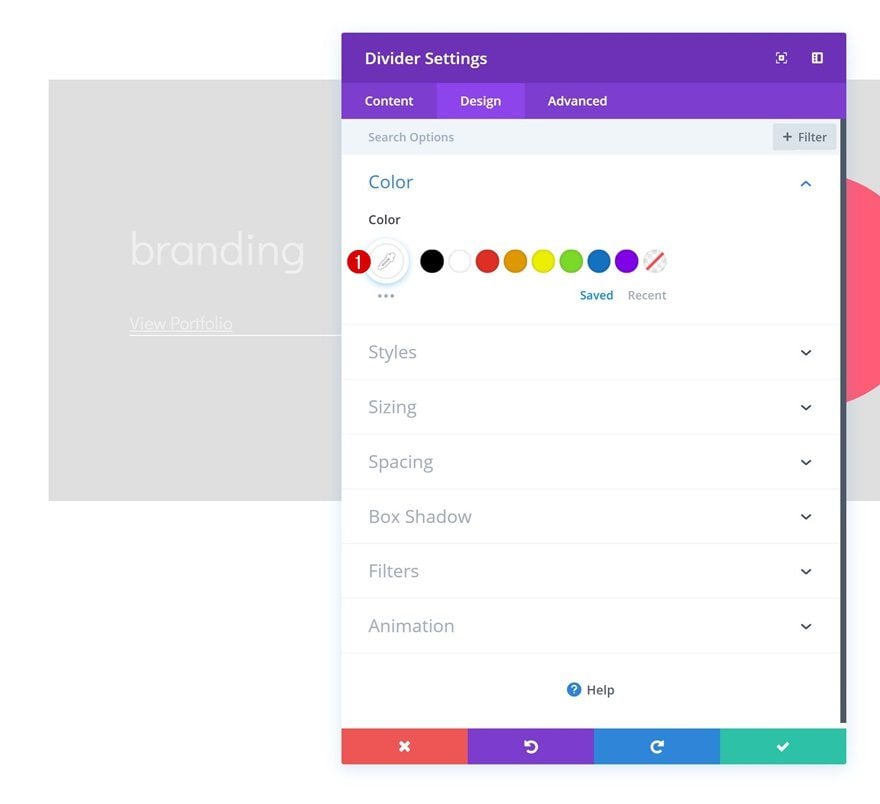
Colour
Then, exchange the divider coloration.
- Colour: #ffffff
Spacing
Upload some customized margin values to the Divider Module as neatly.
- Most sensible Margin: 11vw (Desktop), 80px (Pill),
- Backside Margin: 50px (Pill & Telephone)

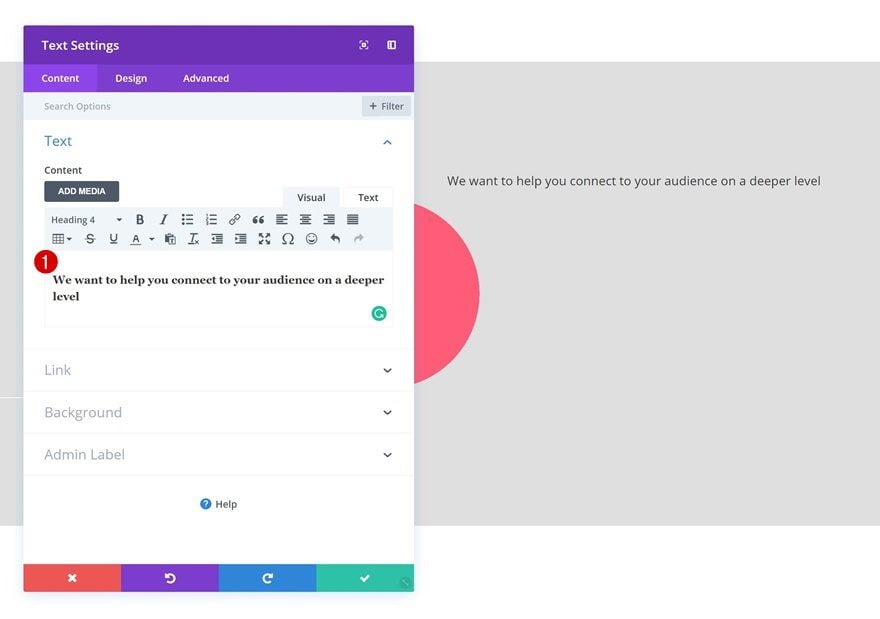
Upload Textual content Module #1 to Column 2
Upload Content material
Directly to the second one column! Upload a Textual content Module with some H4 content material of selection.
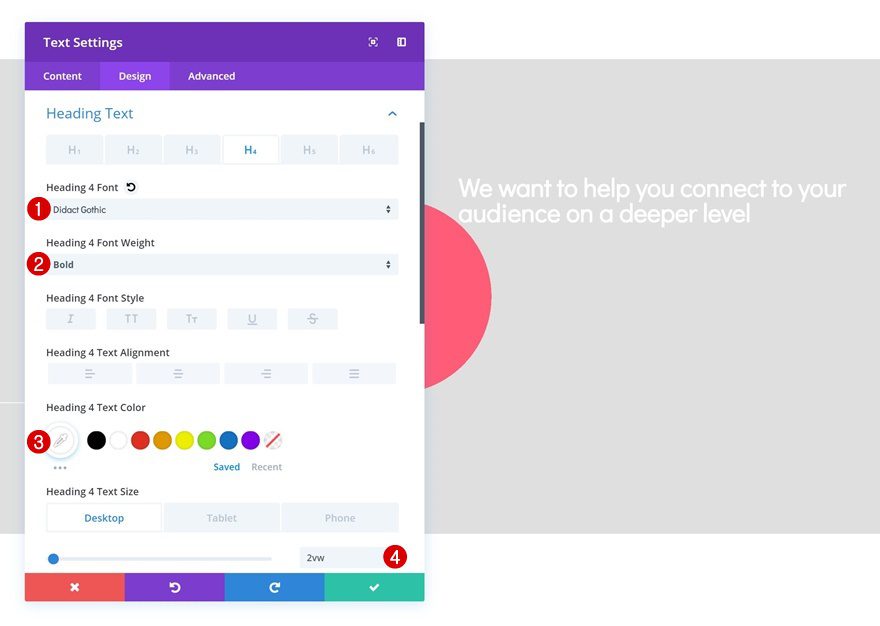
Heading Textual content Settings
Then, pass to the H4 textual content settings and make some adjustments.
- Heading 4 Font: Didact Gothic
- Heading 4 Font Weight: Daring
- Heading 4 Textual content Colour: #ffffff
- Heading 4 Textual content Measurement: 2vw (Desktop), 40px (Pill), 30px (Telephone)
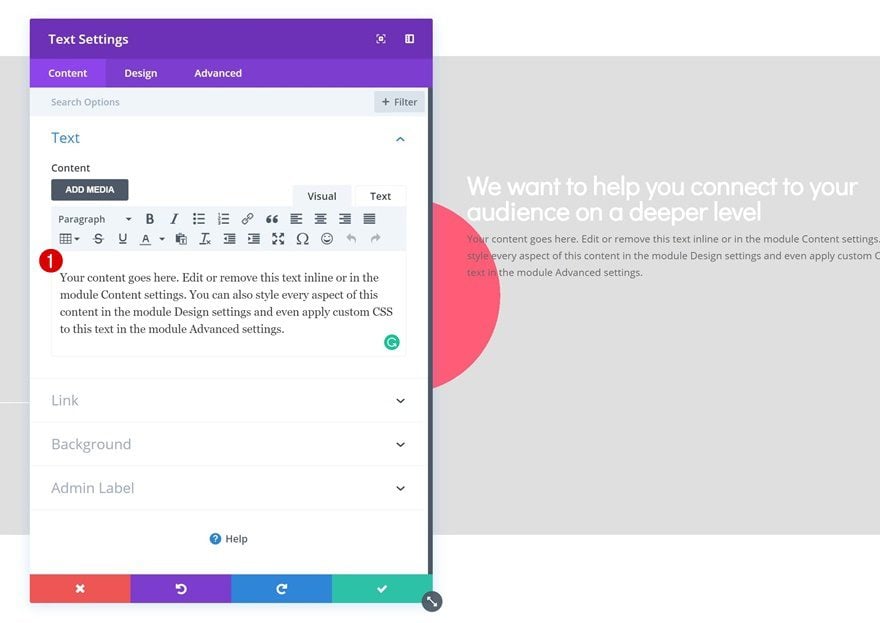
Upload Textual content Module #2 to Column 2
Upload Content material
Proper underneath the former Textual content Module, pass forward and upload any other one with some paragraph content material of selection.
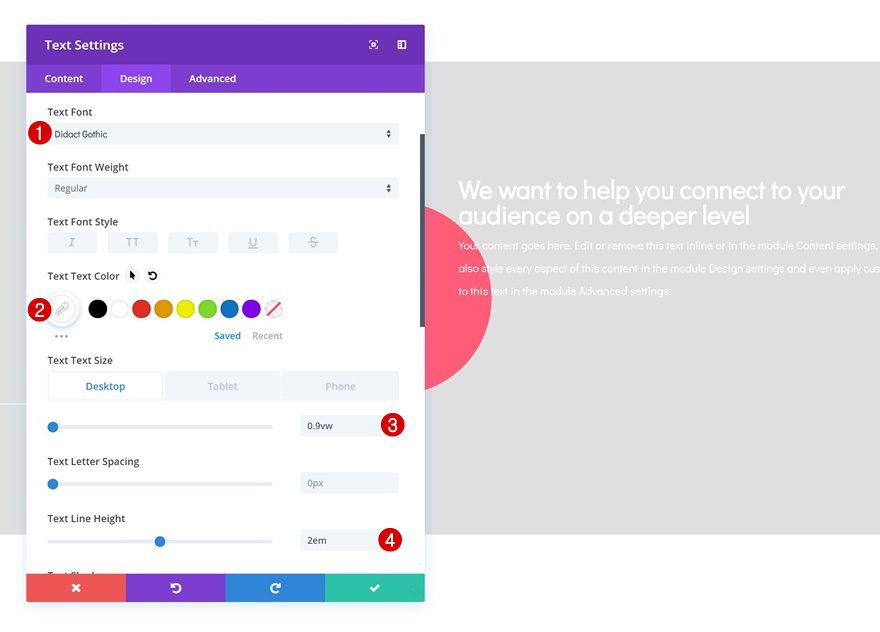
Textual content Settings
Pass to the textual content settings subsequent and make some adjustments.
- Textual content Font: Didact Gothic
- Textual content Colour: #ffffff
- Textual content Measurement: 0.9vw (Desktop), 18px (Pill & Telephone)
- Textual content Line Top: 2em
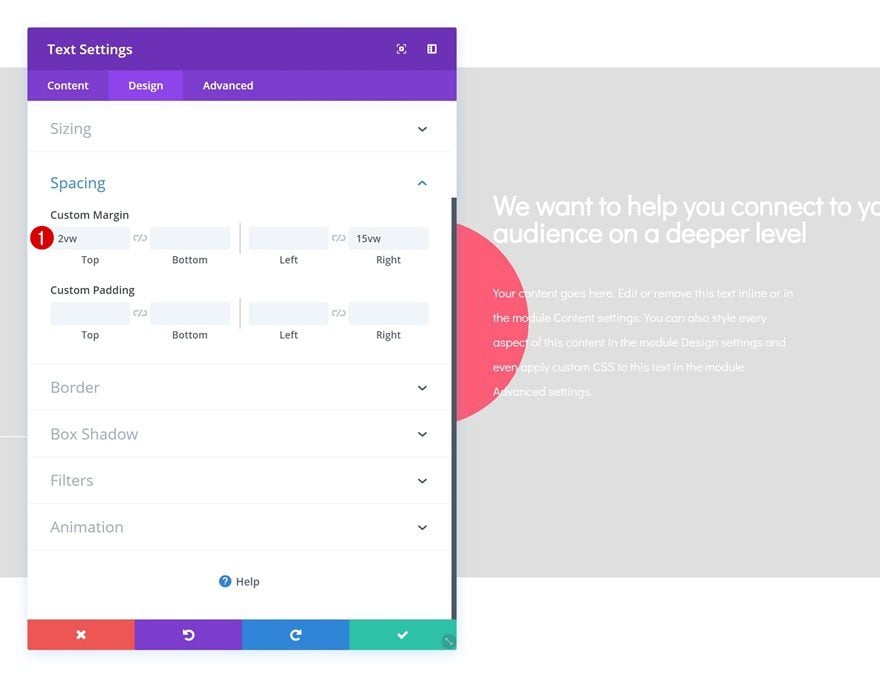
Spacing
Upload some customized margin values too.
- Most sensible Margin: 2vw
- Proper Margin: 15vw
Upload Row #2
Column Construction
If you’re completed enhancing the primary row and all of its modules, you’ll be able to pass forward and upload a brand new row the use of the next column construction:
Sizing
With out including any modules but, open the row settings and make some adjustments to the Sizing settings.
- Make This Row Fullwidth: Sure
- Use Customized Gutter Width: Sure
- Gutter Width: 1
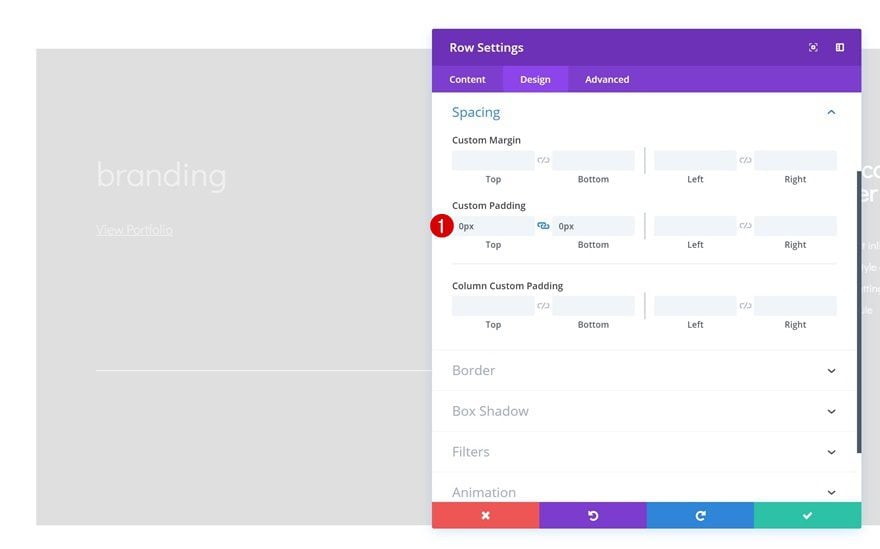
Spacing
Take away all default padding within the row spacing settings as neatly.
- Most sensible Padding: 0px
- Backside Padding: 0px
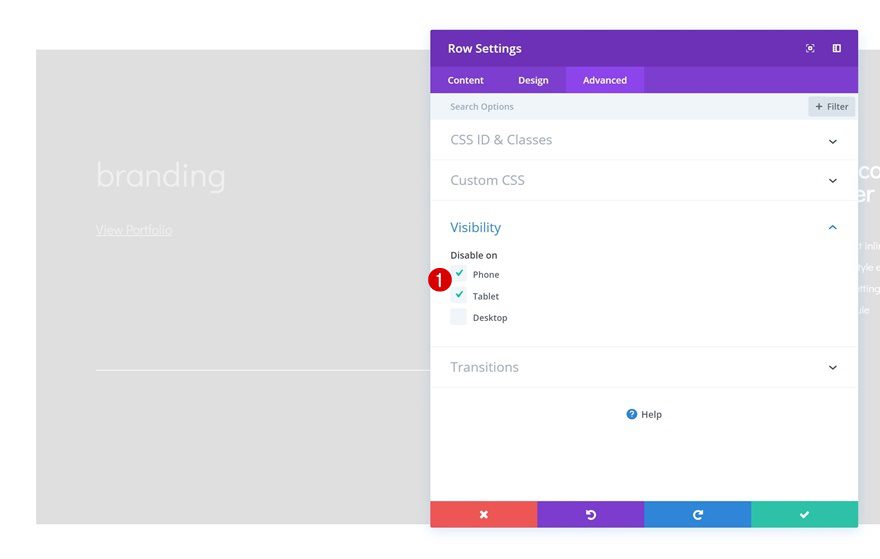
Visibility
Final however no longer least, conceal this row on pill and make contact with.
Upload Textual content Module to Column
Upload Content material
The one module we’d like on this row is a Textual content Module. Upload some H3 content material and a hyperlink.
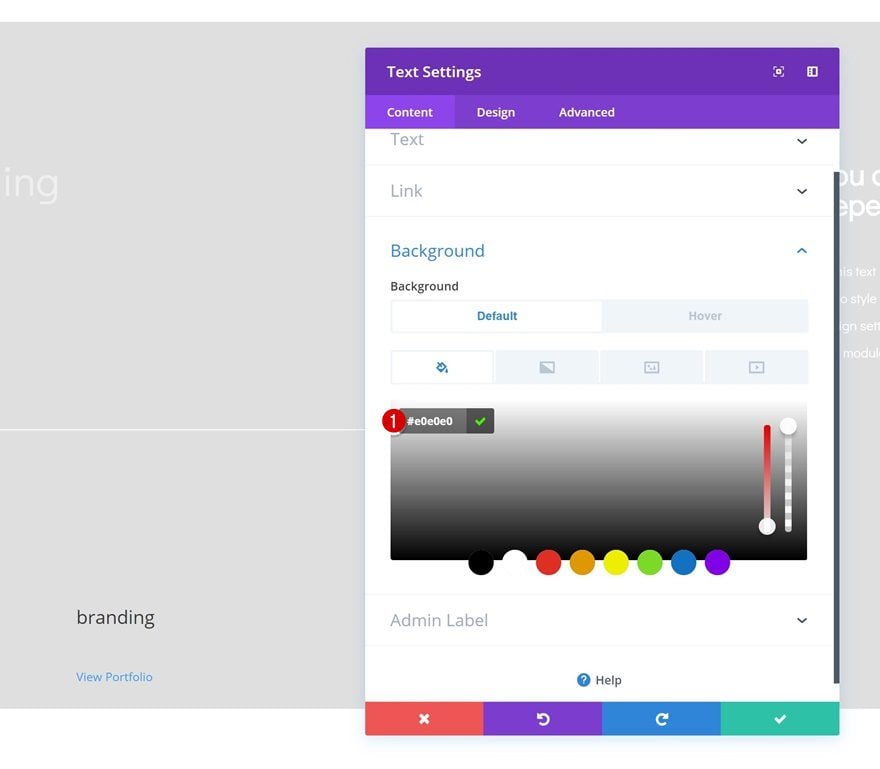
Default Background Colour
Then, pass to the background settings and upload a background coloration to the Textual content Module.
- Background Colour: #e0e0e0
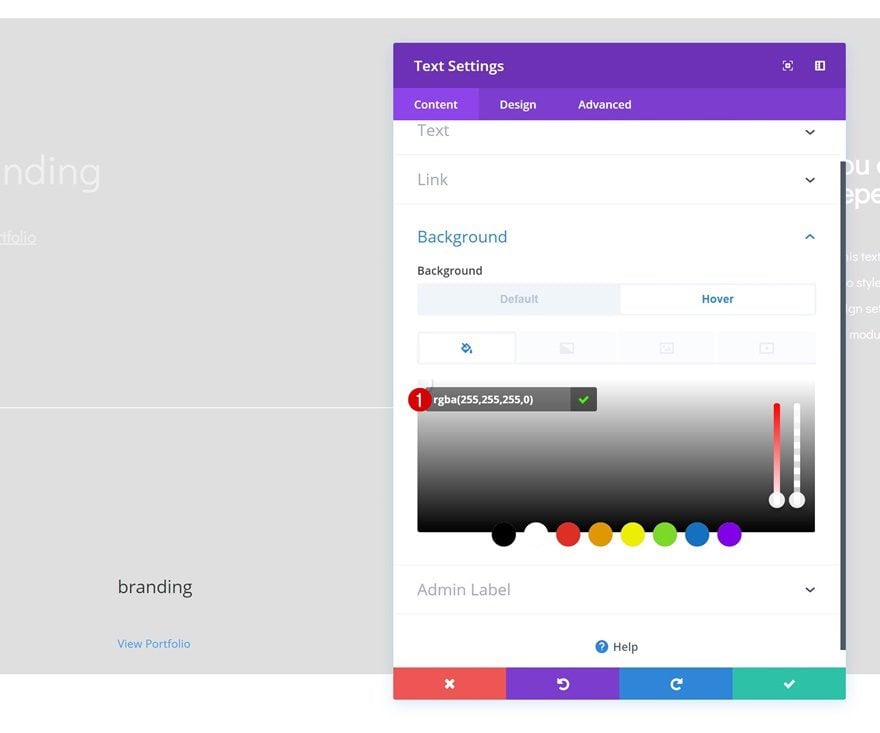
Hover Background Colour
Adjust this background coloration on hover.
- Background Colour: rgba(255,255,255,0)
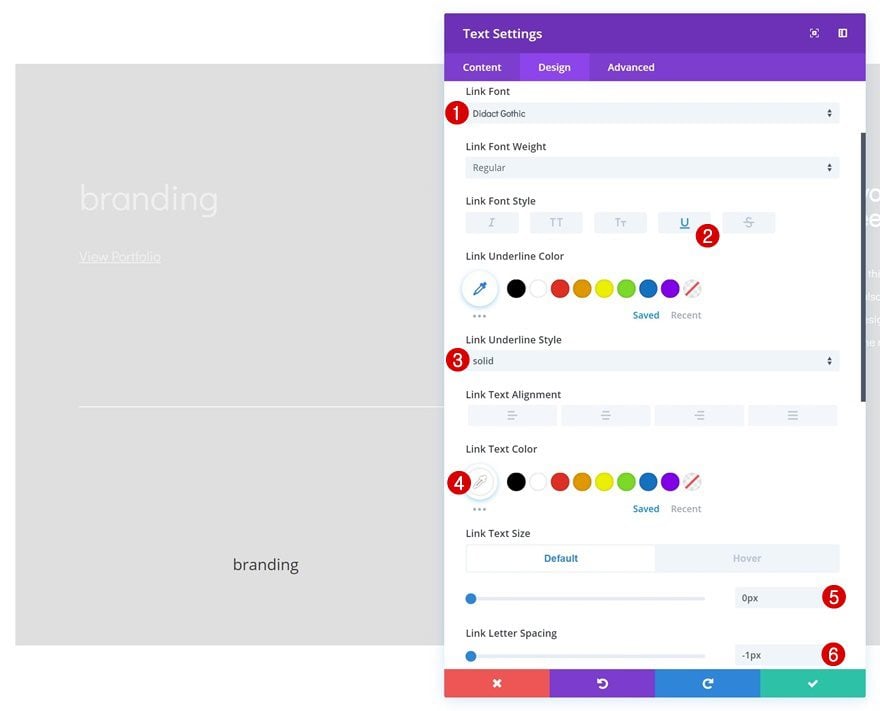
Default Textual content Settings
Subsequent, pass to the textual content settings and make some adjustments.
- Hyperlink Font: Didact Gothic
- Hyperlink Font Taste: Underline
- Hyperlink Underline Taste: Cast
- Hyperlink Textual content Colour: #ffffff
- Hyperlink Textual content Measurement: 0px
- Hyperlink Letter Spacing: -1px
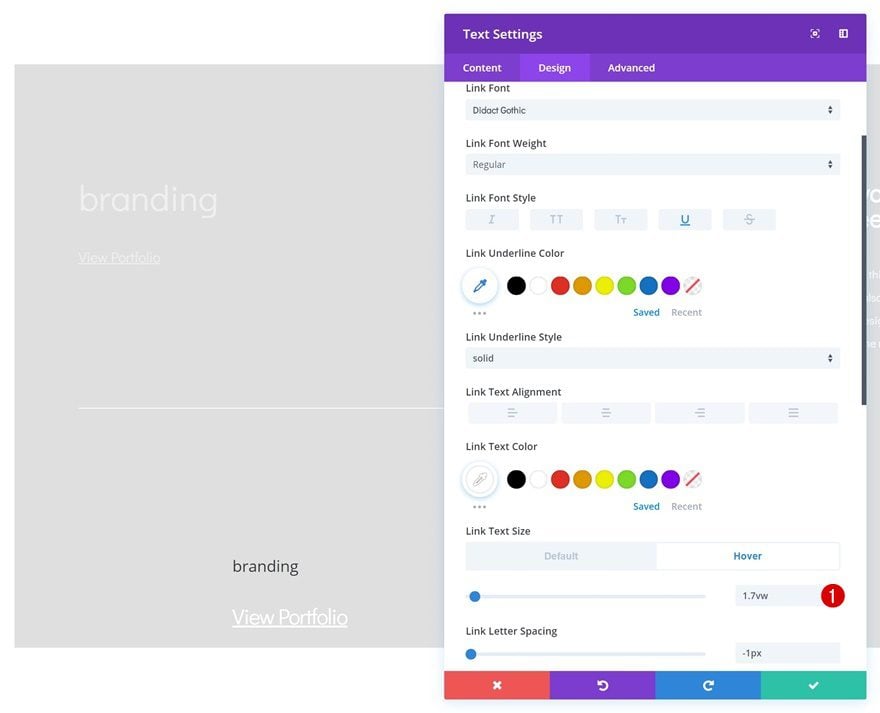
Hover Hyperlink Textual content Settings
Adjust the hyperlink textual content dimension on hover as neatly.
- Hyperlink Textual content Measurement: 1.7vw
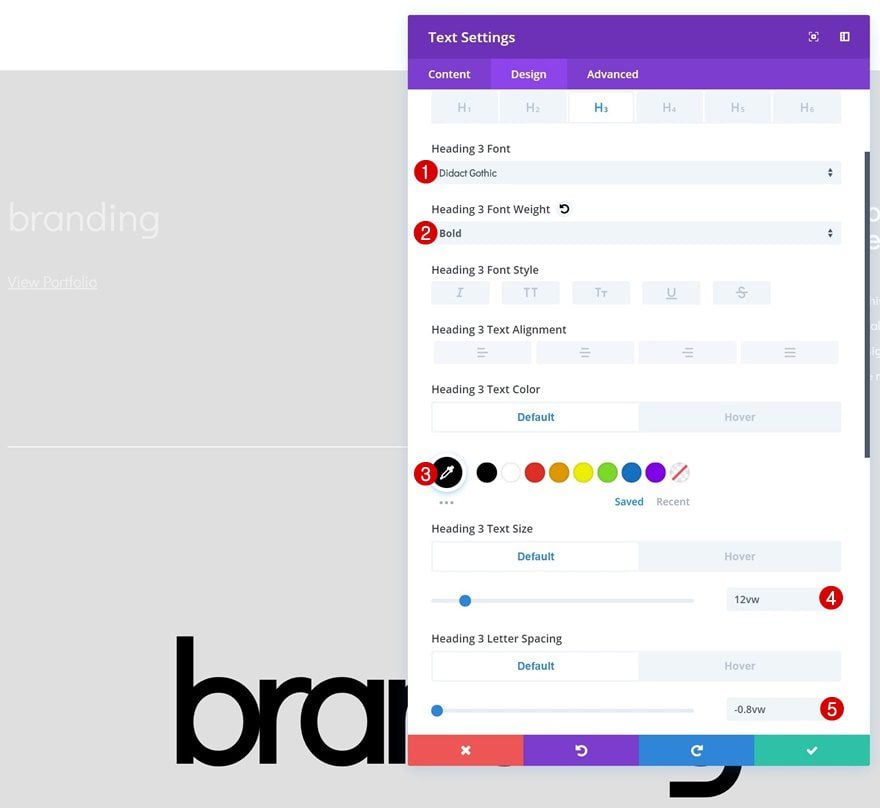
Default Heading Textual content Settings
Proceed through making some adjustments to the H3 textual content settings.
- Heading 3 Font: Didact Gothic
- Heading 3 Font Weight: Daring
- Heading 3 Textual content Colour: #000000
- Heading 3 Textual content Measurement: 12vw
- Heading 3 Letter Spacing: -0.8vw
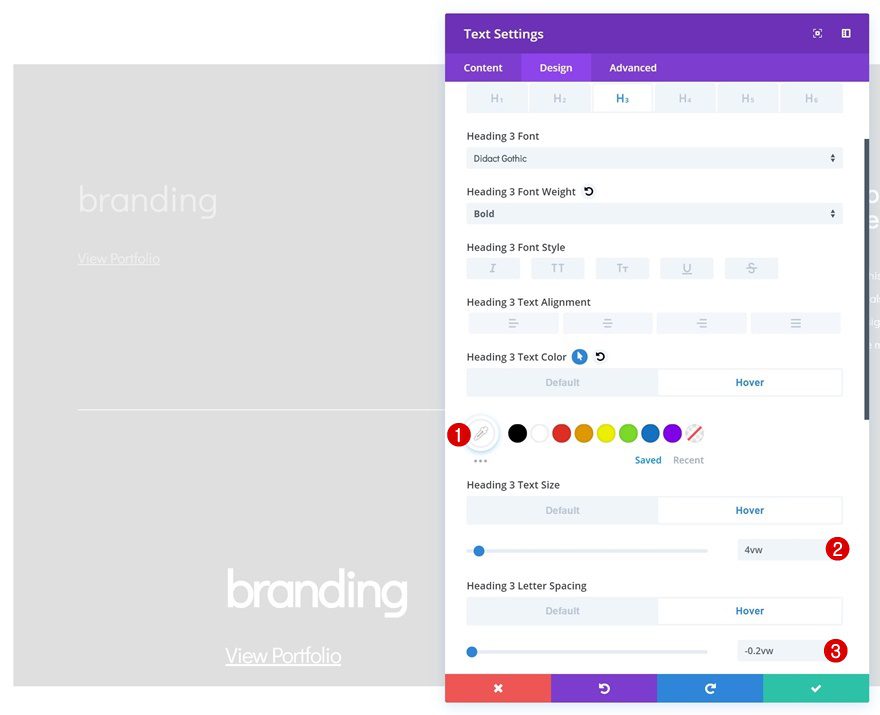
Hover Heading Textual content Settings
Adjust one of the vital H3 textual content settings on hover.
- Heading 3 Textual content Colour: #ffffff
- Heading 3 Textual content Measurement: 4vw
- Heading 3 Letter Spacing: -0.2vw
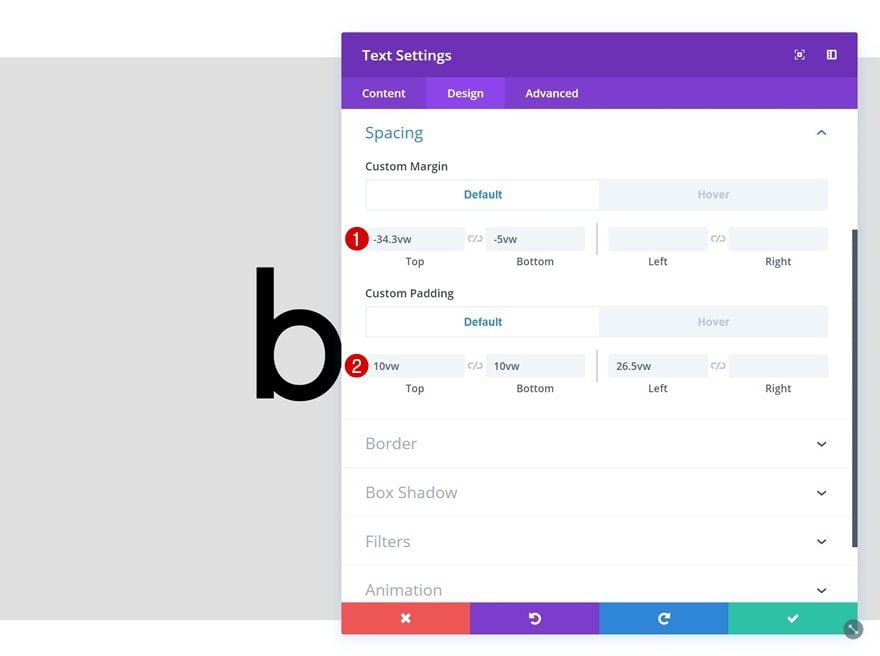
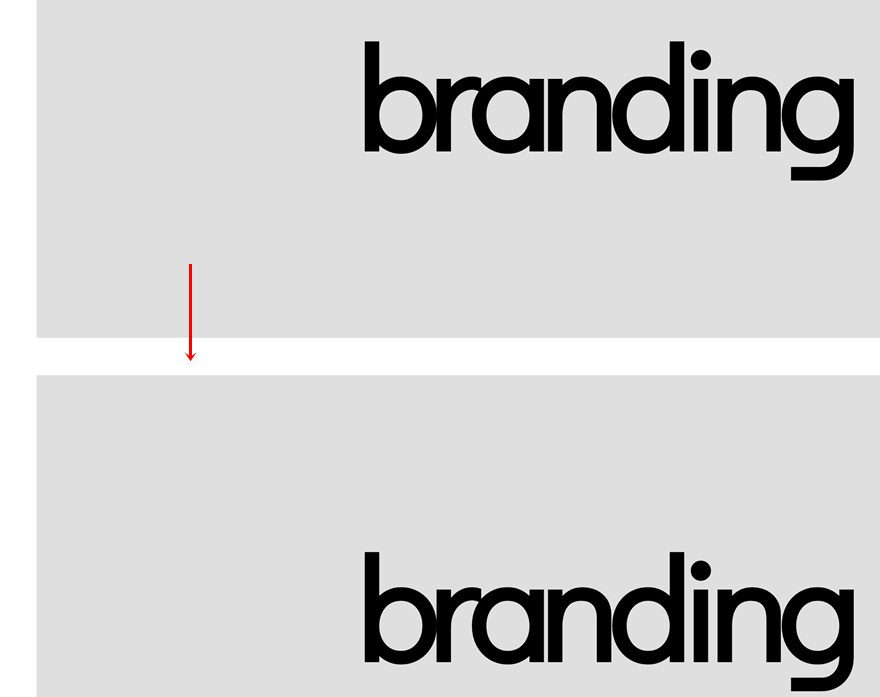
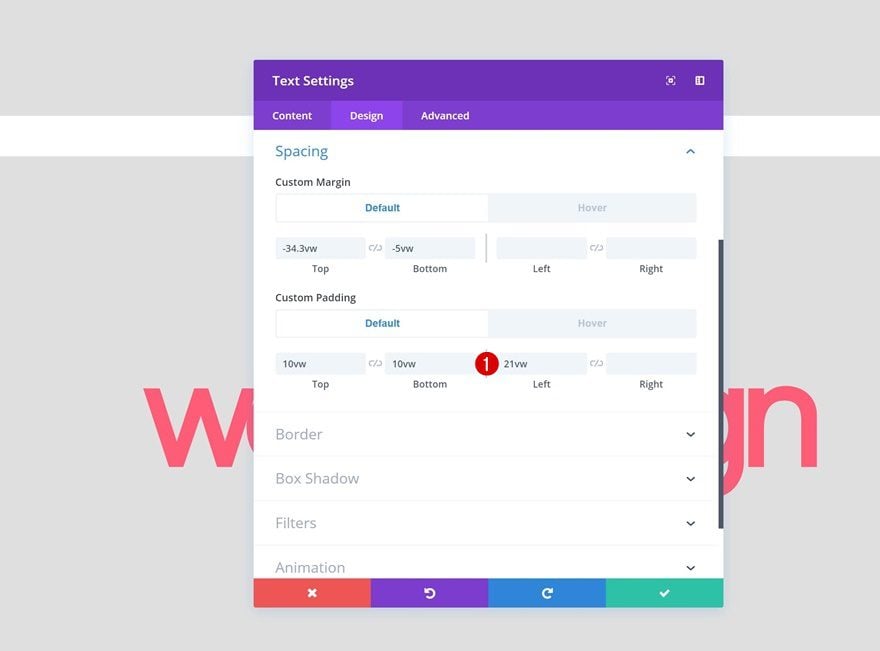
Spacing
Then, pass to the spacing settings and upload some customized margin and padding values.
- Most sensible Margin: -34.3vw
- Backside Margin: -5vw
- Most sensible Padding: 10vw
- Backside Padding: 10vw
- Left Padding: 26.5vw
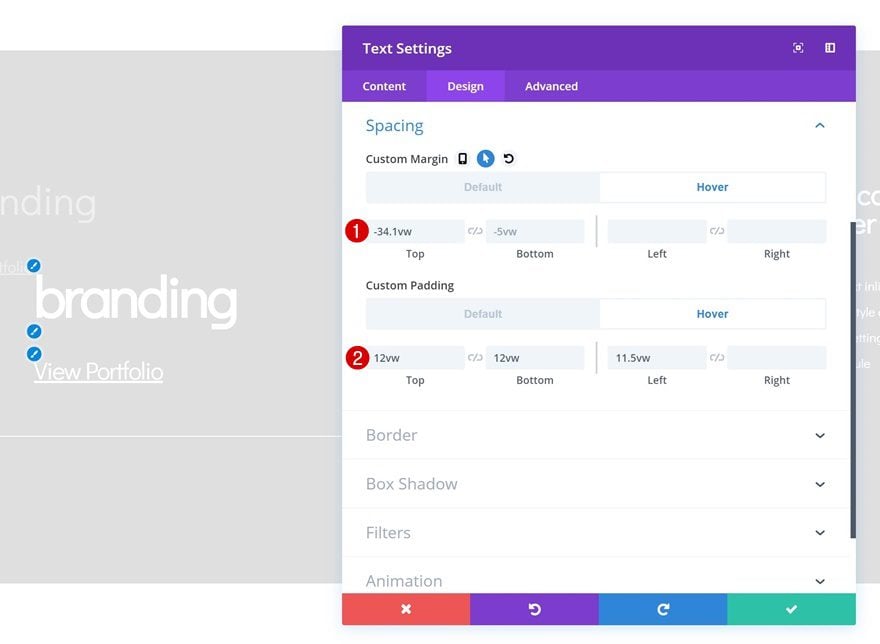
Hover Spacing
Adjust the spacing values on hover.
- Most sensible Margin: -34.1vw
- Backside Margin: -5vw
- Most sensible Padding: 12vw
- Backside Padding: 12vw
- Left Padding: 11.5vw
Transitions
Build up the transition length of the Textual content Module as neatly.
- Transition Period: 400ms

Clone Phase
As soon as your first segment is finished, pass forward and clone all of the segment as much as as again and again as you wish to have. Within the subsequent a part of the educational, we’ll display you the adjustments you wish to have to make to every reproduction.
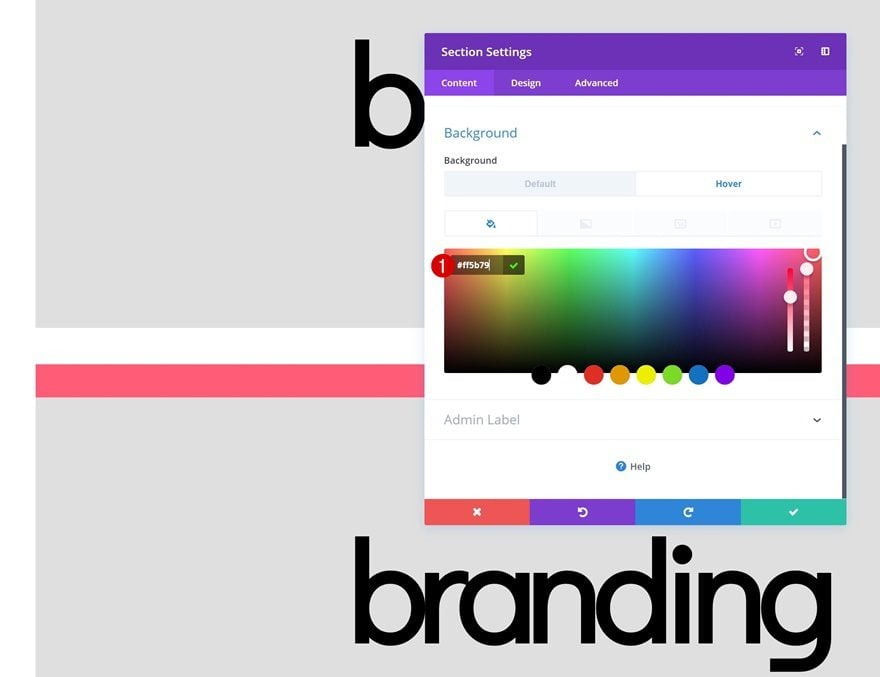
Trade Phase Hover Background Colour
The very first thing you’ll wish to regulate is the segment hover background coloration.
- Background Colour: #ff5b79
Trade Row #1 Gradient Background
Trade the row #1 gradient background as neatly.
- Colour 1: #000000
Trade Textual content Colour & Reproduction
Along side the textual content coloration and the entire reproduction.
- Heading 3 Textual content Colour: #ff5b79

Trade Textual content Module Spacing
Final however no longer least, exchange the left padding of the Textual content Module in row #2. The quantity of left padding you’ll wish to use depends upon the duration of the content material you’re the use of.
- Left Padding: 21vw
Obtain The Structure for FREE
To put your palms at the format, you’ll first wish to obtain it the use of the button underneath. To achieve get admission to to the obtain it is important to subscribe to our Divi Day-to-day e-mail listing through the use of the shape underneath. As a brand new subscriber, you’ll obtain much more Divi goodness and a loose Divi Structure pack each Monday! In case you’re already at the listing, merely input your e-mail deal with underneath and click on obtain. You are going to no longer be “resubscribed” or obtain further emails.
@media simplest display screen and ( max-width: 767px ) {.et_bloom .et_bloom_optin_1 .carrot_edge.et_bloom_form_right .et_bloom_form_content:prior to, .et_bloom .et_bloom_optin_1 .carrot_edge.et_bloom_form_left .et_bloom_form_content:prior to { border-top-color: #ffffff !necessary; border-left-color: clear !necessary; }
}.et_bloom .et_bloom_optin_1 .et_bloom_form_content button { background-color: #f92c8b !necessary; } .et_bloom .et_bloom_optin_1 .et_bloom_form_content .et_bloom_fields i { coloration: #f92c8b !necessary; } .et_bloom .et_bloom_optin_1 .et_bloom_form_content .et_bloom_custom_field_radio i:prior to { background: #f92c8b !necessary; } .et_bloom .et_bloom_optin_1 .et_bloom_border_solid { border-color: #f7f9fb !necessary } .et_bloom .et_bloom_optin_1 .et_bloom_form_content button { background-color: #f92c8b !necessary; } .et_bloom .et_bloom_optin_1 .et_bloom_form_container h2, .et_bloom .et_bloom_optin_1 .et_bloom_form_container h2 span, .et_bloom .et_bloom_optin_1 .et_bloom_form_container h2 sturdy { font-family: “Open Sans”, Helvetica, Arial, Lucida, sans-serif; }.et_bloom .et_bloom_optin_1 .et_bloom_form_container p, .et_bloom .et_bloom_optin_1 .et_bloom_form_container p span, .et_bloom .et_bloom_optin_1 .et_bloom_form_container p sturdy, .et_bloom .et_bloom_optin_1 .et_bloom_form_container shape enter, .et_bloom .et_bloom_optin_1 .et_bloom_form_container shape button span { font-family: “Open Sans”, Helvetica, Arial, Lucida, sans-serif; } p.et_bloom_popup_input { padding-bottom: 0 !necessary;}

Obtain For Loose
Sign up for the Divi Newlsetter and we will be able to e-mail you a duplicate of without equal Divi Touchdown Web page Structure Pack, plus lots of different wonderful and loose Divi assets, guidelines and methods. Practice alongside and you’ll be a Divi grasp very quickly. If you’re already subscribed merely sort on your e-mail deal with underneath and click on obtain to get admission to the format pack.
You may have effectively subscribed. Please test your e-mail deal with to verify your subscription and get get admission to to loose weekly Divi format packs!
Preview
Now that we’ve long past thru the entire steps, let’s take a last have a look at the result on other display screen sizes.
Desktop
Cellular
Ultimate Ideas
On this put up, we’ve proven you the right way to disclose hidden row content material on hover. The result we’ve created is made the use of Divi’s integrated choices simplest. We’ve additionally shared the JSON record on the finish of the educational which can optimistically mean you can create your personal choice designs as neatly. In case you have any questions or ideas, be sure to depart a remark within the remark segment underneath!
The put up How to Make Hidden Row Content Appear on Hover with Divi (Free Download!) seemed first on Elegant Themes Blog.
WordPress Web Design